🚐 maintenance 101
I’m a jack of all trades in many areas of life … but one topic area I’ve pretty consistently shied away from is automotive repairs and mechanics. My brain has just never really understood how it all works and I haven’t cared enough to learn. 🧠 🤷♀️ As long as the magical key makes my ride start and magically go, I’m a happy camper.
I mean- that’s what AAA is for, right 🤷♀️?!
Well- now that I’m loving vanlife and living in the van PLUS traveling some bigger miles and driving in more remote areas, I felt it was really important for me to learn van maintenance. It’s a 6 year old vehicle now and it had 2owners prior to me. So it’s hard to know what maintenance was done or not done- but now that she’s close to 38k miles, warranties have mostly run out and some things are likely getting due for service.
I decided rather than continuing the “ostrich with her head in the sand” approach, I’d take the bull by the horns and proactively learn more in order to avoid surprises /ruined adventures/giant time sensitive or urgent aka expensive repairs …
knowledge is power #amiright.
So today I met with my mechanic friend Chad and he patiently walked me through the main items and showed me each of them … I’m definitely a visual and experiential learner so this is how my mind retains info best. He even showed me some old parts like a trashed water pump and an old belt so that I could see what it looks like when stuff goes sideways.
Many of you car people may roll your eyes at the simplicity of this 101 session however I suspect many van lifers out there didn’t (or don’t) focus as much on what’s under the hood as they do on the internal buildout.
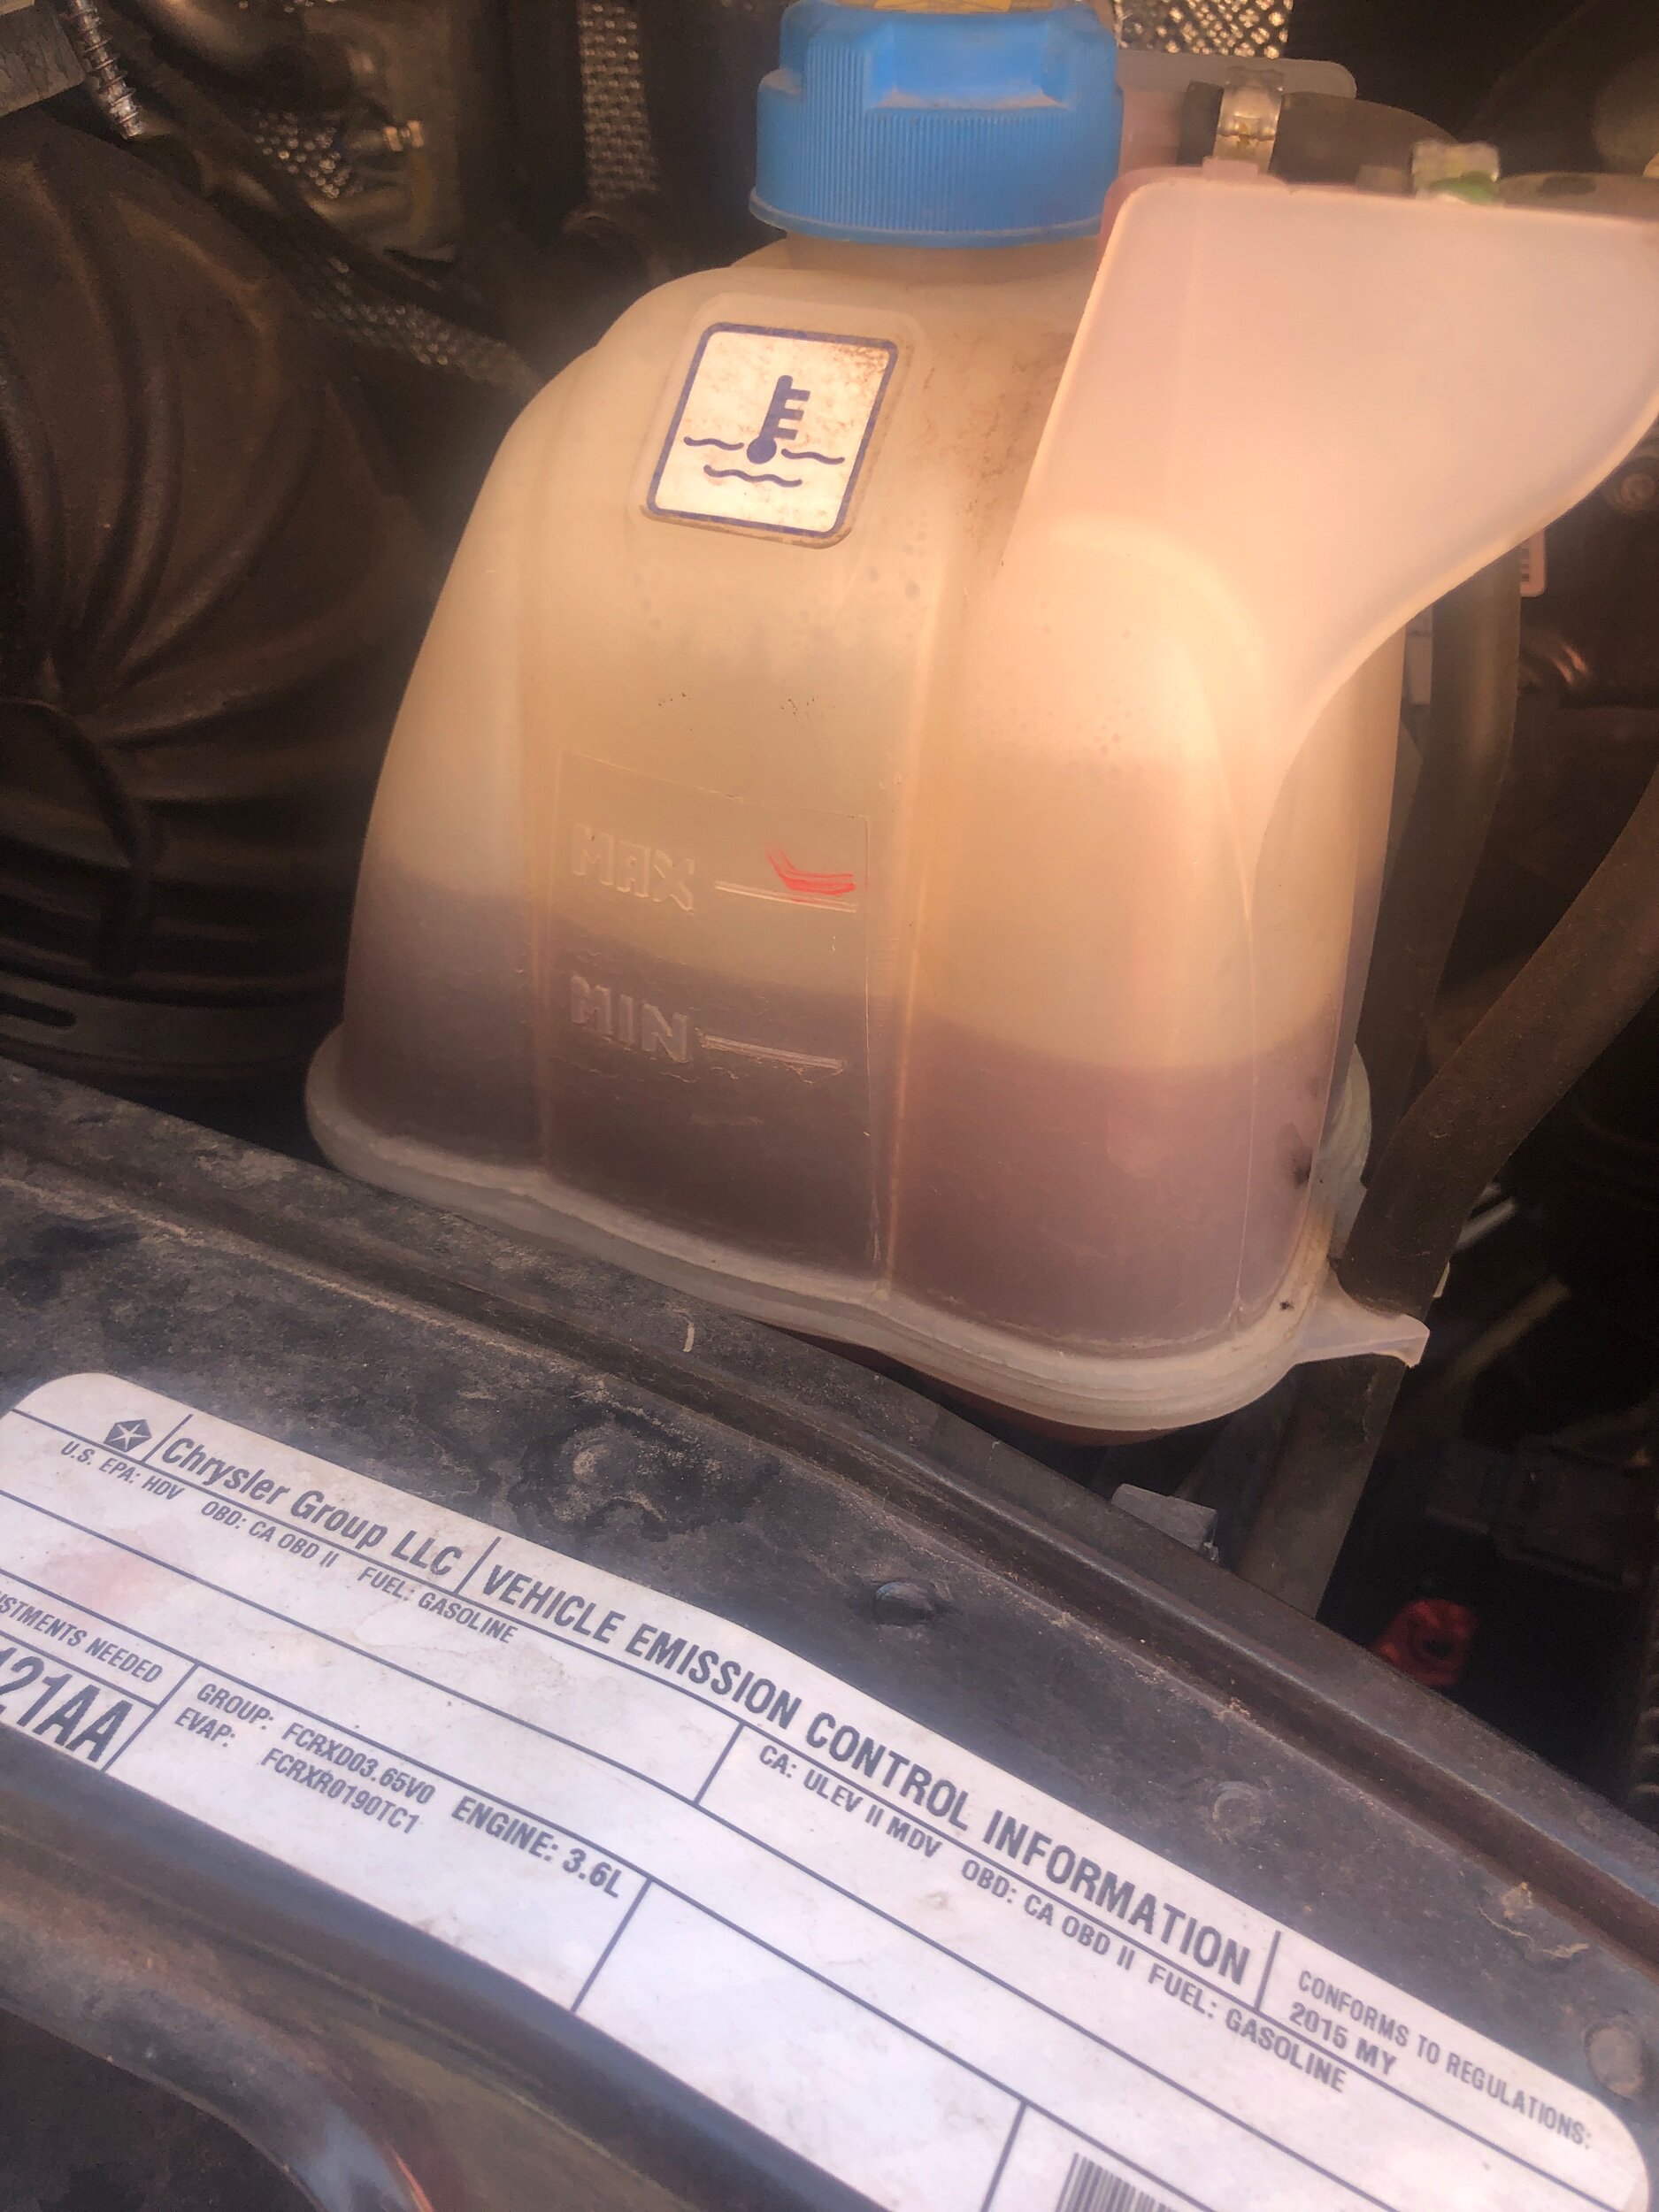
My van is a 2015 ram Promaster 2500. (2500 refers to the chassis I learned today- which includes the frame and suspension setup).
So let’s review what I learned from this maintenance crash course with Chad:

We started at the front and worked our way back:
Wiper blades- we installed one new one and it’s funny how something so simple makes such a big difference!
Blinkers and brake lights ✅ ✅ 🔴➡️⬅️
Brake fluid check - should be yellow-Not brown. I recently had my brakes serviced so I knew I was all good here- the fluid had become a light brown so that was taken care of last month. It led to the replacement of the driver side brake caliper too 🤦♀️ .
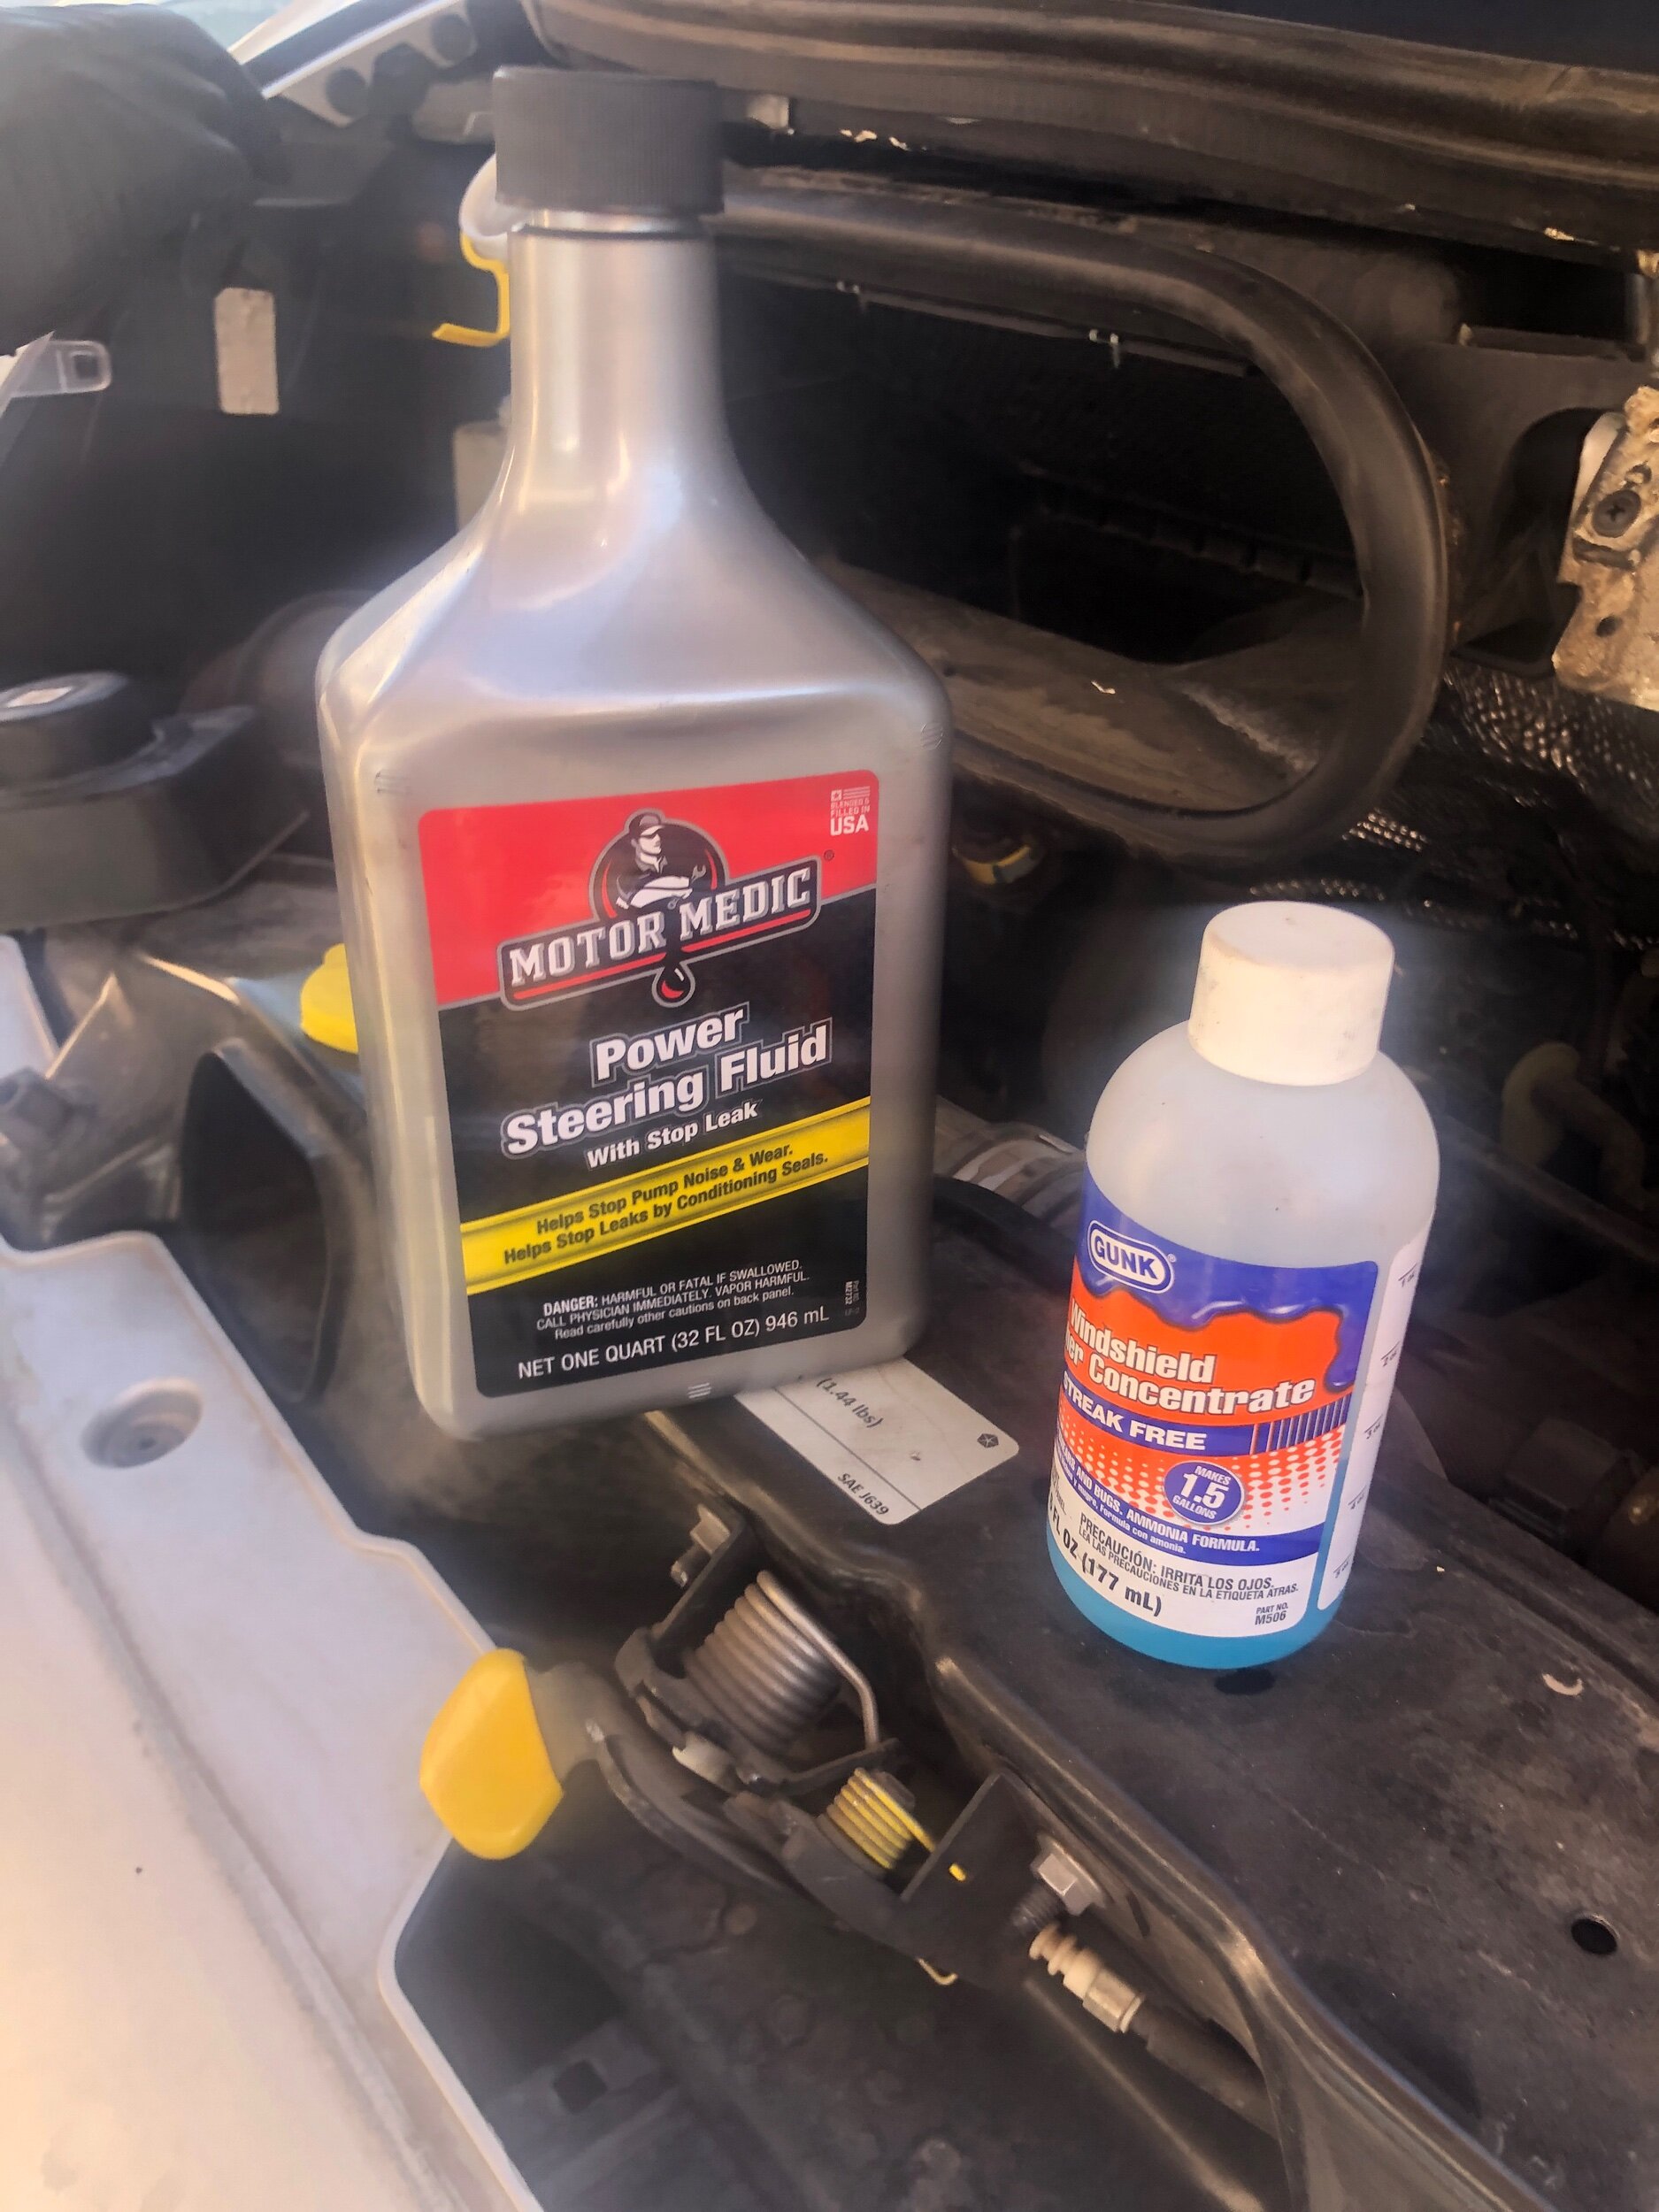
Washer fluid - concentrate is the way to go= saves the giant bottles from landfills (use amazon button below to order yours- **as an Amazon associate, I may earn commissions from your purchase)!

Power steering fluid - should be clear. Dipstick showed it was low so we added more to the reservoir- generally speaking, approx 30-35k miles is when a car is due for power steering flush so I’m coming up on that shortly.
I recently had the oil changed so we checked the dipstick and it looked good I use the synthetic oil that needs changing every 5k or so I asked him why not use the oil that lasts for 10k or 15k miles?

Chad recommends every 5k to bring it in so that your vehicle is seen by a professional. Even if your oil can last 10-15k he still suggests having filter checked, oil topped off and vehicle checked out. Because —-a problem left for 10-15k miles unaddressed could really ruin your vehicle. This makes total sense to me.
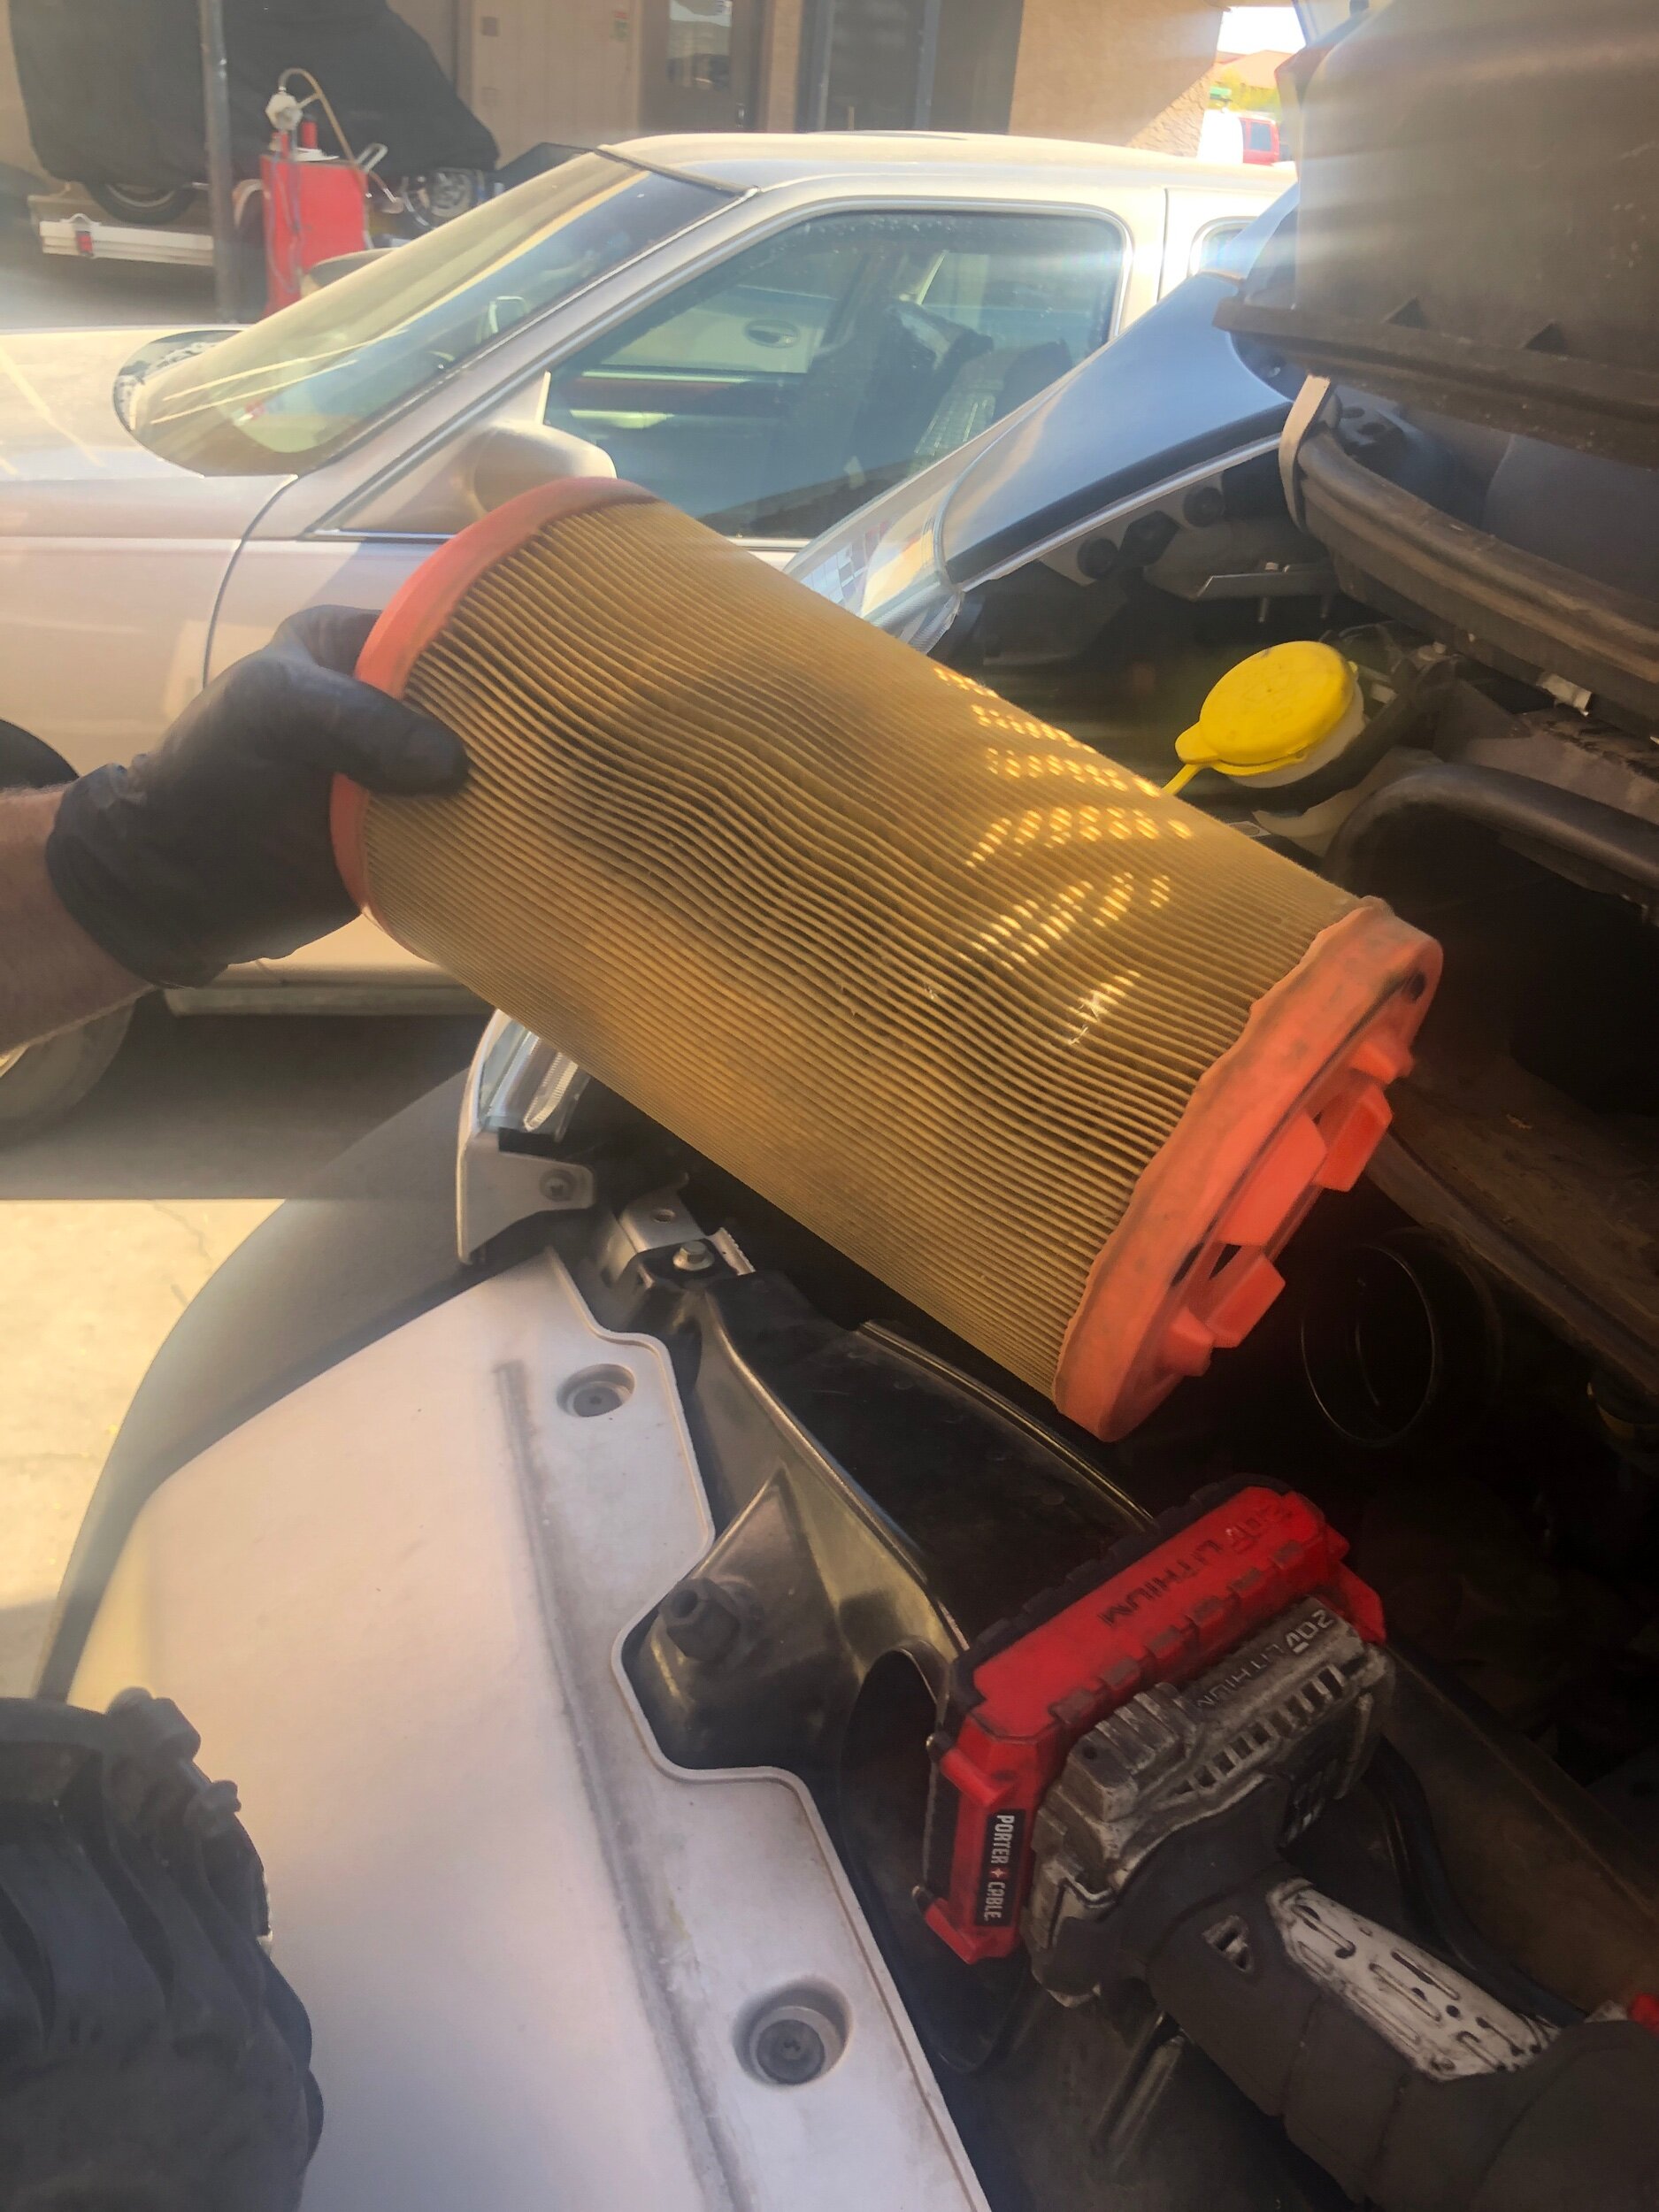
Air filter - if it’s super dirty, Replace it. Depends on driving conditions ie super dusty terrain, would make this more often. So no real mileage guide this is use-dependent. Ask that this be done /checked alongside with oil changes.

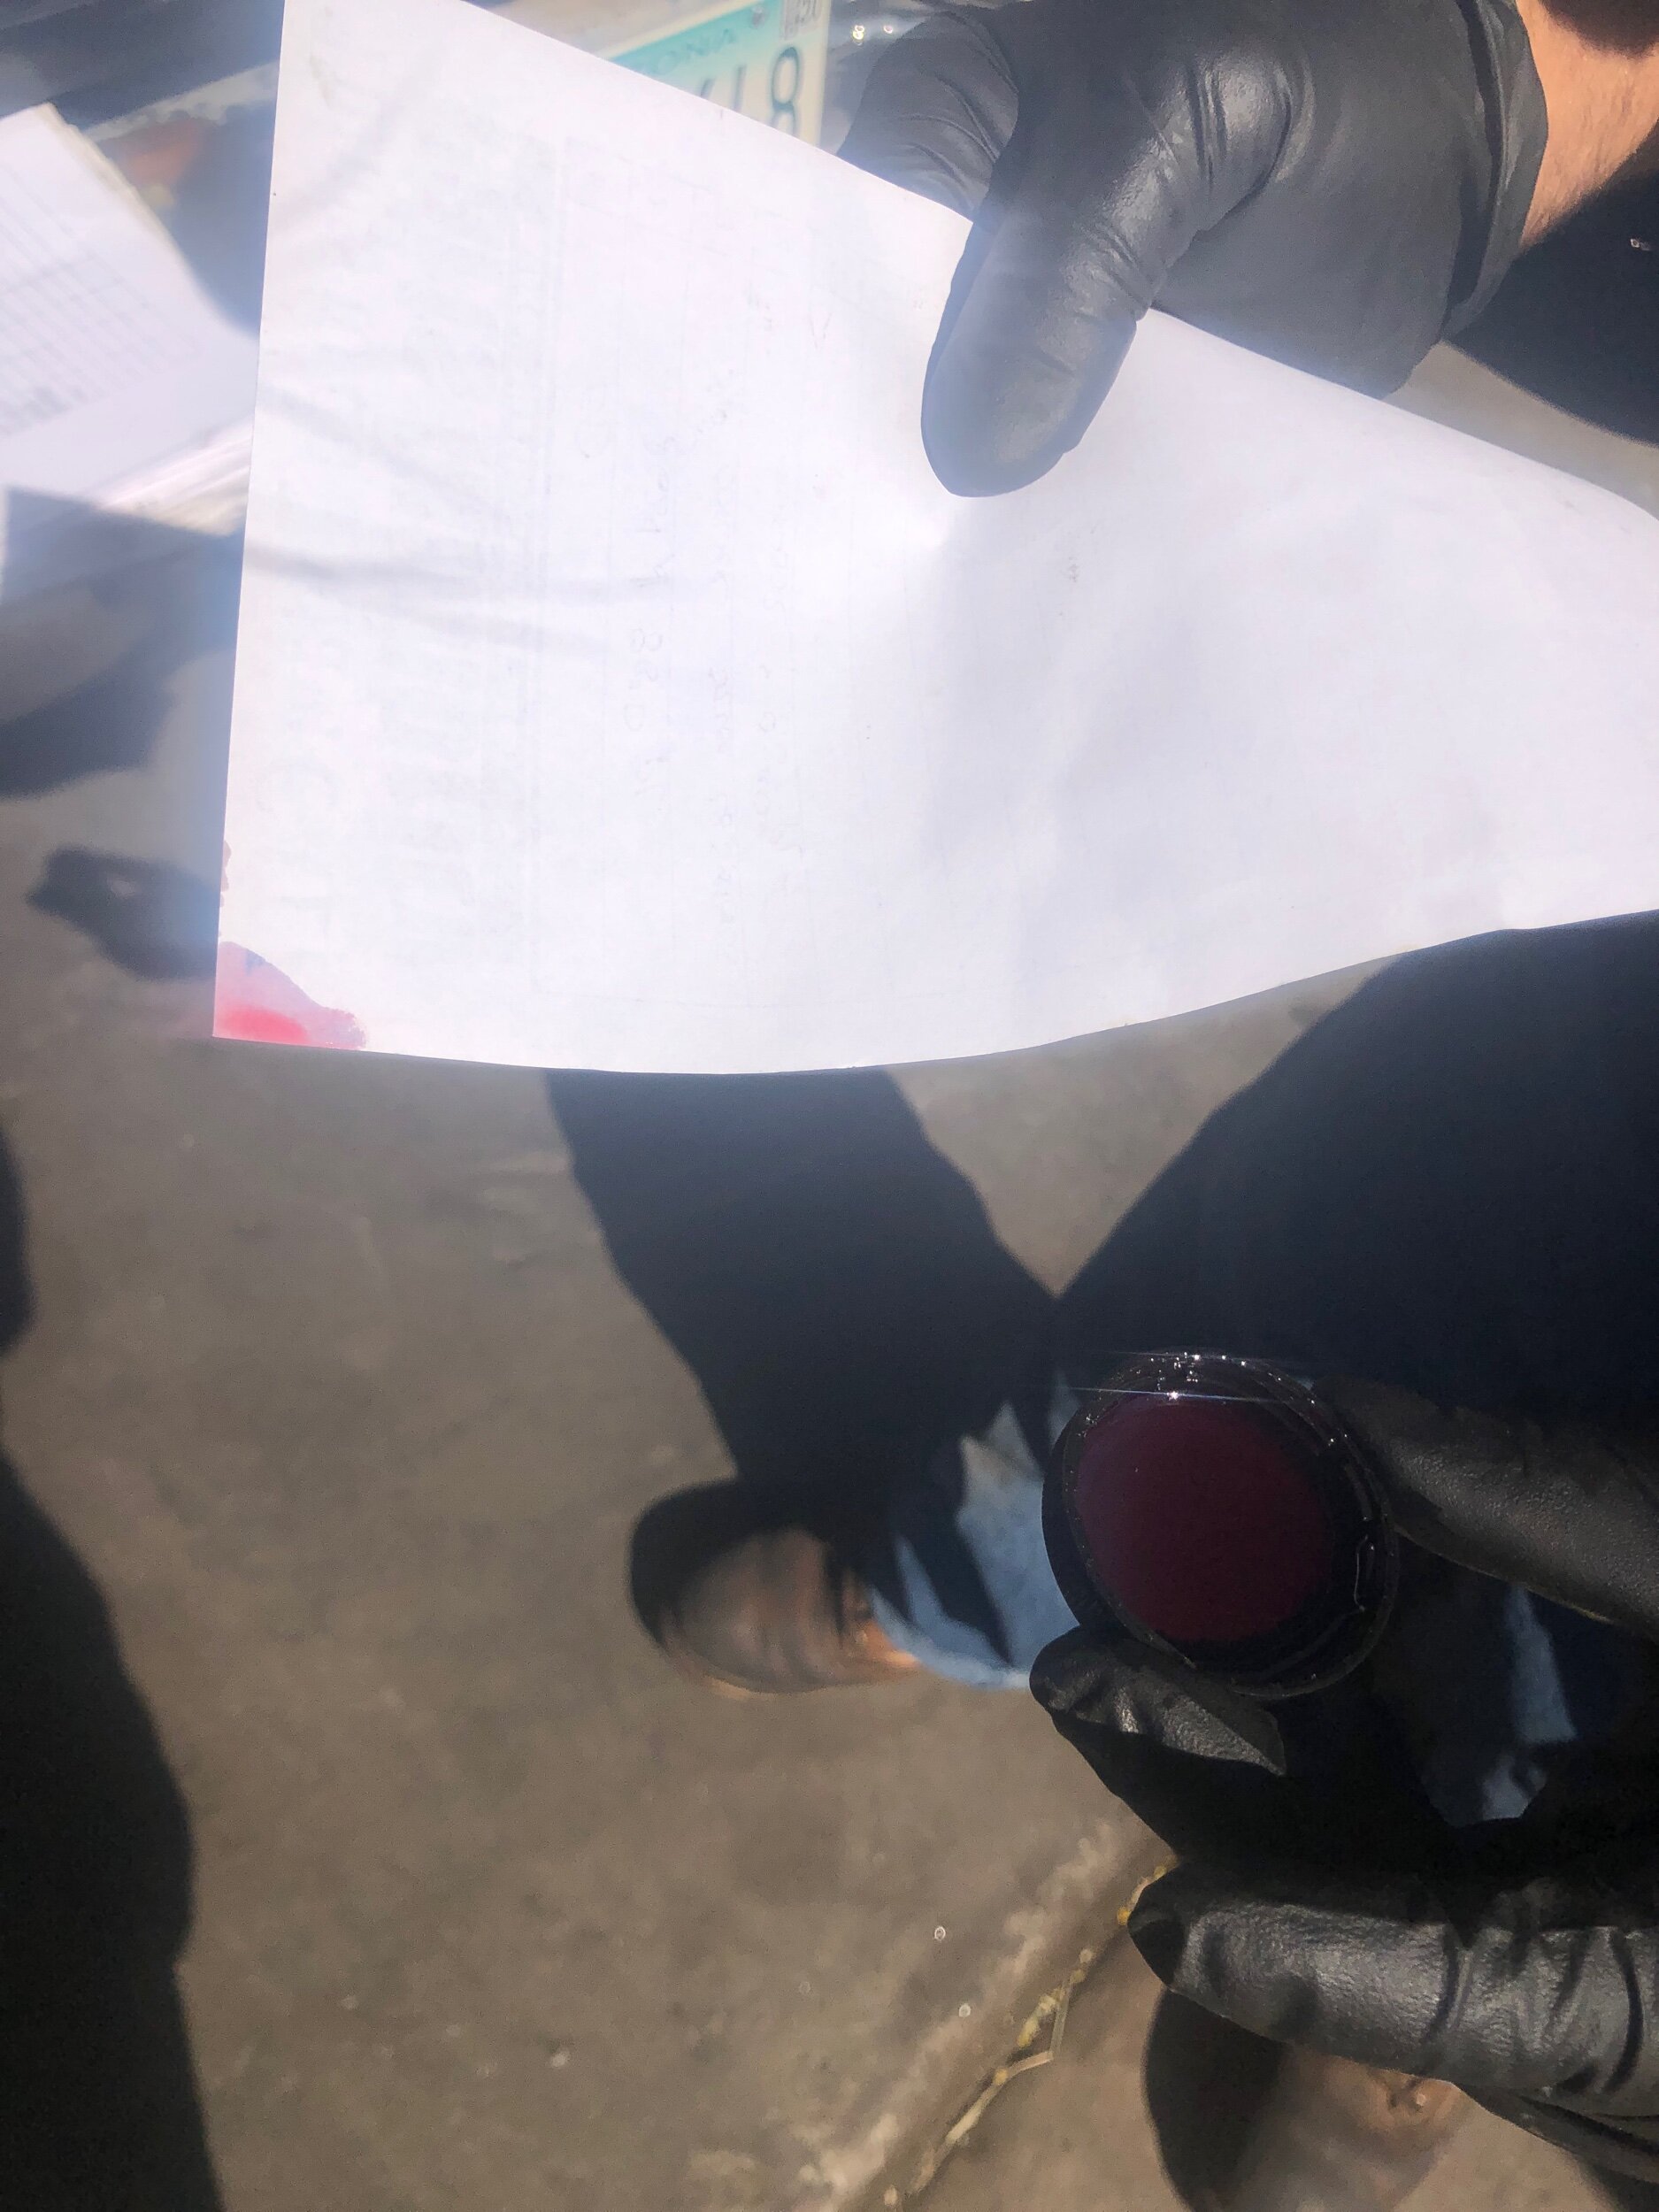
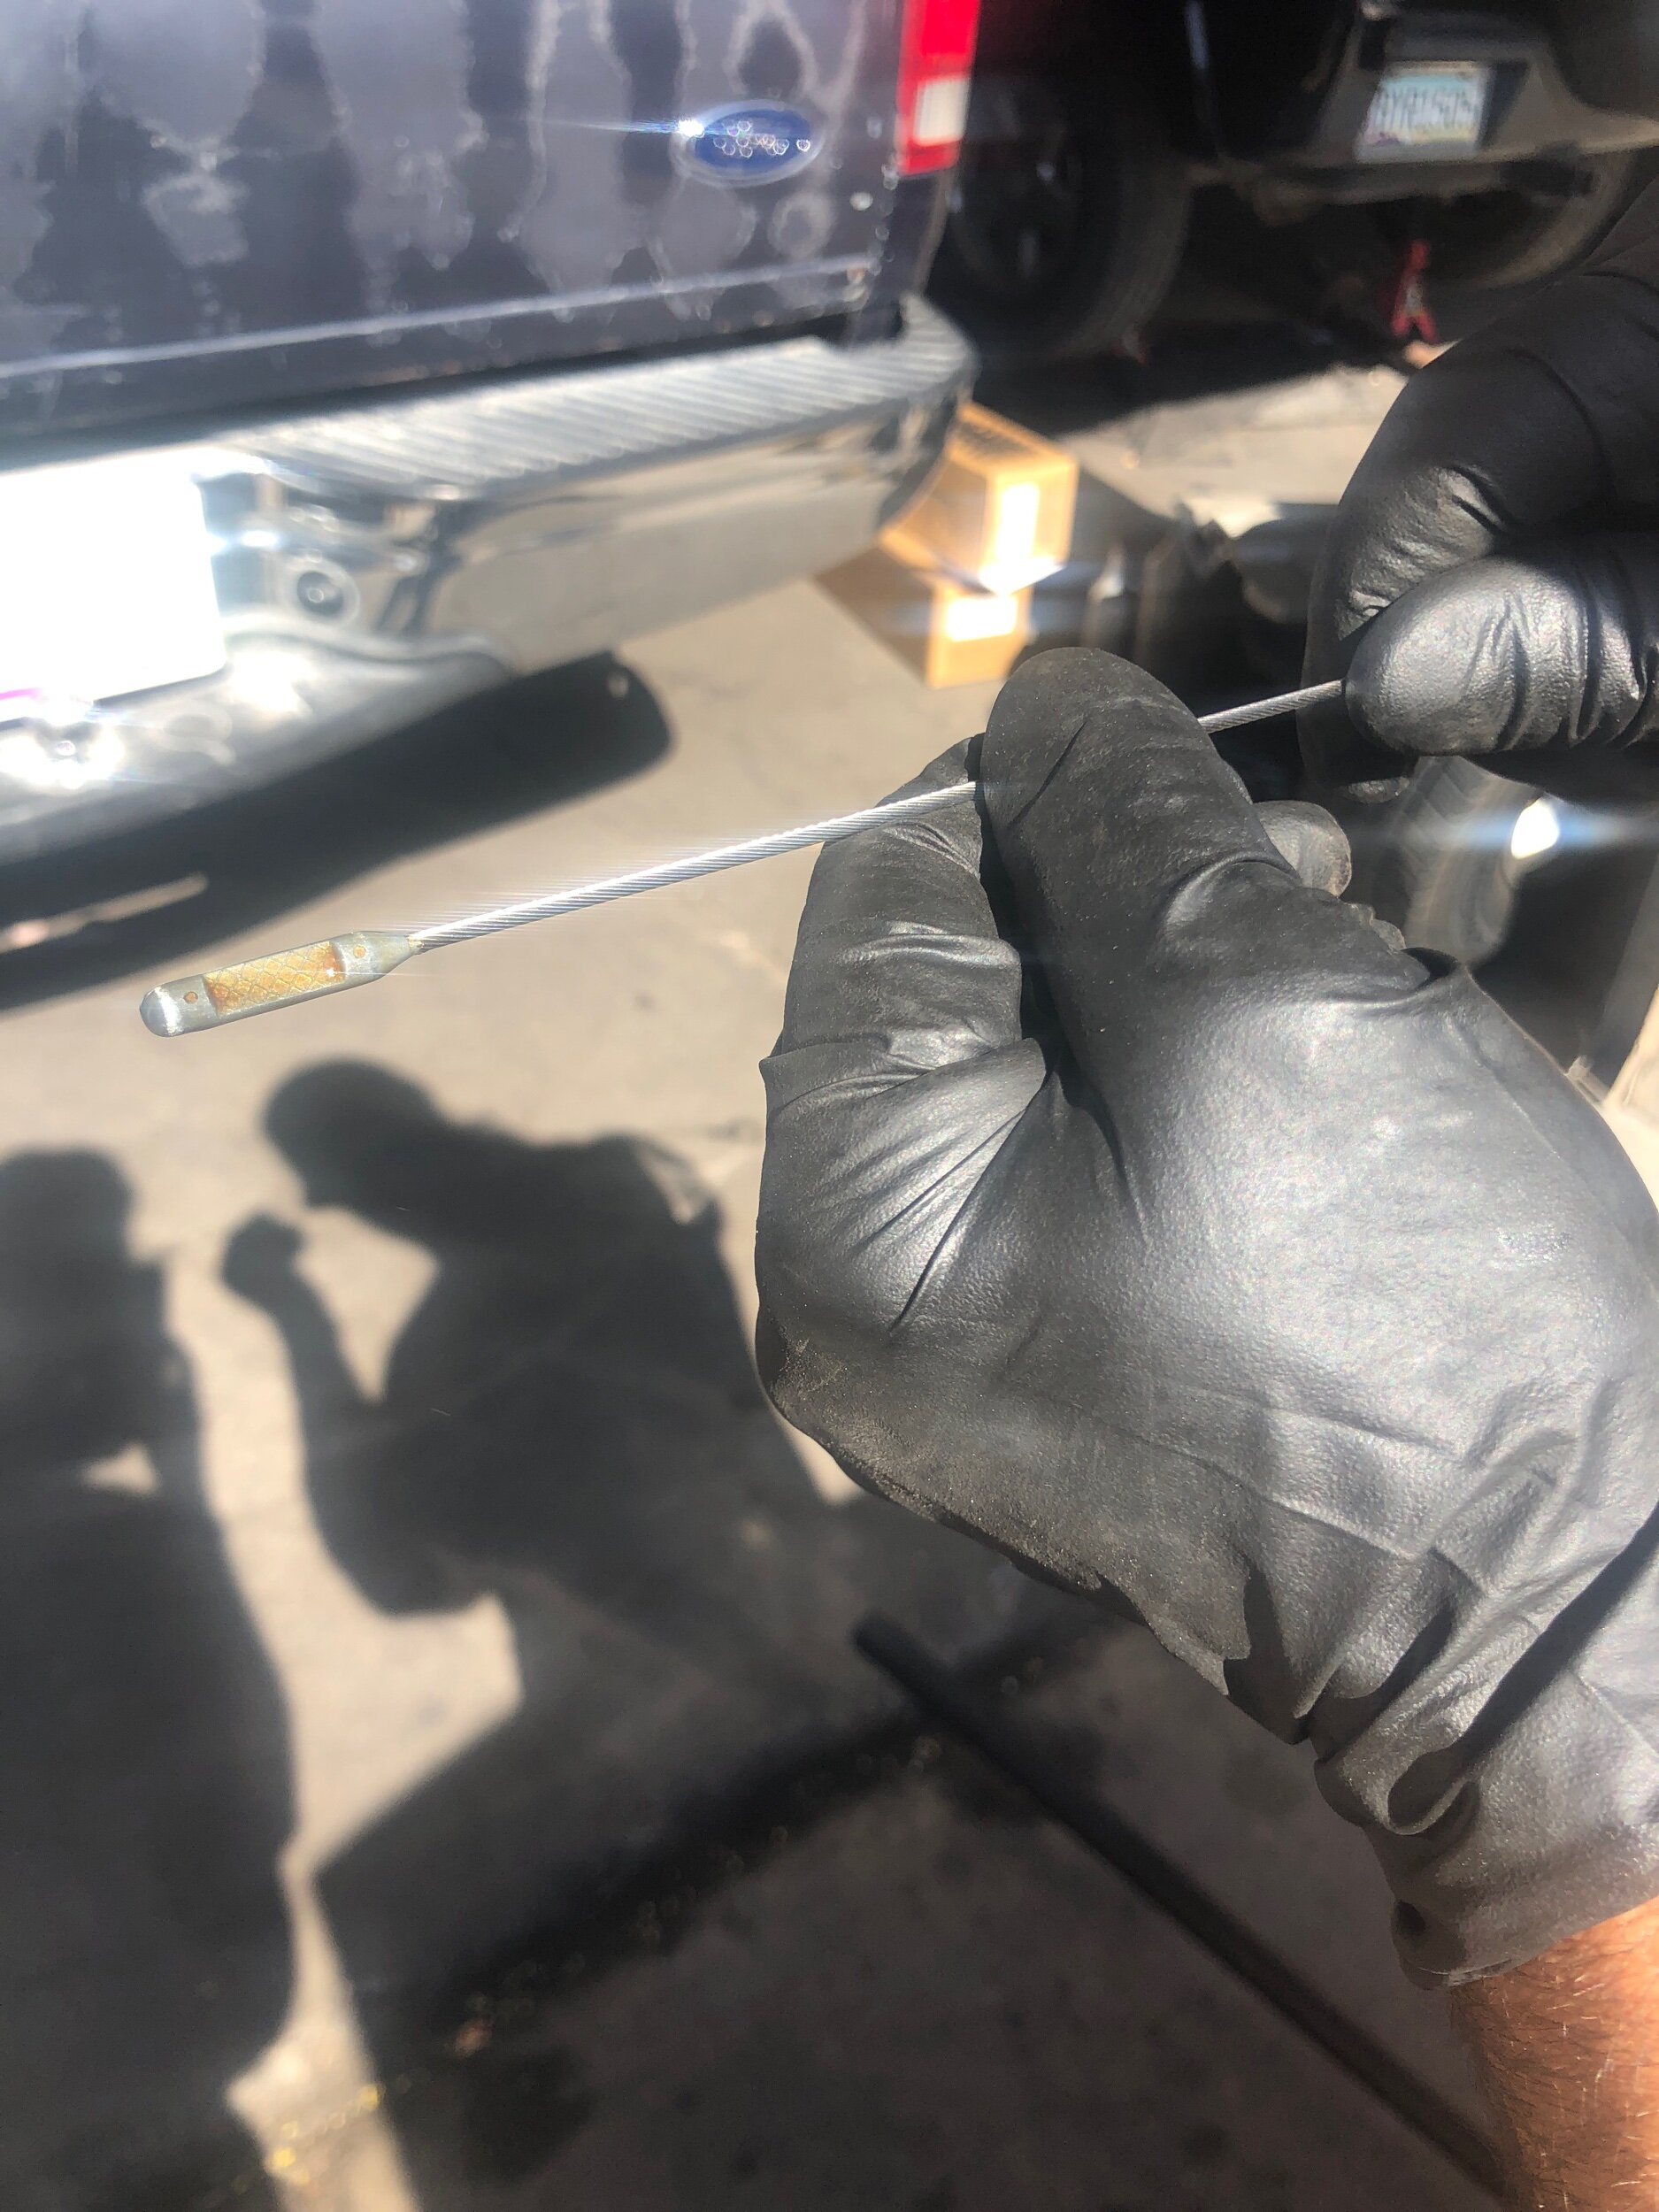
Transmission fluid - generally, it’s supposed to be red. Check your car type to see what color it’s supposed to be. Same thing -changing every 30k miles or so. Mine is light purple blue/red ish. So it’s semi new. He put some on paper so I could see the color:

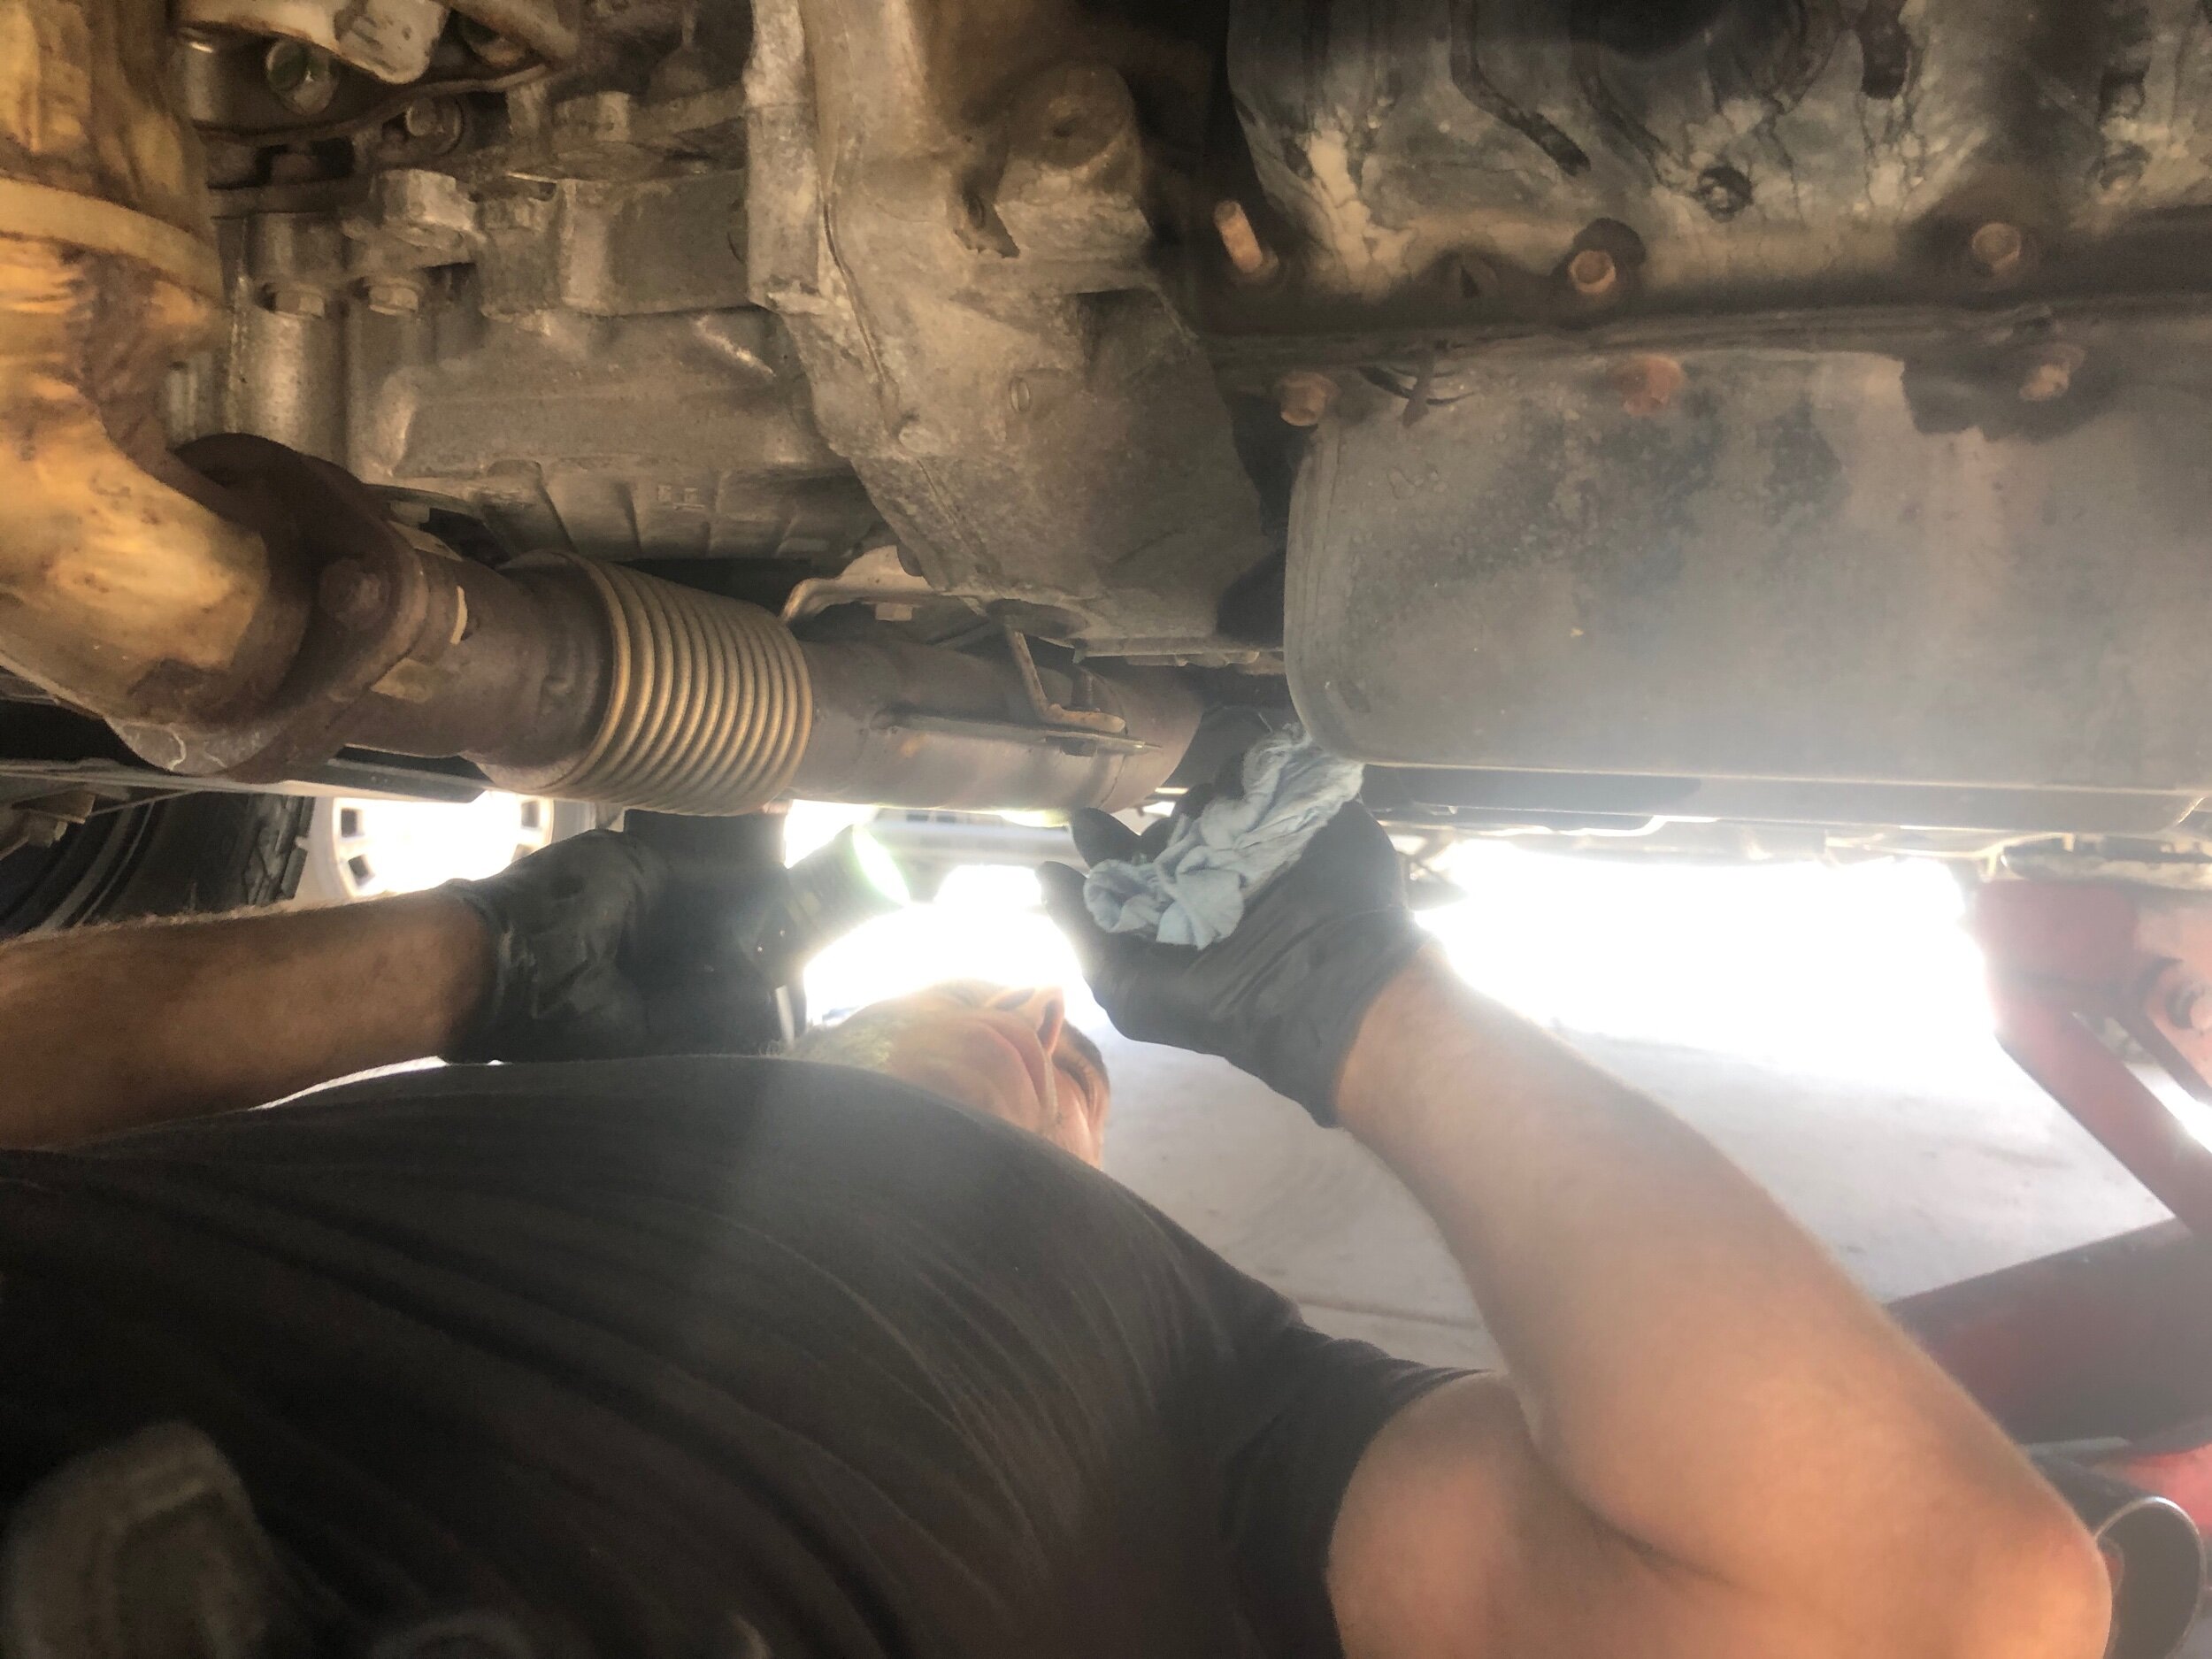
For Dodge- it’s a plug down beneath a wiring harness to access this- and then a long custom dipstick made by dodge/Chrysler is needed to reach down in to check fluid color. Not exactly easy.
It can either be drained, or lines that can be hooked up with new fluids and pushed through. Once the oil is black the vehicle transmission is done. So don’t let it get even close to that point …. Duly noted
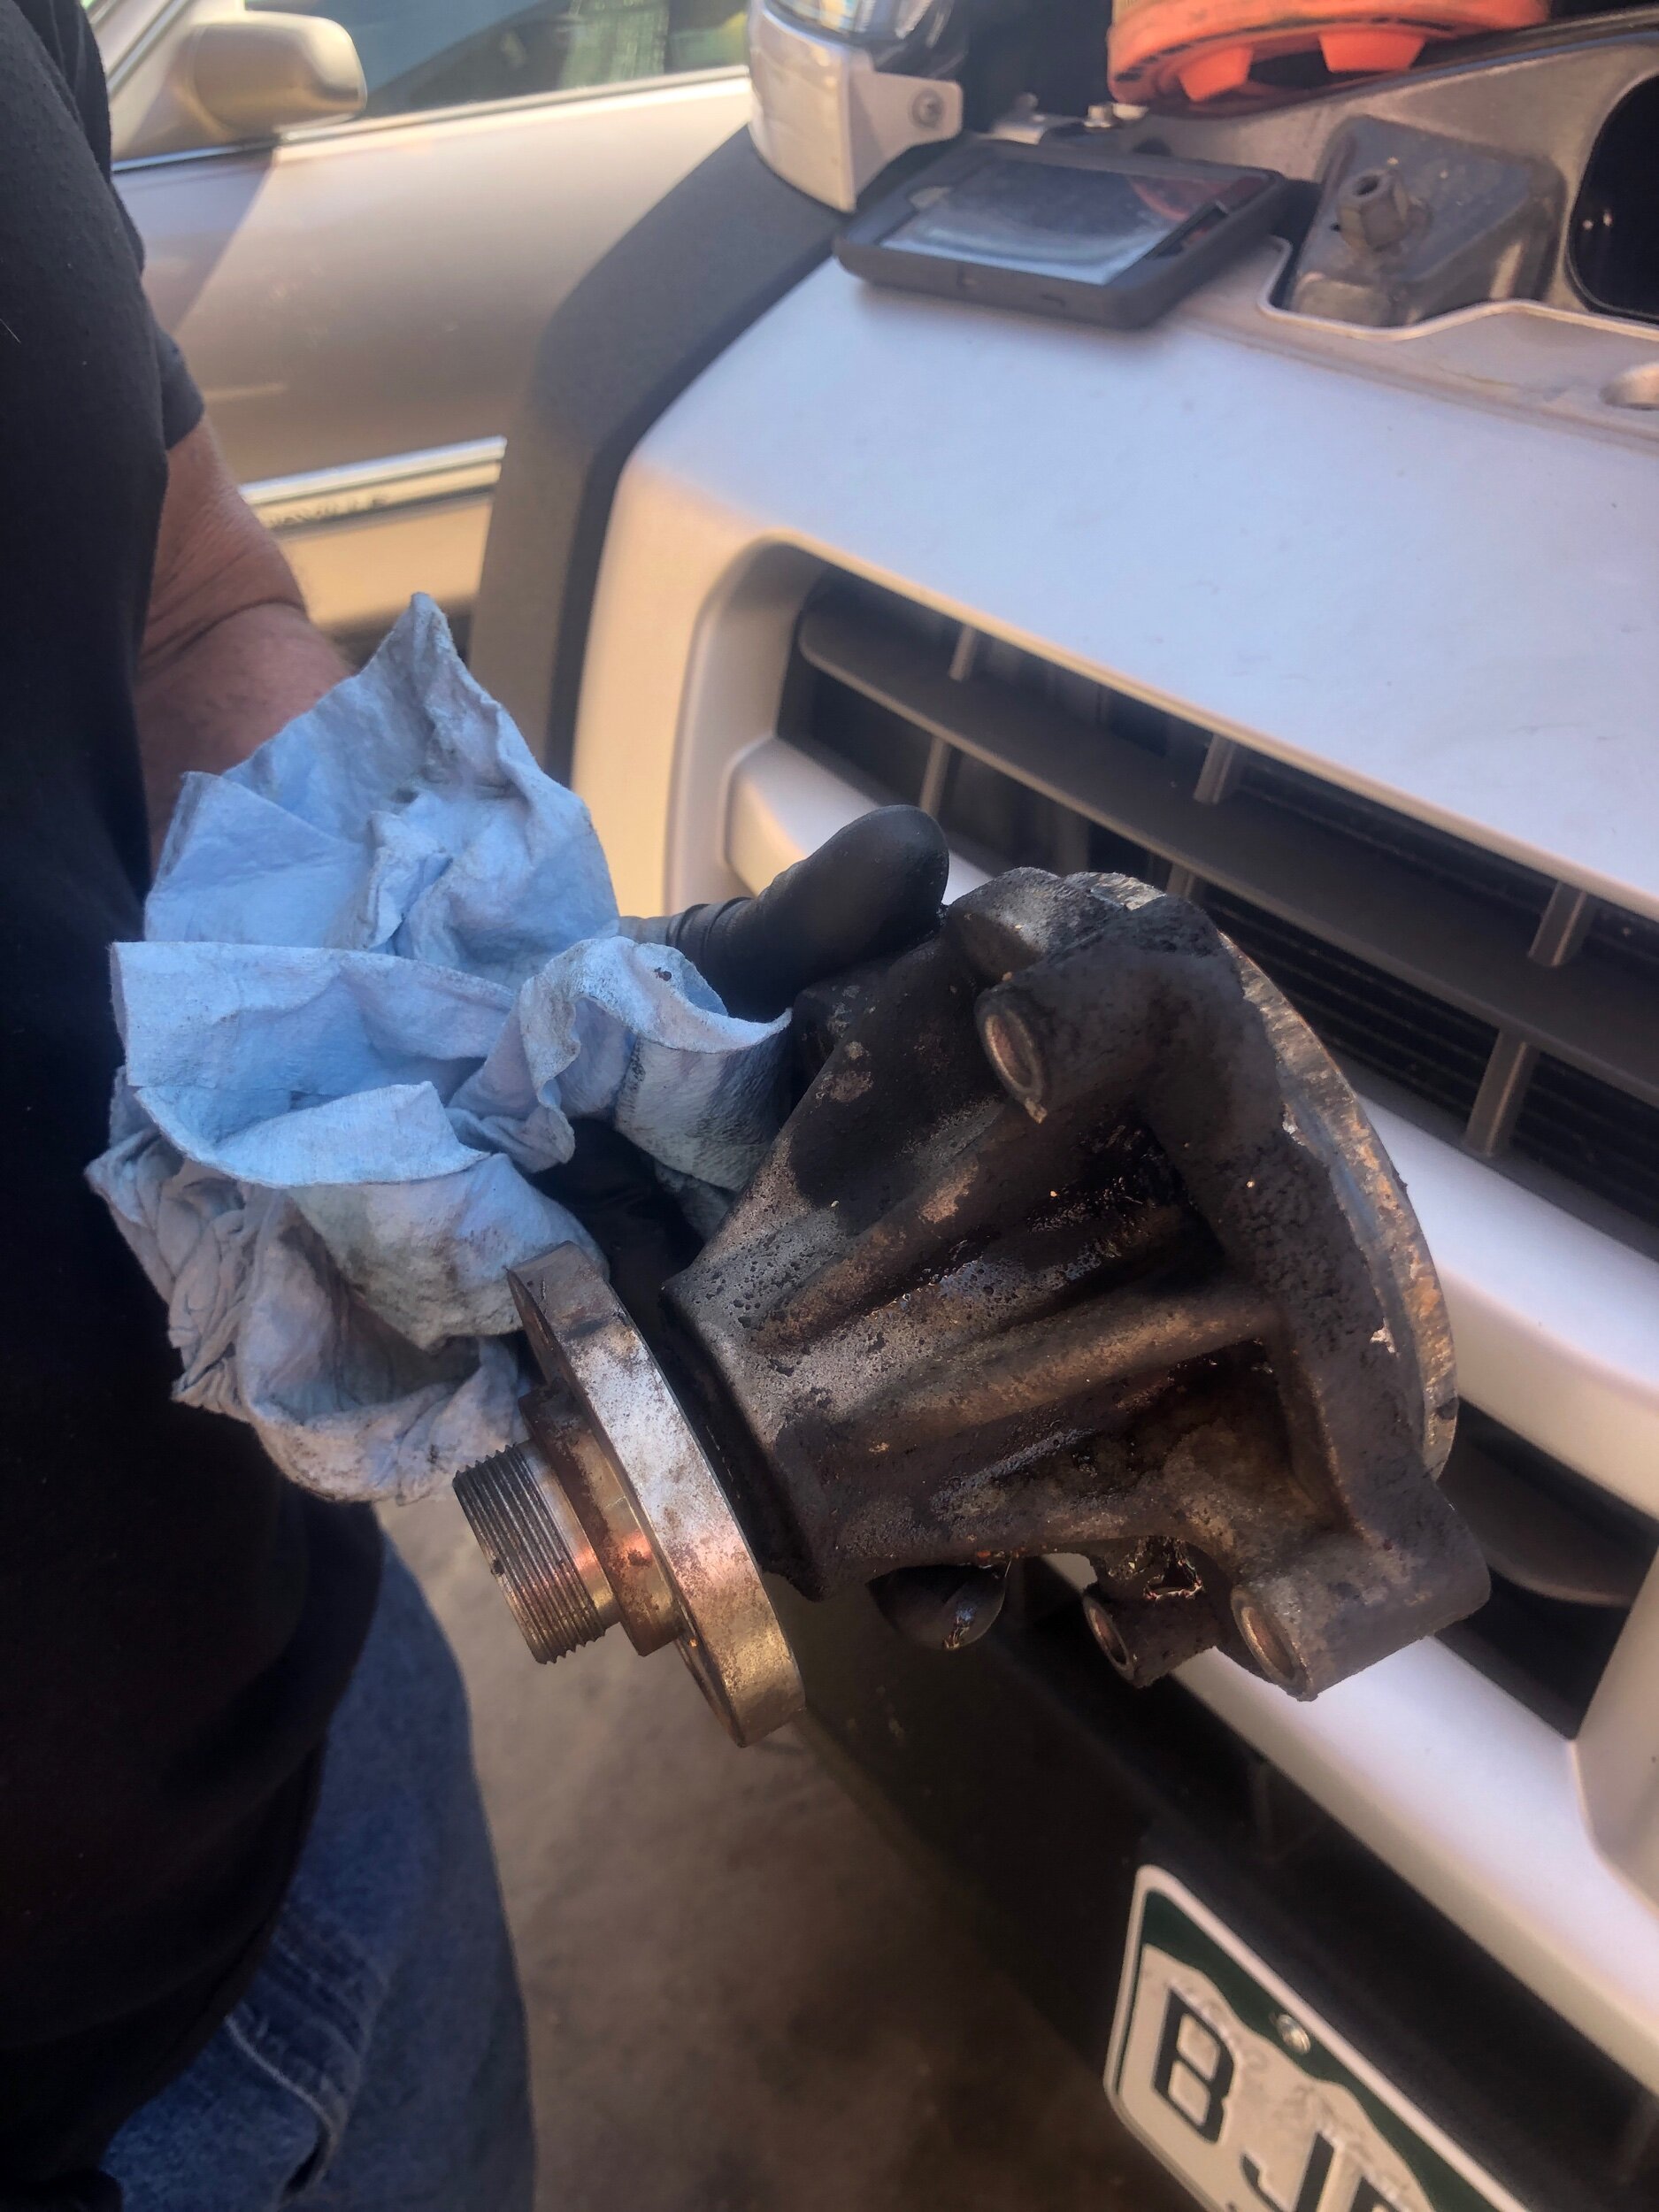
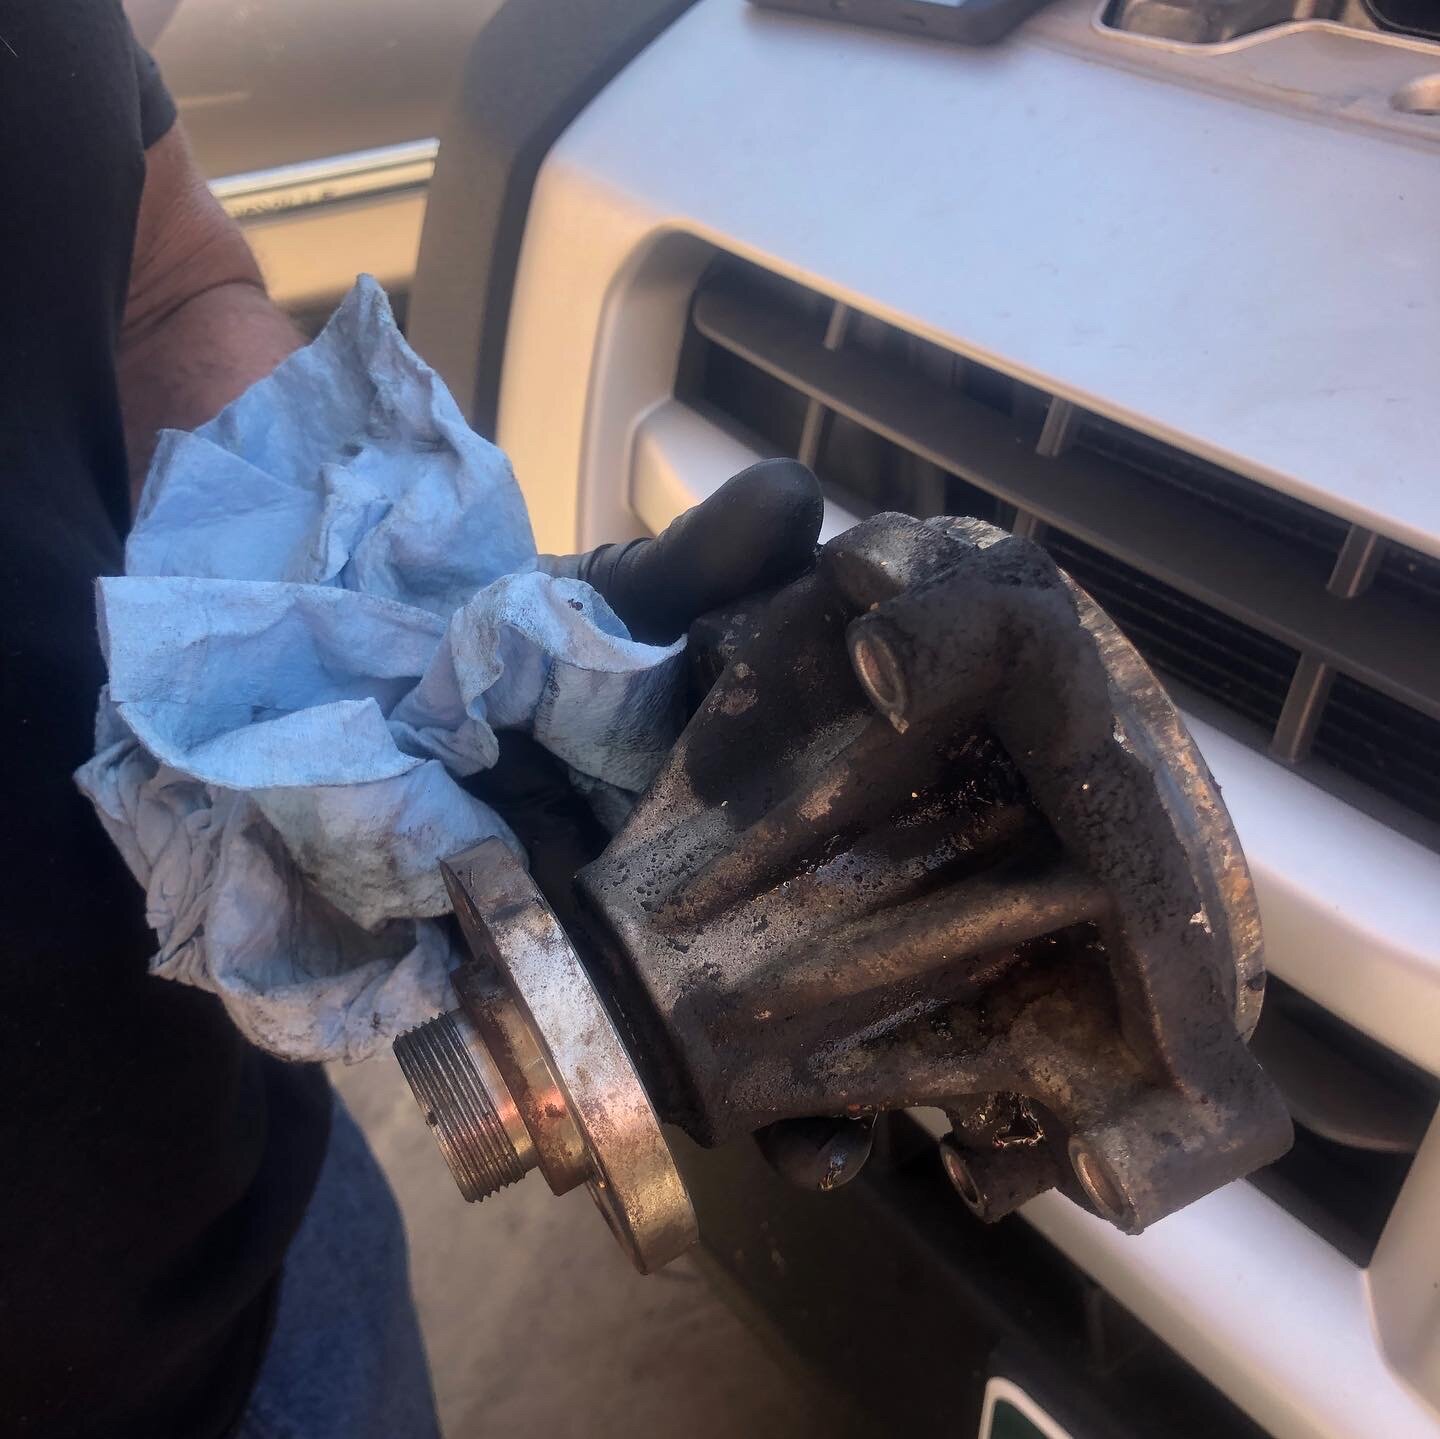
Water pump — if it’s going bad, engine heat symbol ⚠️will show it’s running hot, or it also could be leaking coolant. ♨️This is one he had taken out of another customer’s truck - it was toast! This is a hard part of the engine to see and inspect.
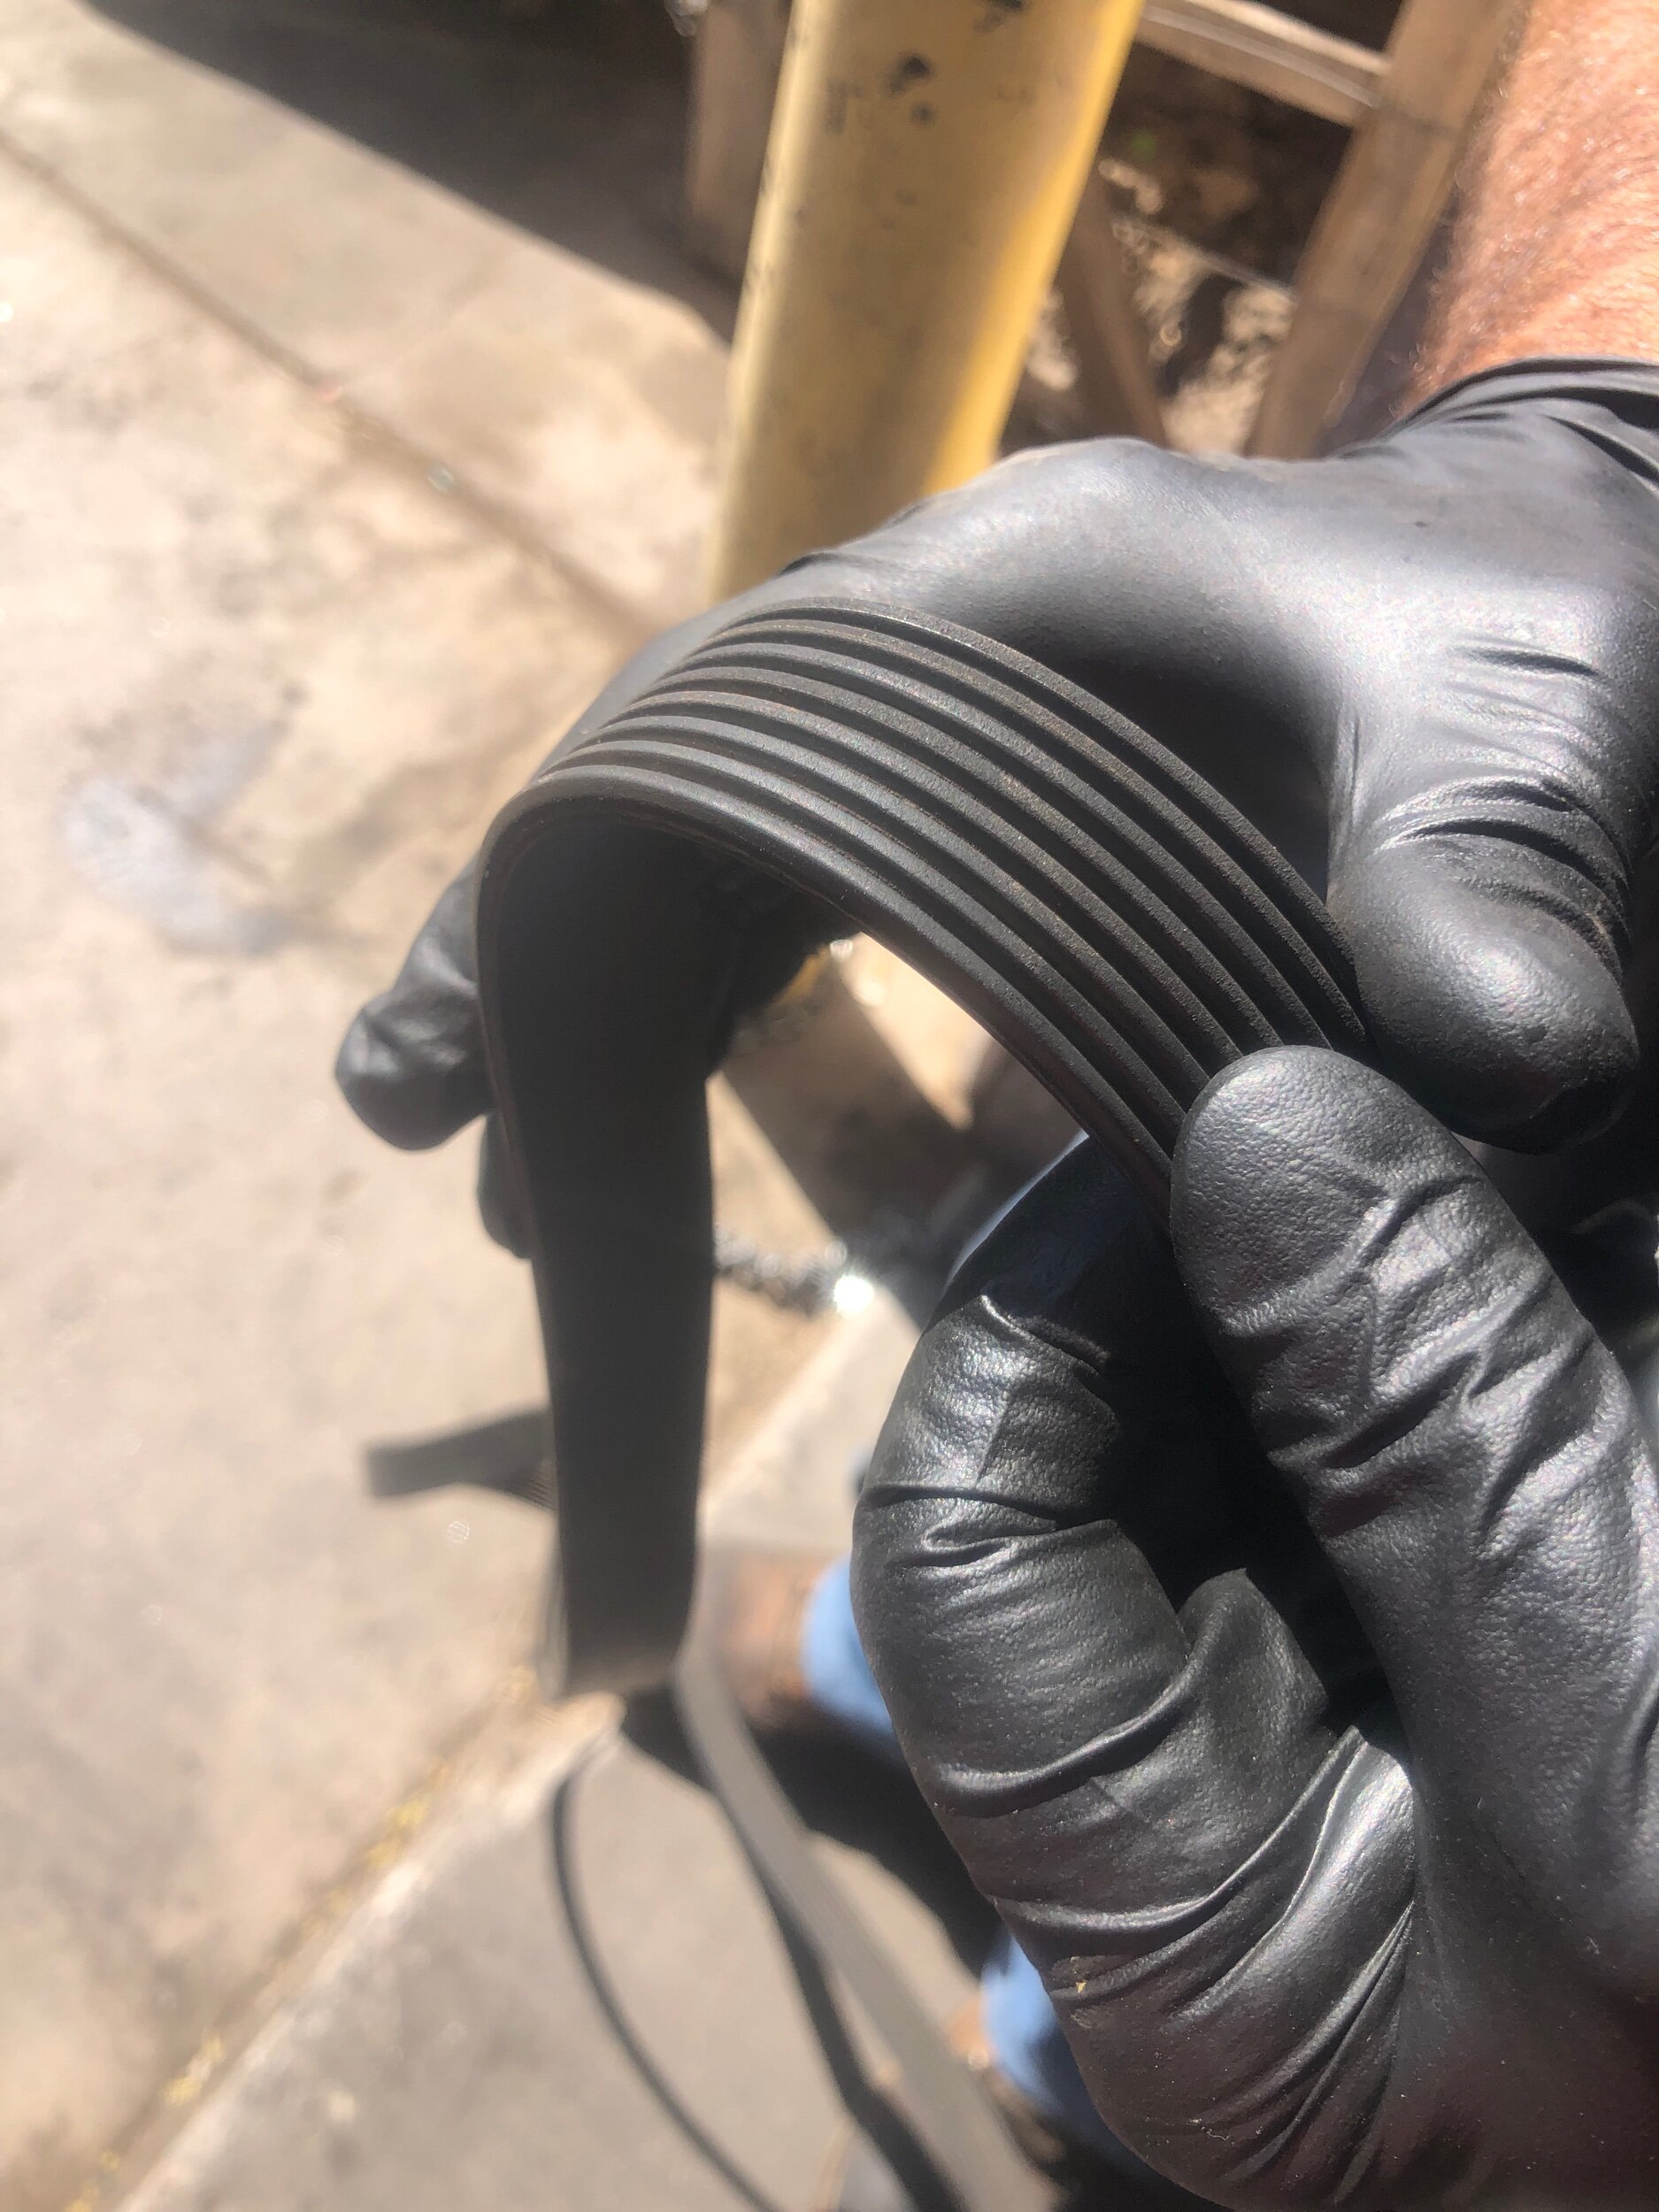
Accessory belt - rotates power steering pump. Usually don’t break but the ribs wear down and then the belt starts squeaking. This is one from another customer’s car:

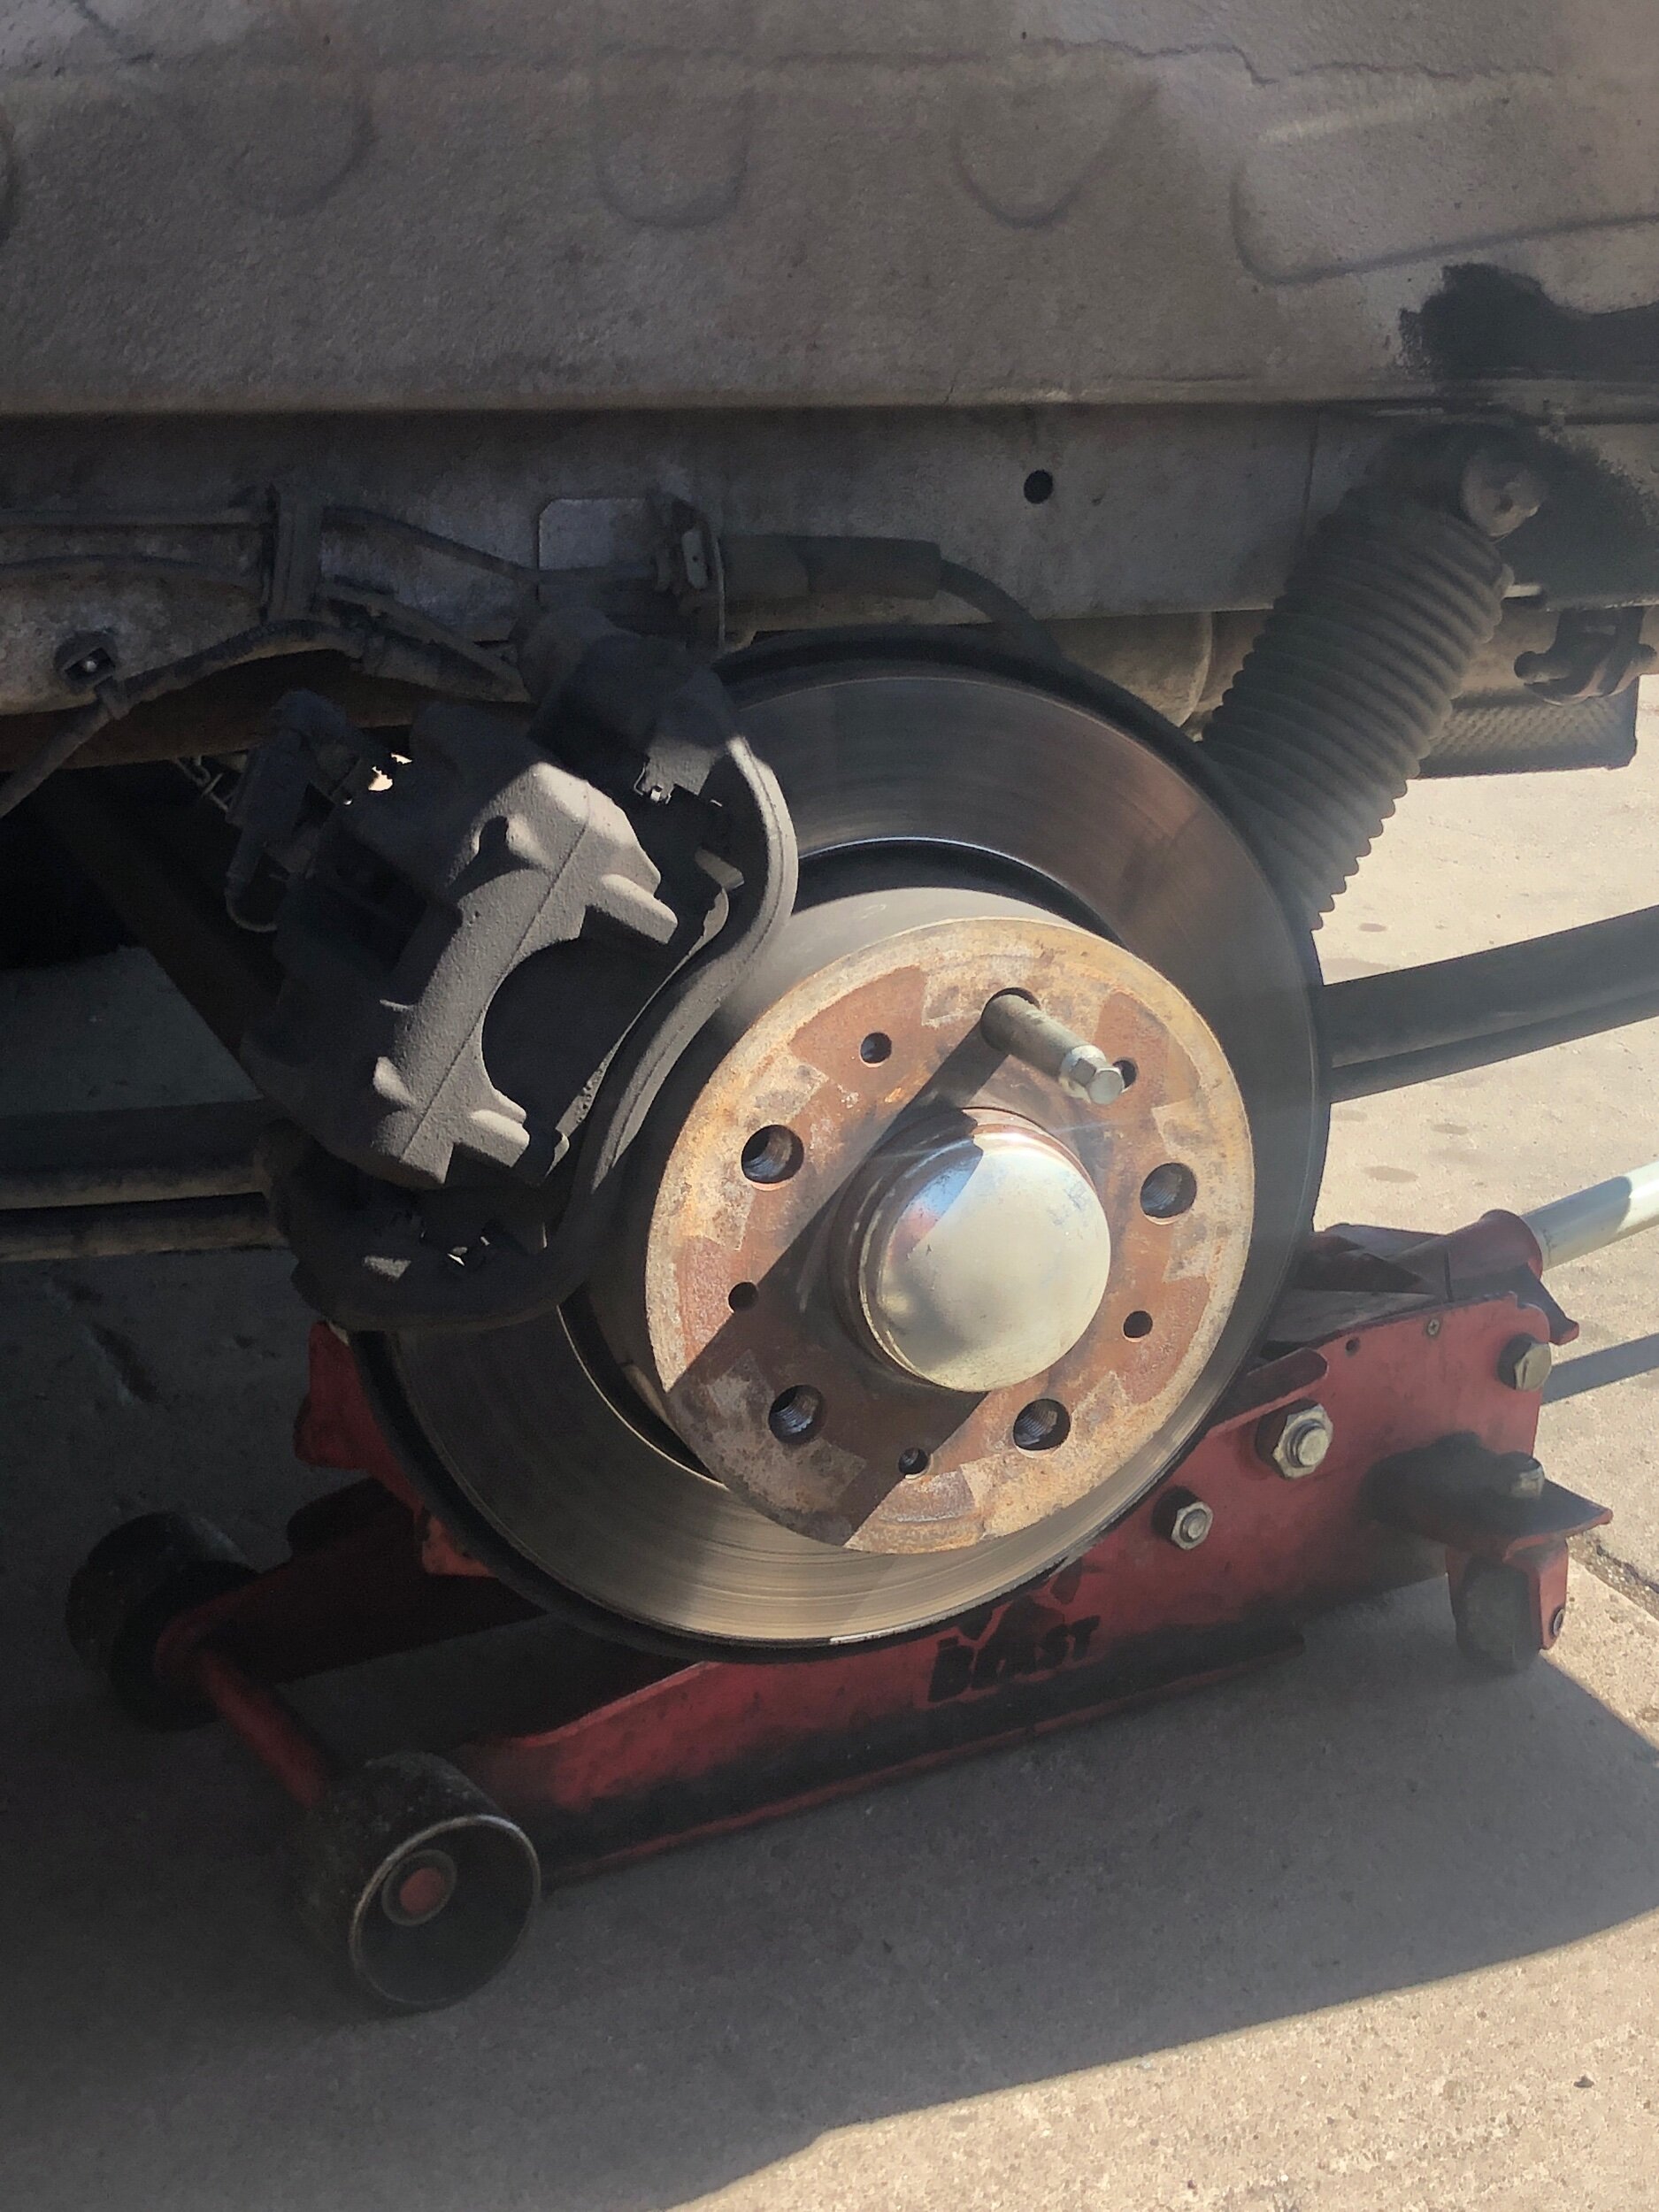
Rear brakes checked - since we just recently replaced front ones (pads & rotors). Fronts typically do more of the braking and therefore often need replacement before the rears. Wheels have to come off to inspect.

A “pad slap” means that they’ve put new pads on but didn’t machine the rotors. That’s how the van was when I got it. It’s not optimal as it means the pads are braking into a surface that isn’t a fresh “mating surface.” Rotors can only be machined a few times but then the rotors get too thin and start to warp. Then you need new rotors.
The brakes on the van are Mercedes parts which tend to be softer - European design - so they’re really a one time use, they don’t like to be machined. Chad recommends new pads and rotors on a bigger vehicle like this
Rear brakes are great —more than 10k miles to go. I asked him, “is it Ok to use transmission to slow the vehicle instead the brakes ?” He says yes. (whew … since I do this a lot).
Tires Aired up - check tire specs not vehicle specs if you’ve gone after-market.
He recommended that I purchase: 19mm socket for the lugs and breaker bar for extended leverage so that I can check and tighten my wheel lug nuts and change a wheel if I ever get a flat
Which then prompted us to check the spare tire for good air pressure to be sure it’s good to go. 17 lbs = whoops…Mine was low. We topped it off at 35psi ✅.
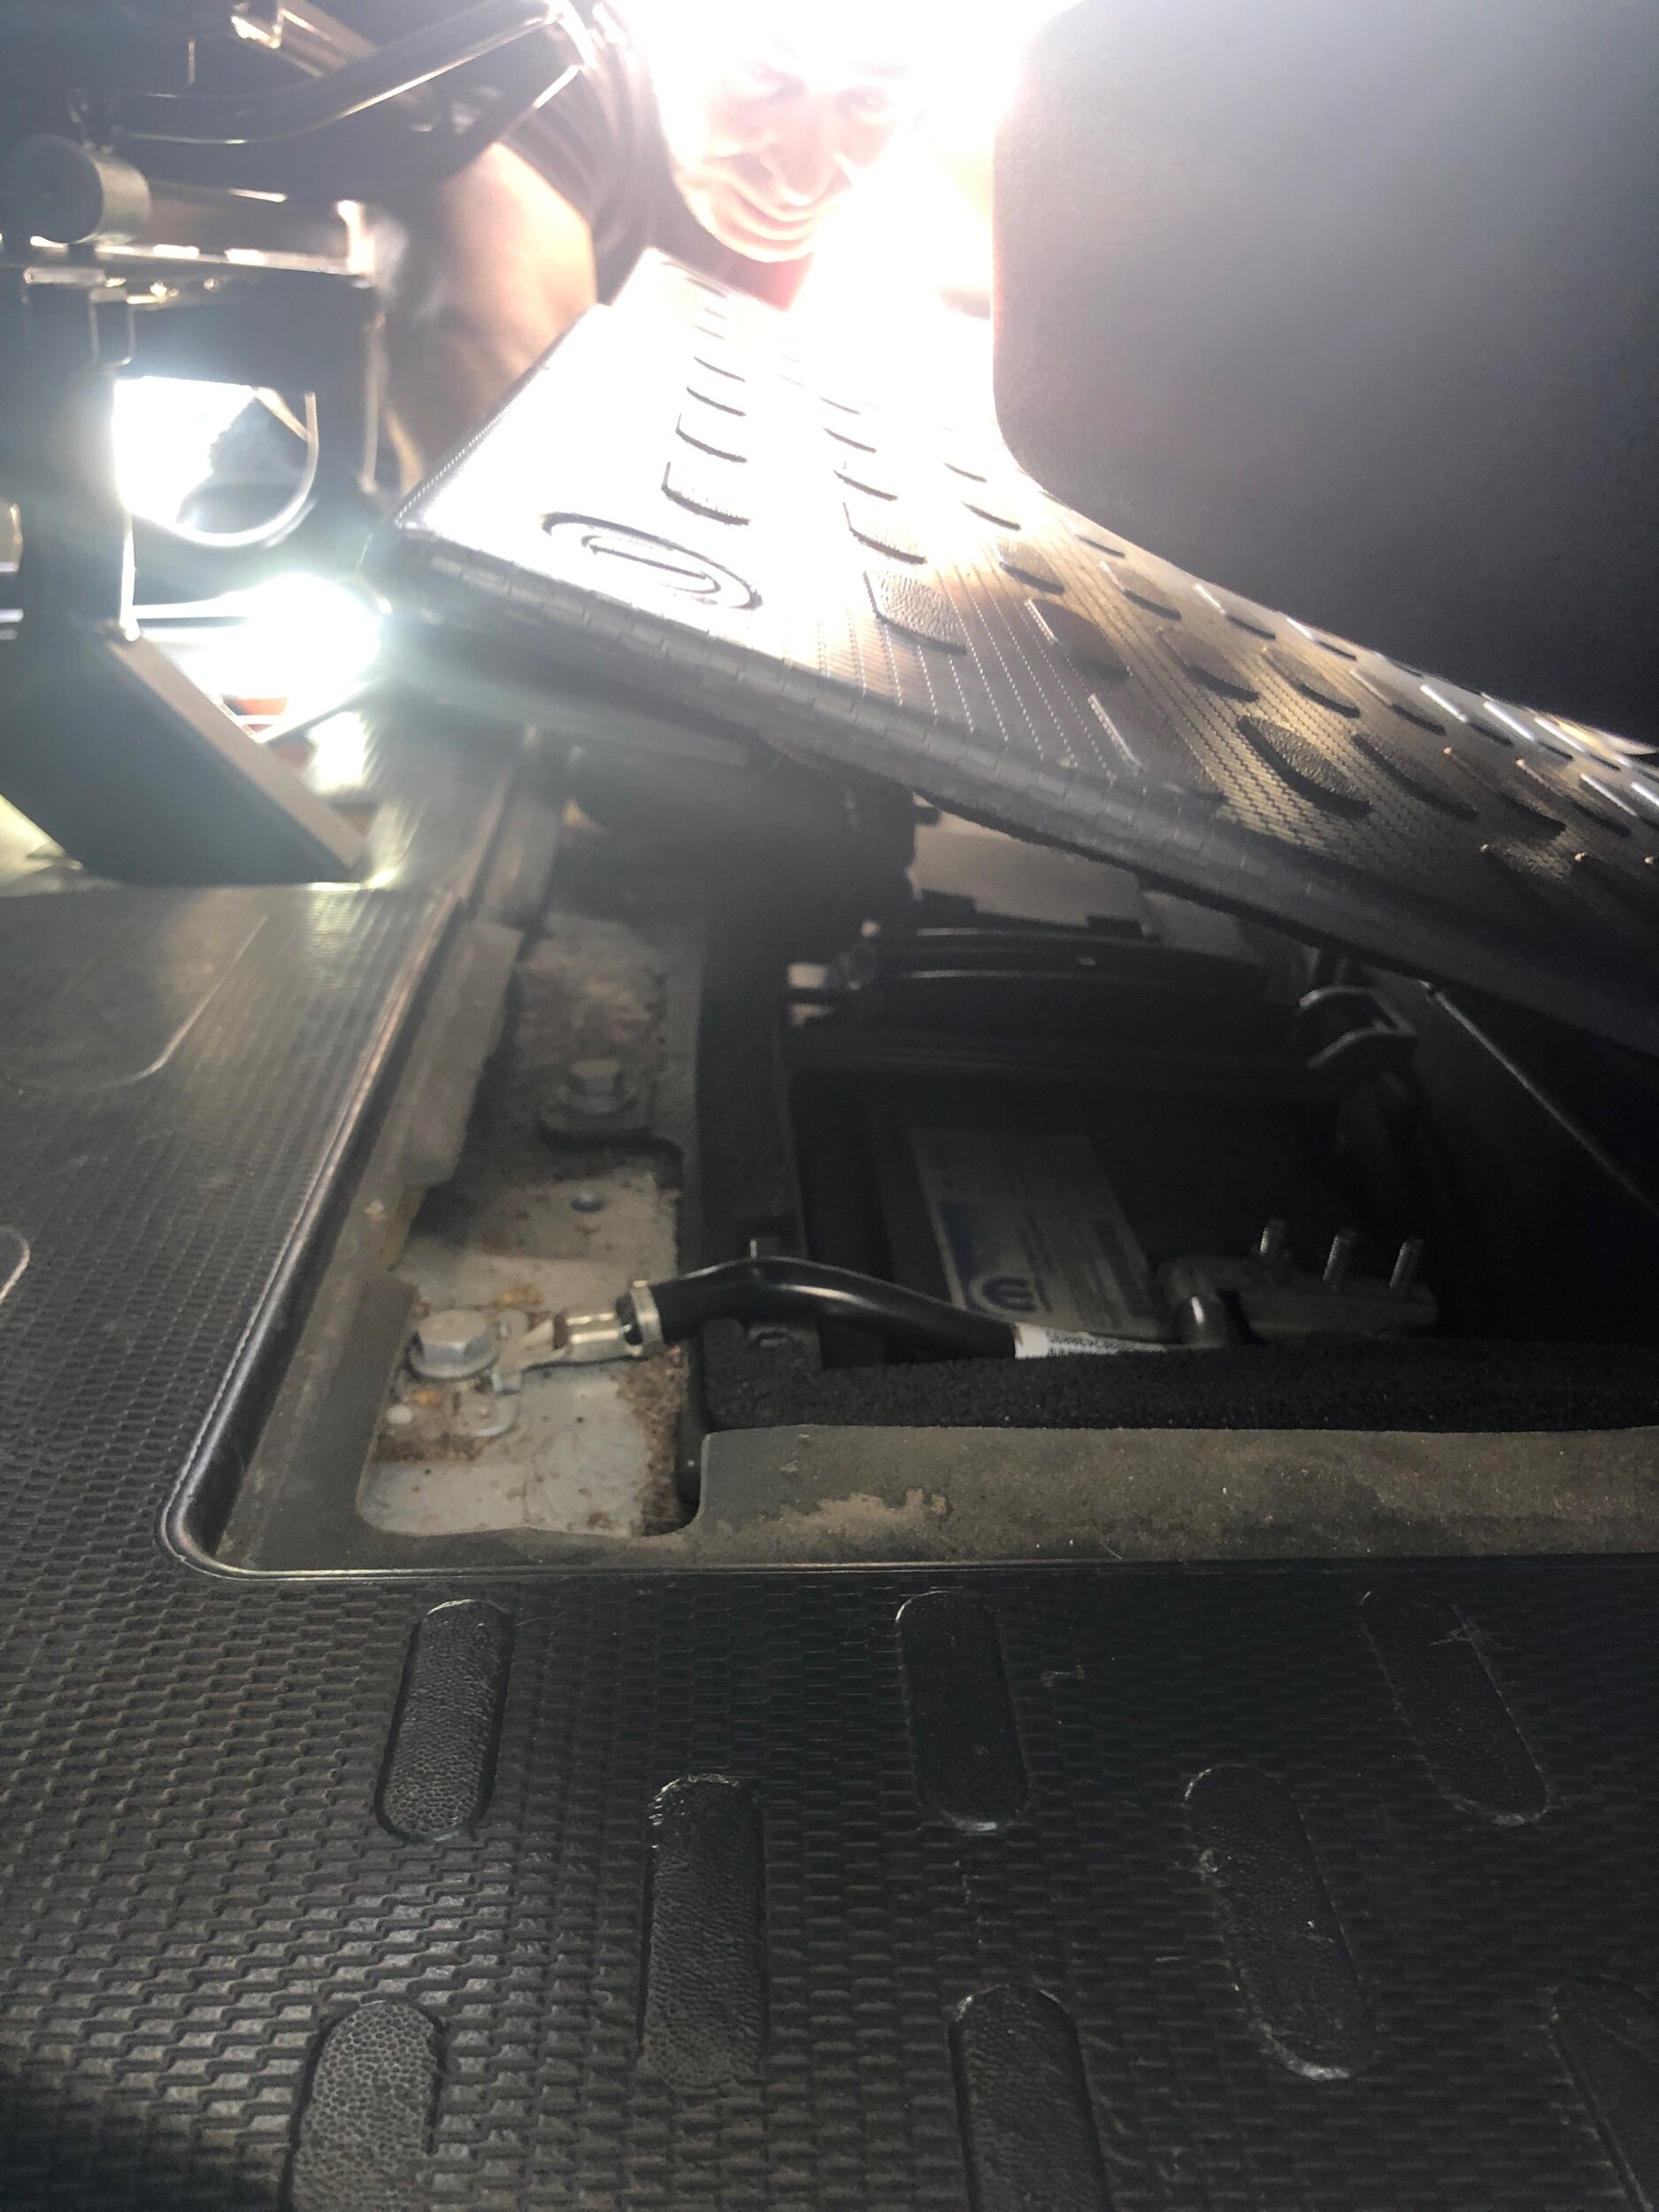
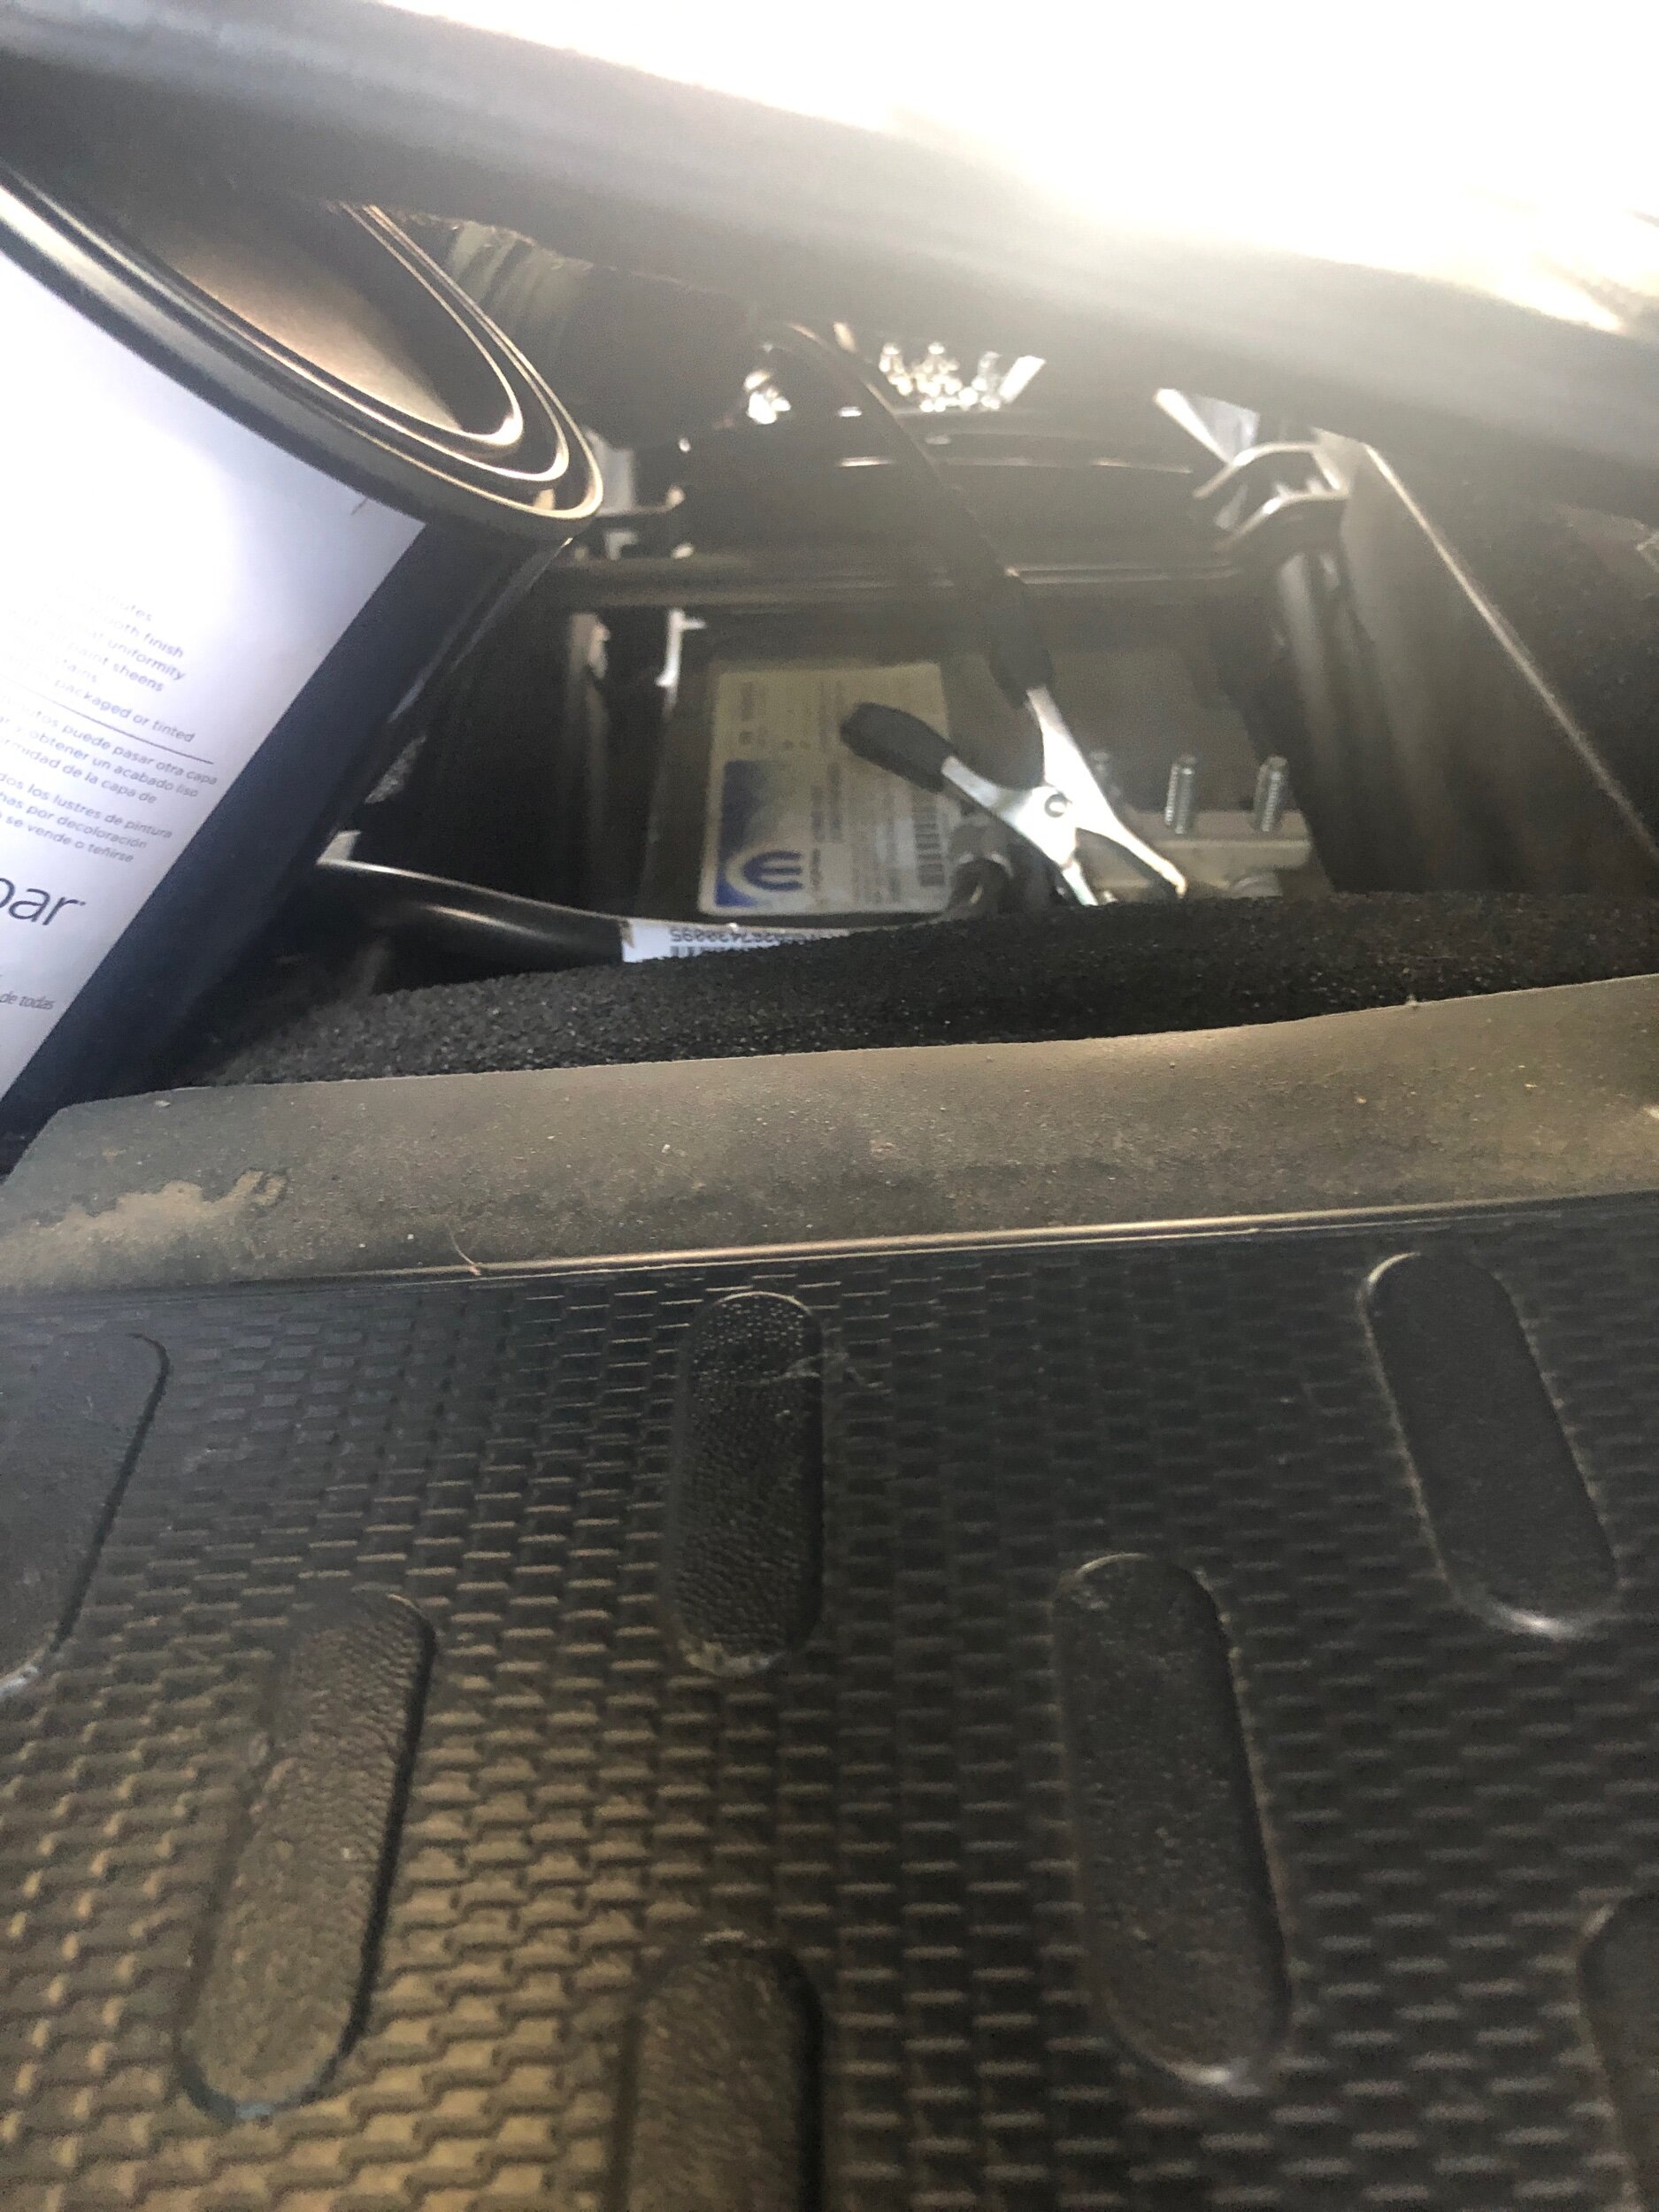
Lastly — battery check. Mine is 100% even tho it’s an original. The battery in this van actually lives underneath the driver side floor panel & it’s really tricky to get to:

Overall this was two hours of time well spent. I learned a lot and decided what things I’d be willing to tackle on my own versus always taking to a professional. It’s also nice to know what I’m looking for so that I don’t get upsold on nonessential repairs in the future. I can budget ahead now for repairs and service I can anticipate doing in the next 10k miles.
on that note … here’s my favorite comedy skit of all time and it just so happens to Be about lug nut day 😛