DIY: rescue & refurbish project
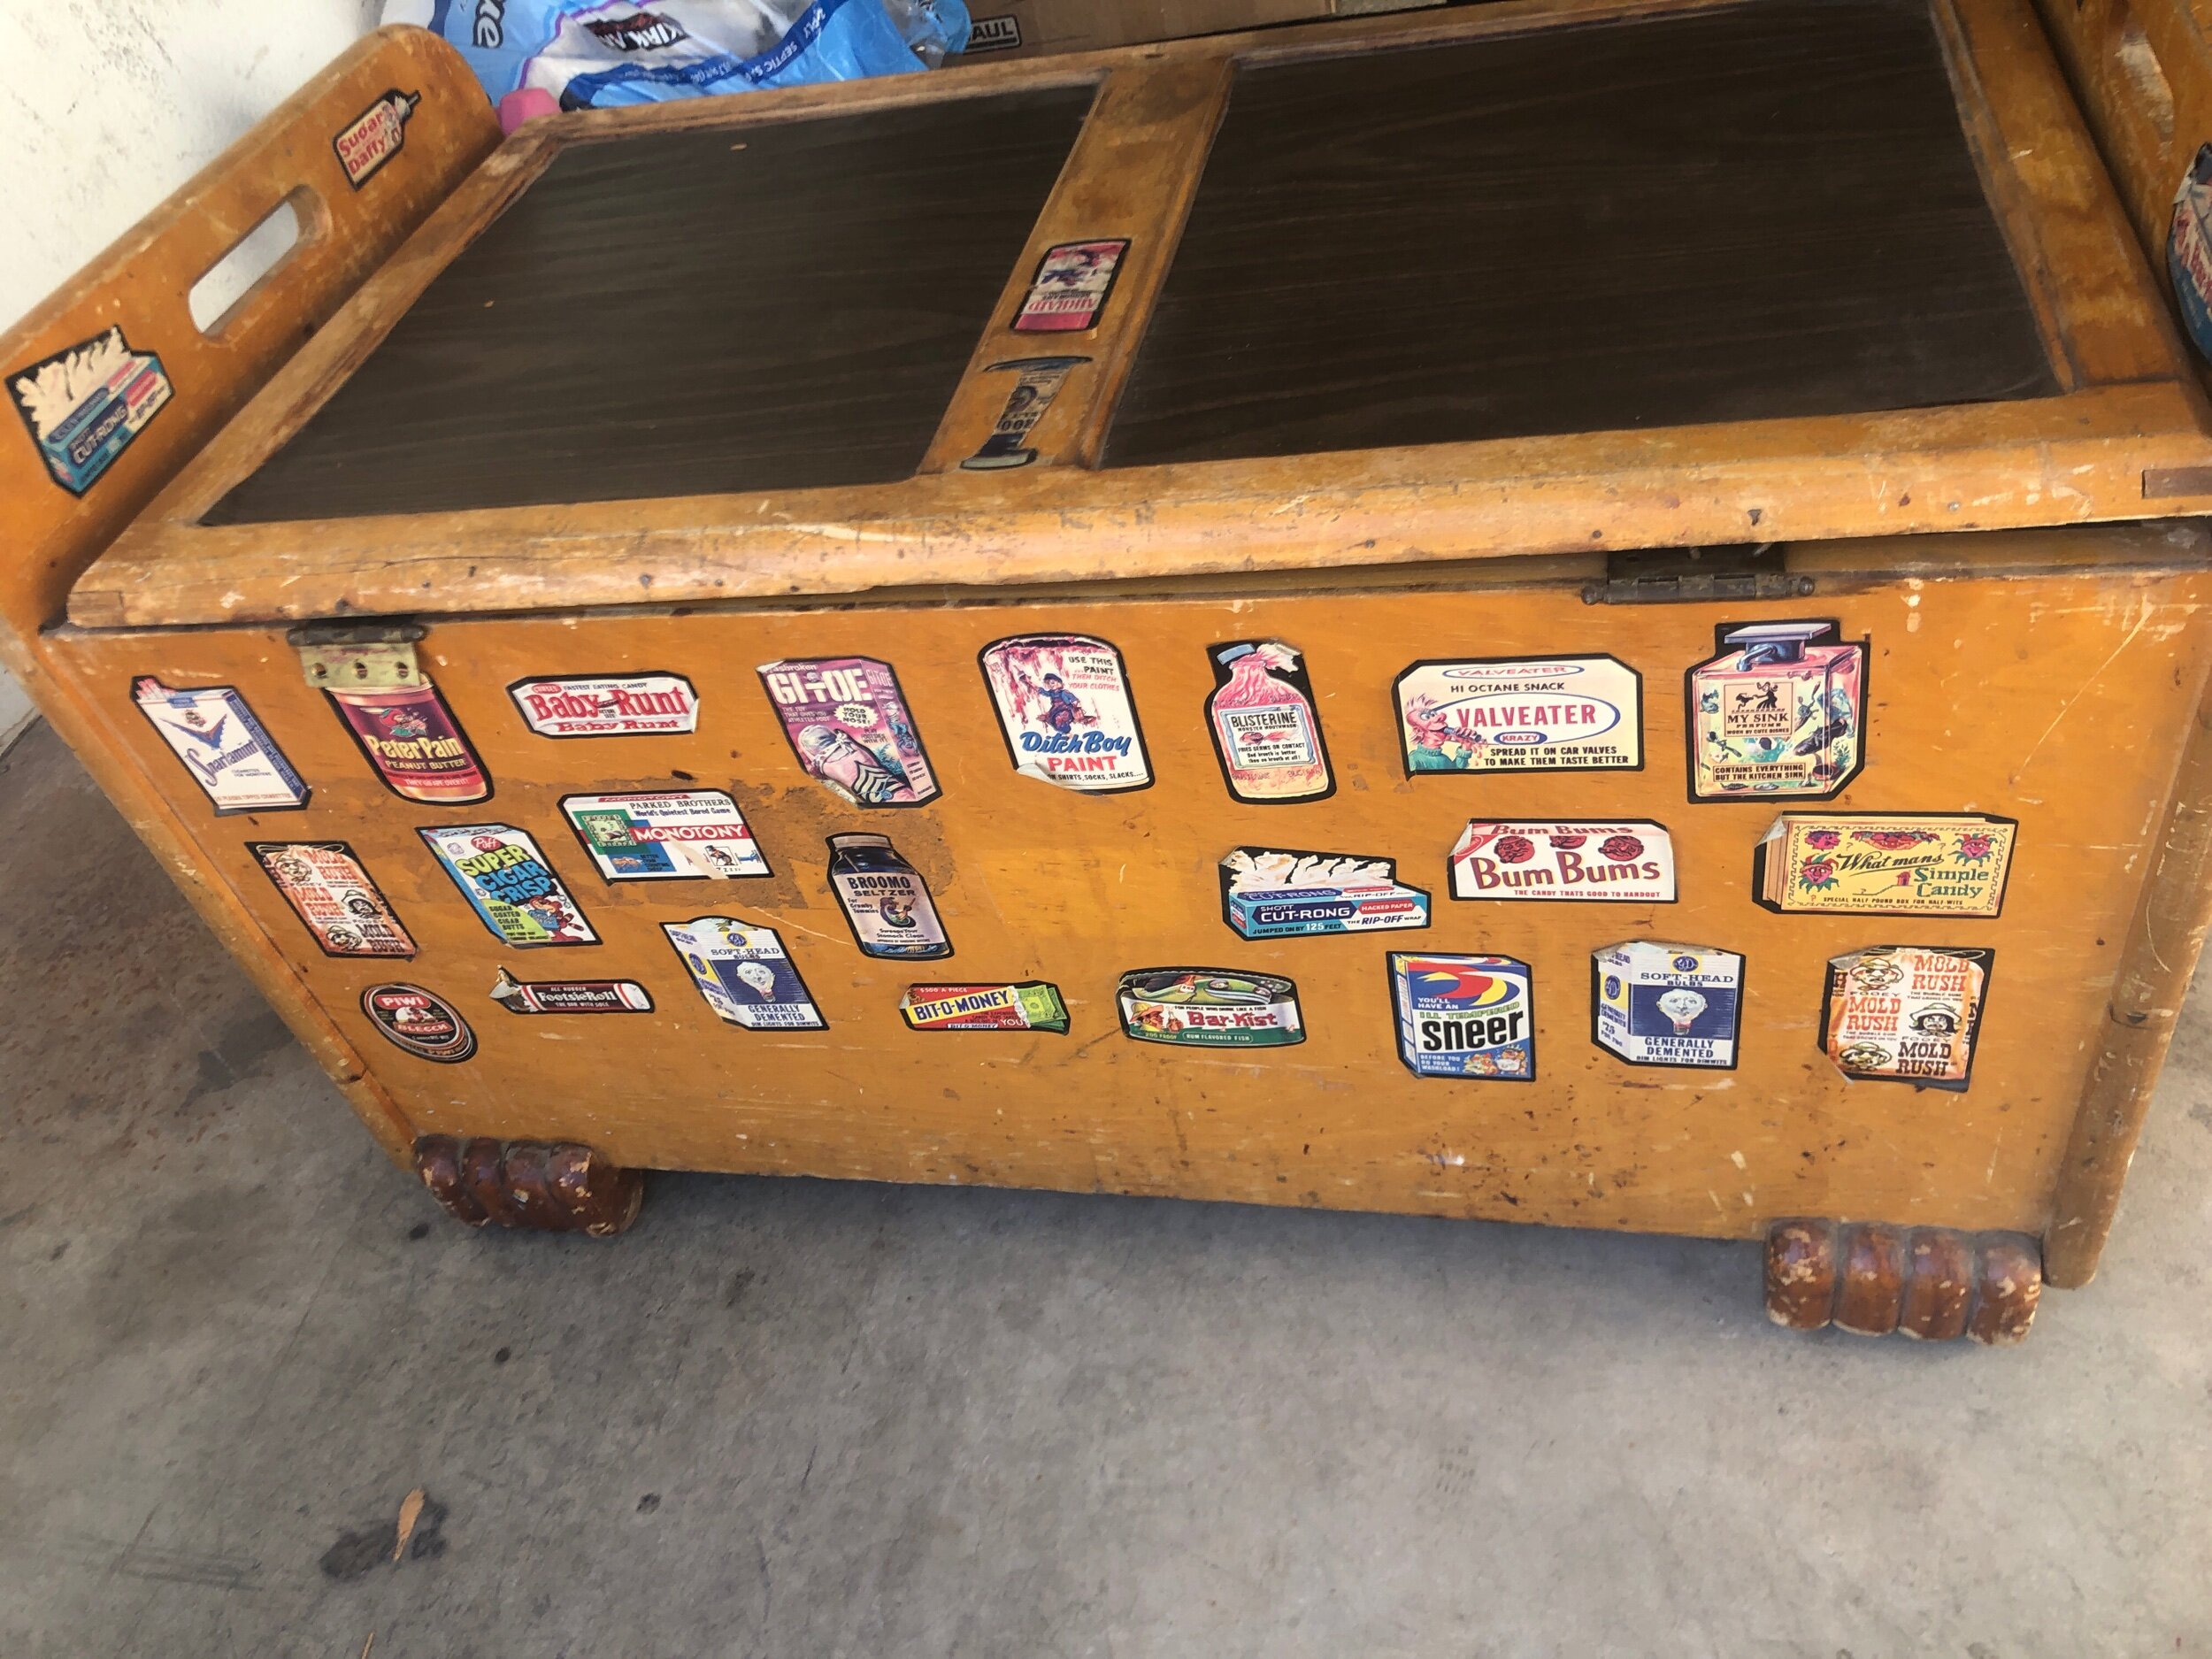
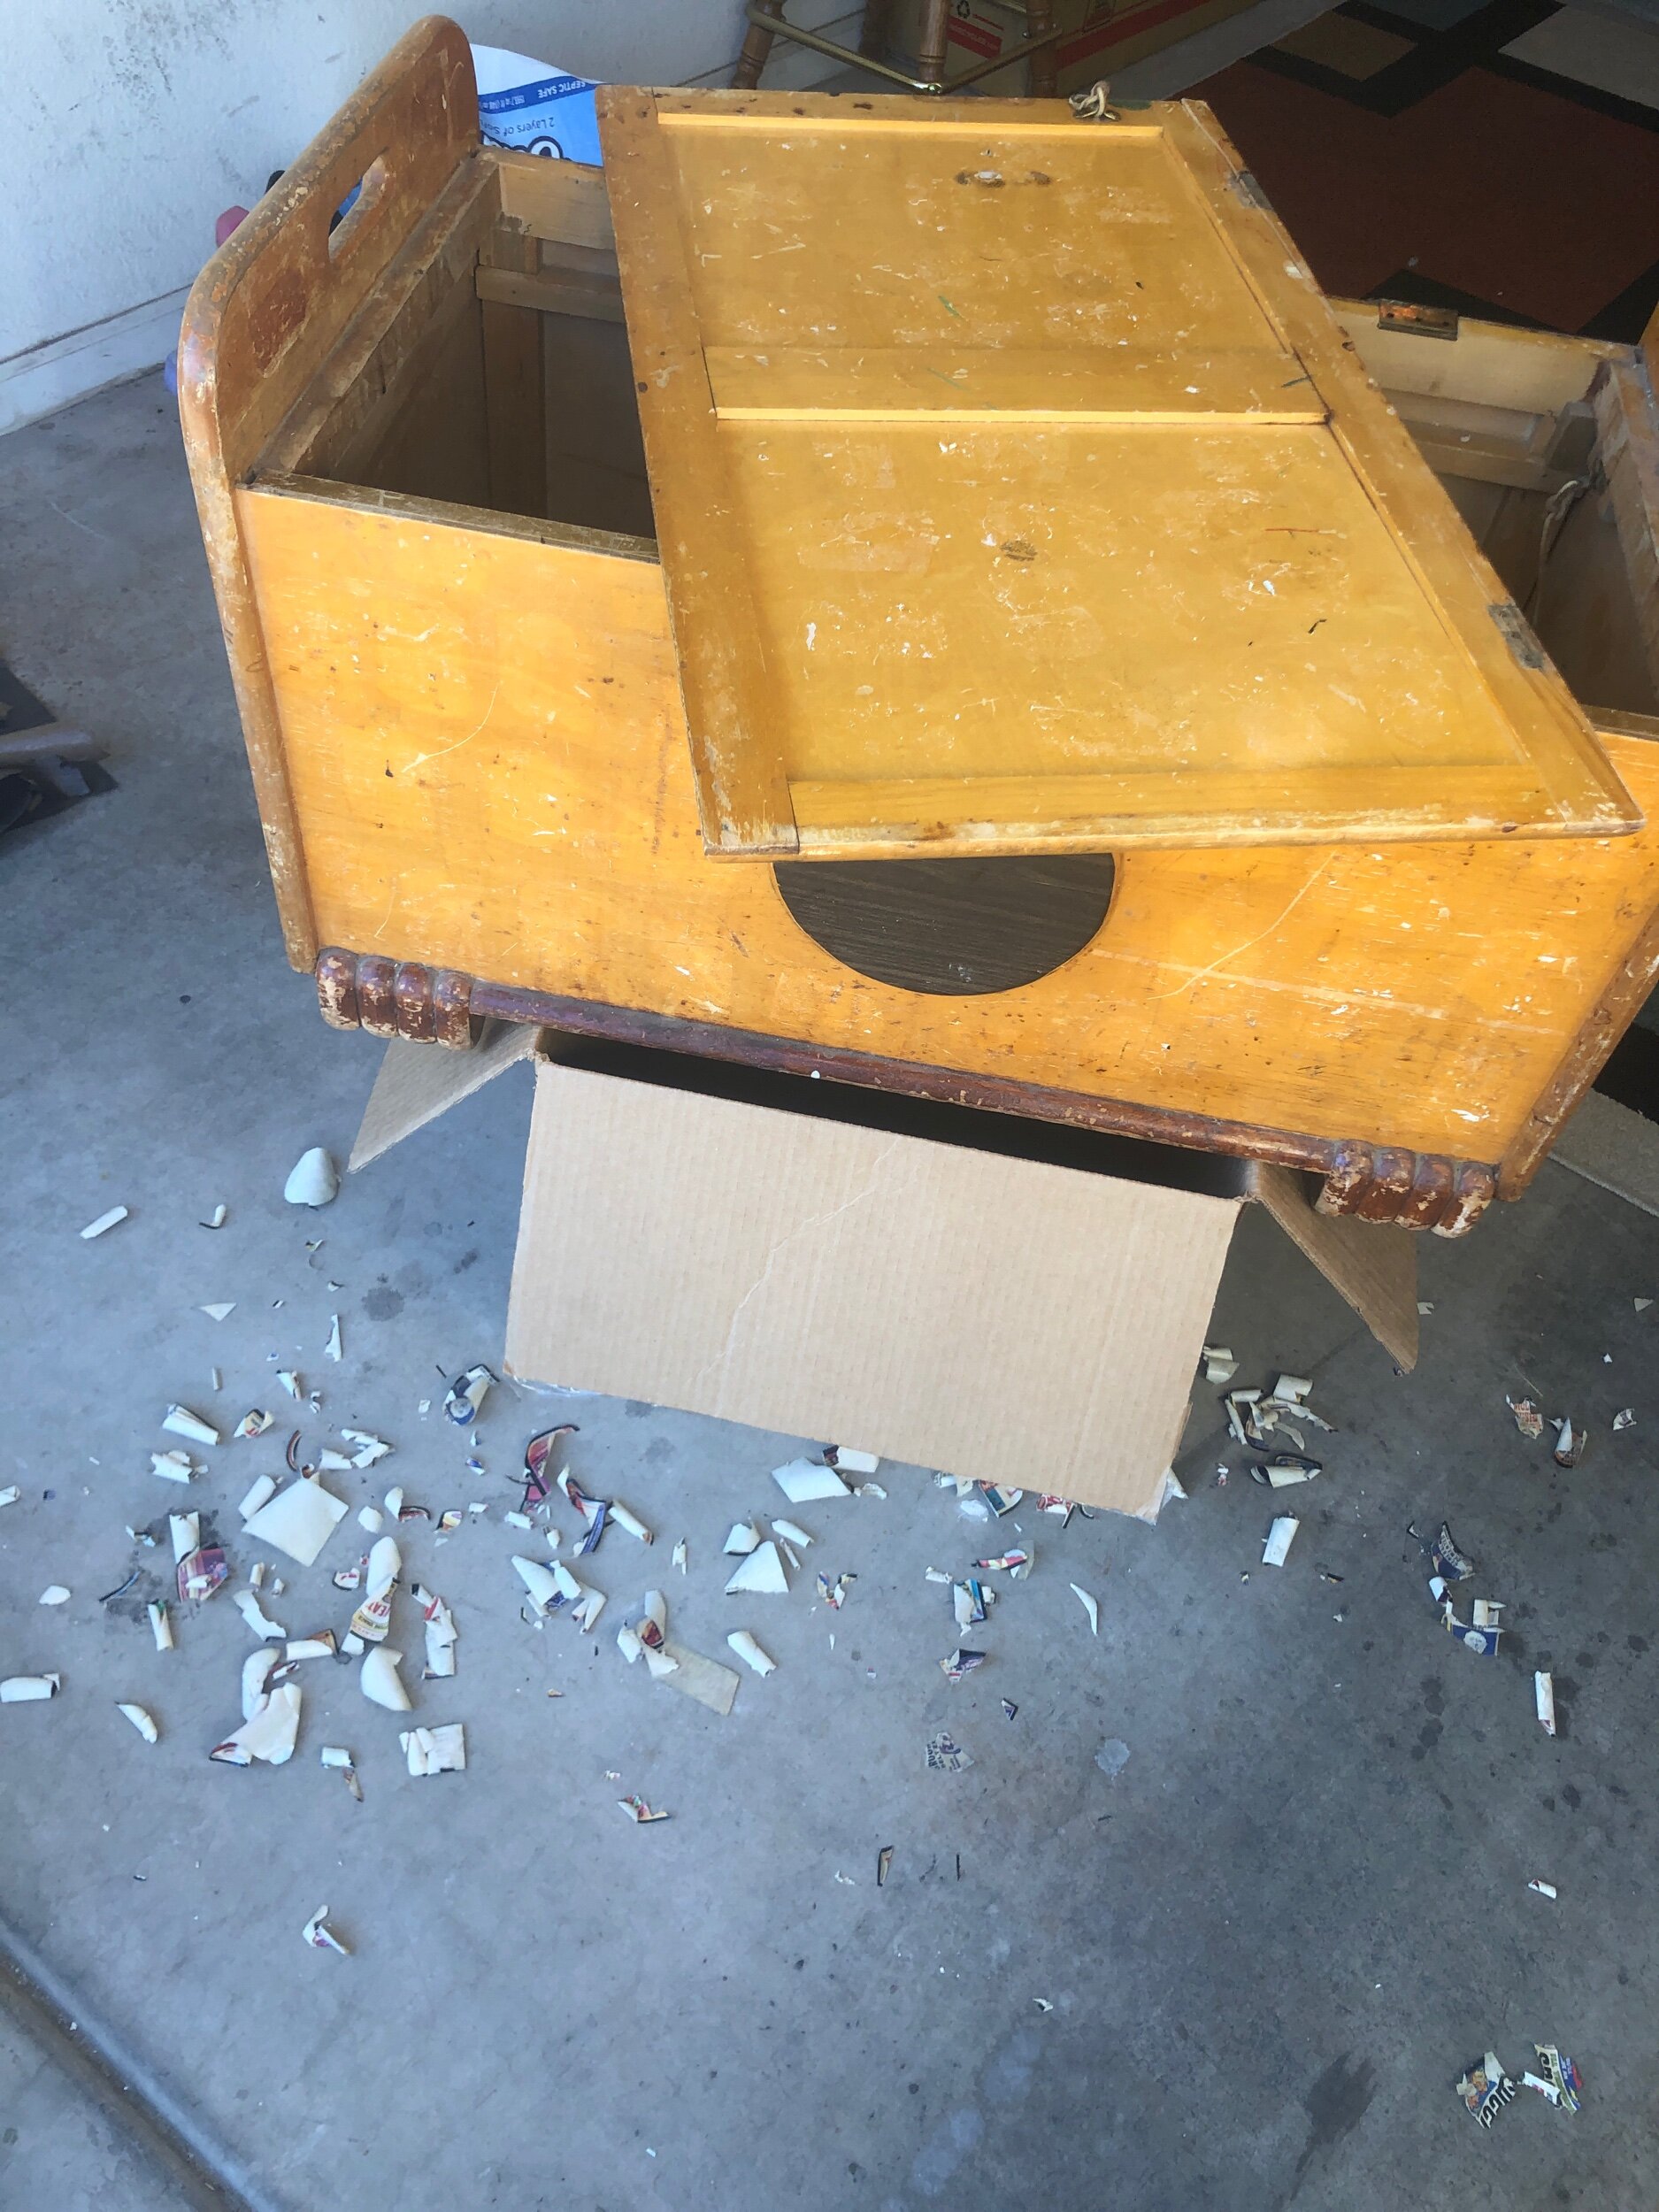
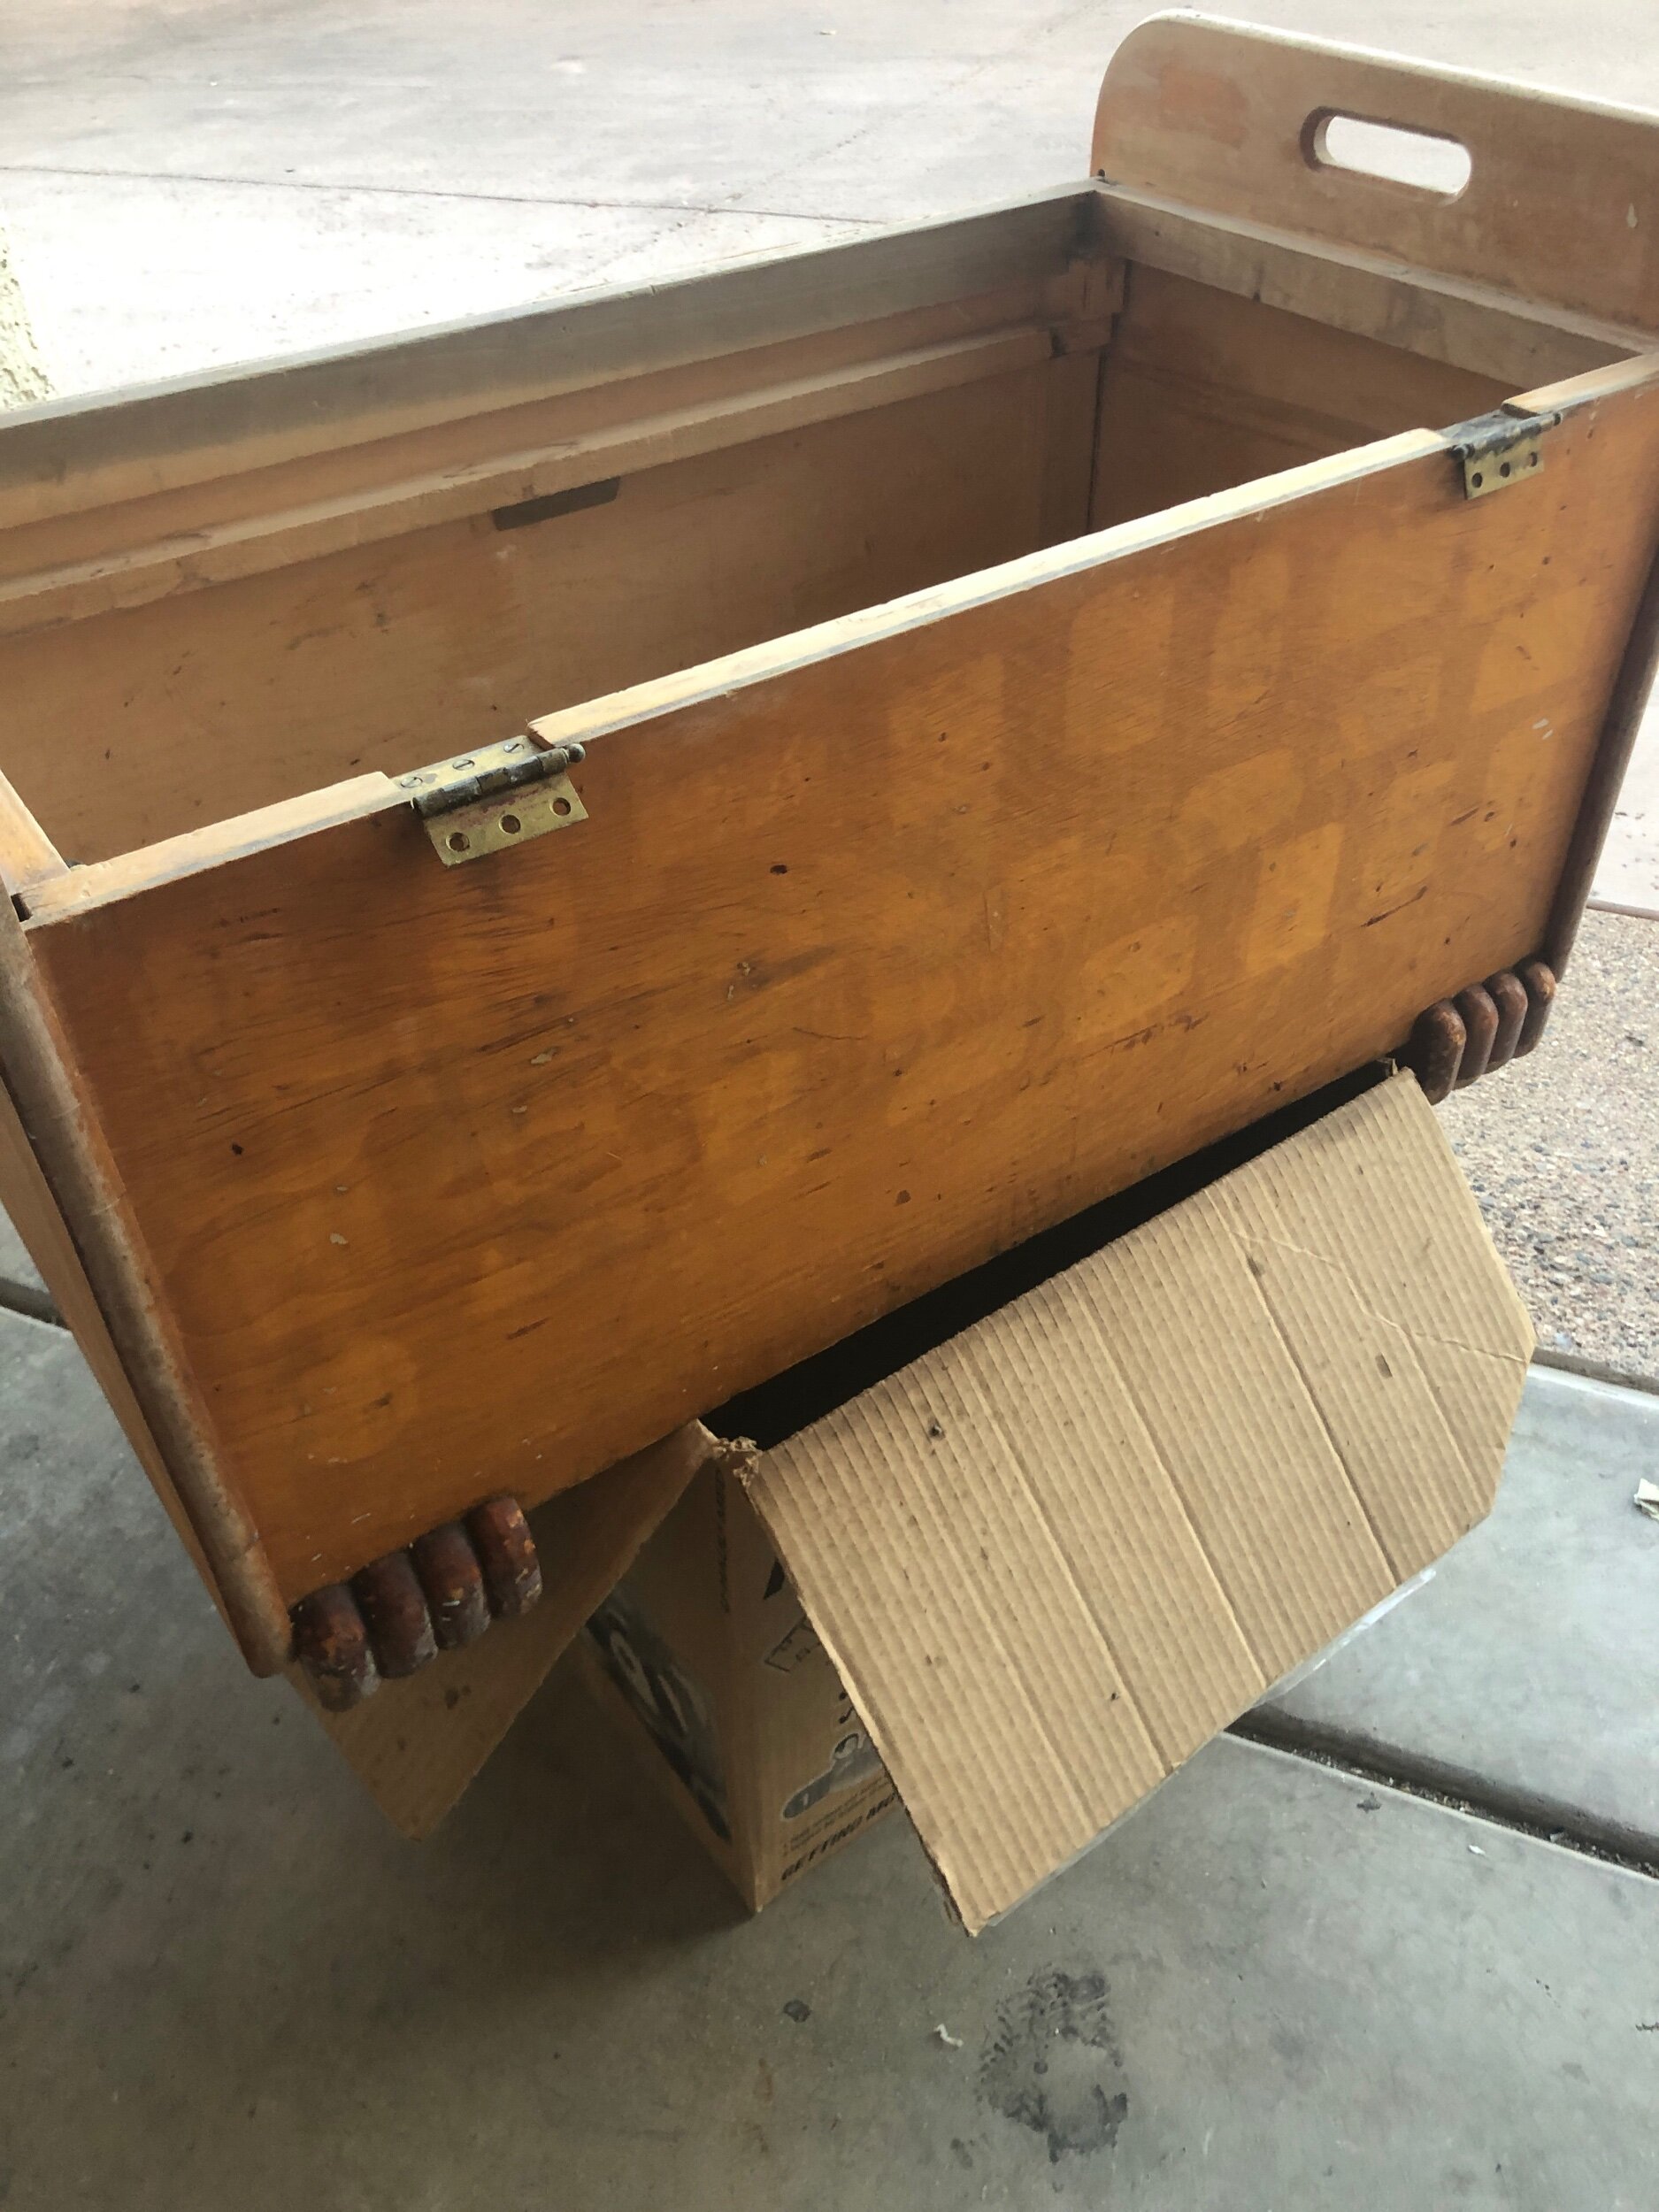
I walked by this chest sitting next to a dumpster in the alley for a couple weeks. Every. Single. Morning.
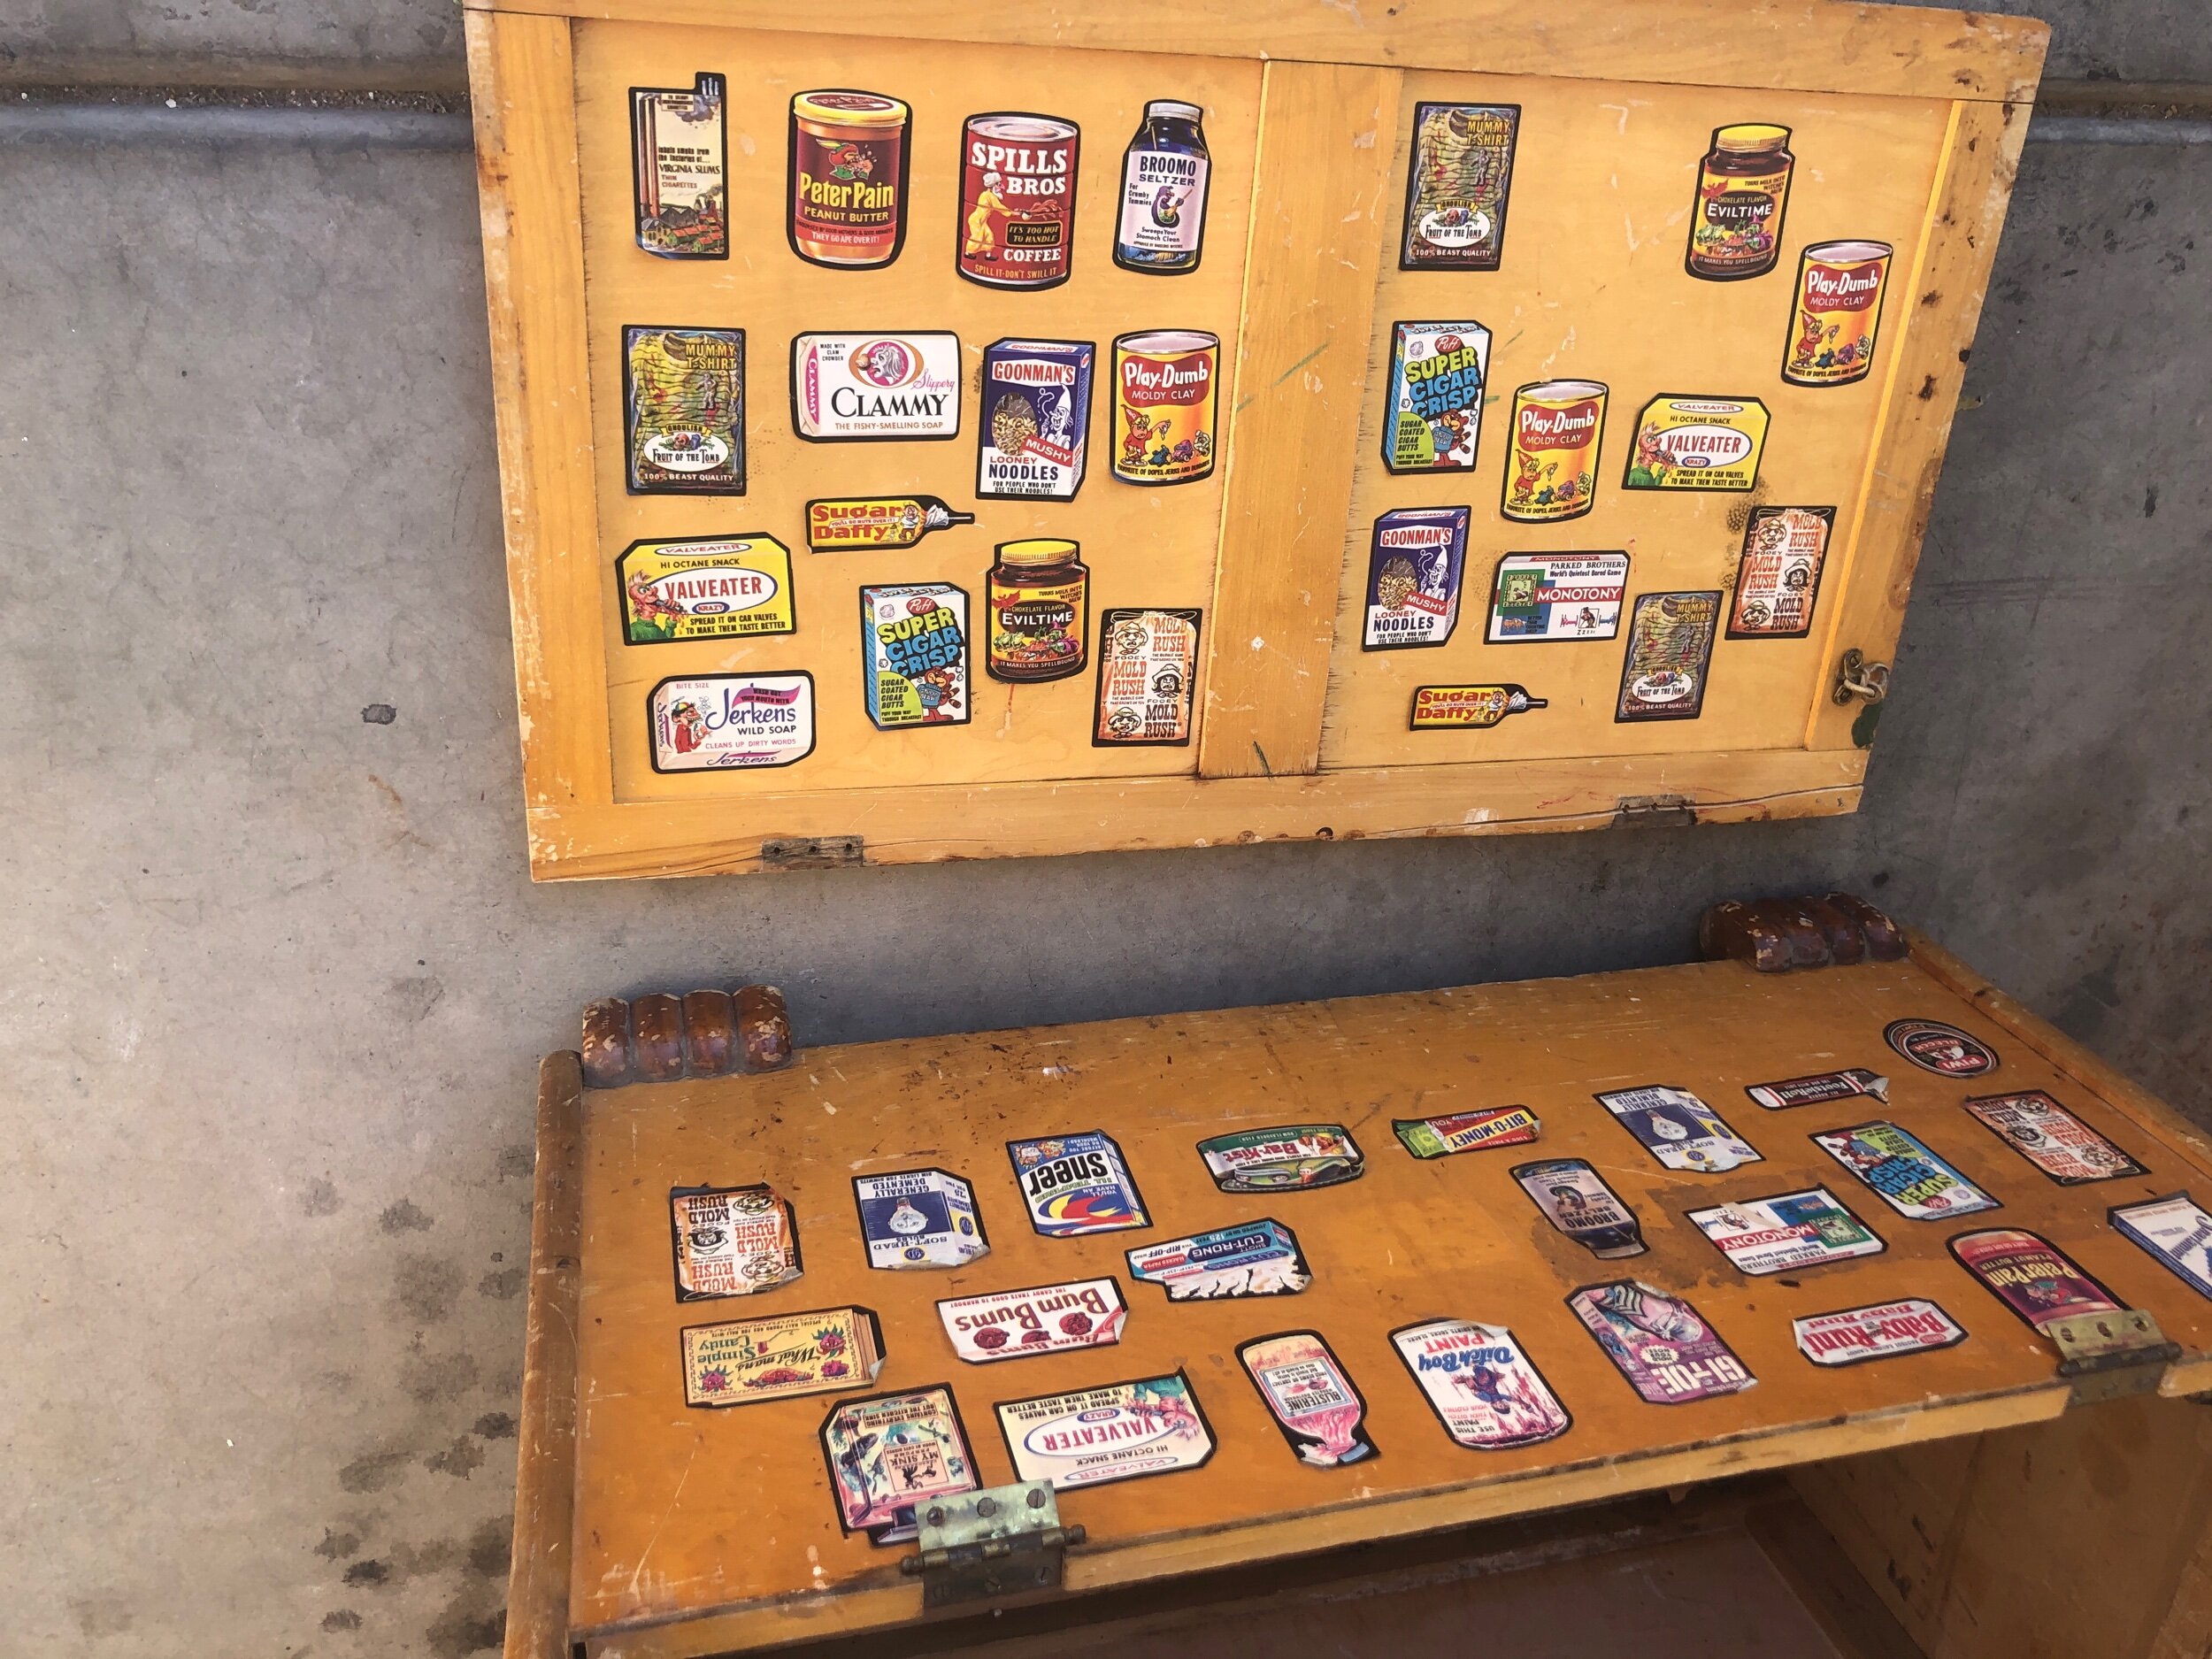
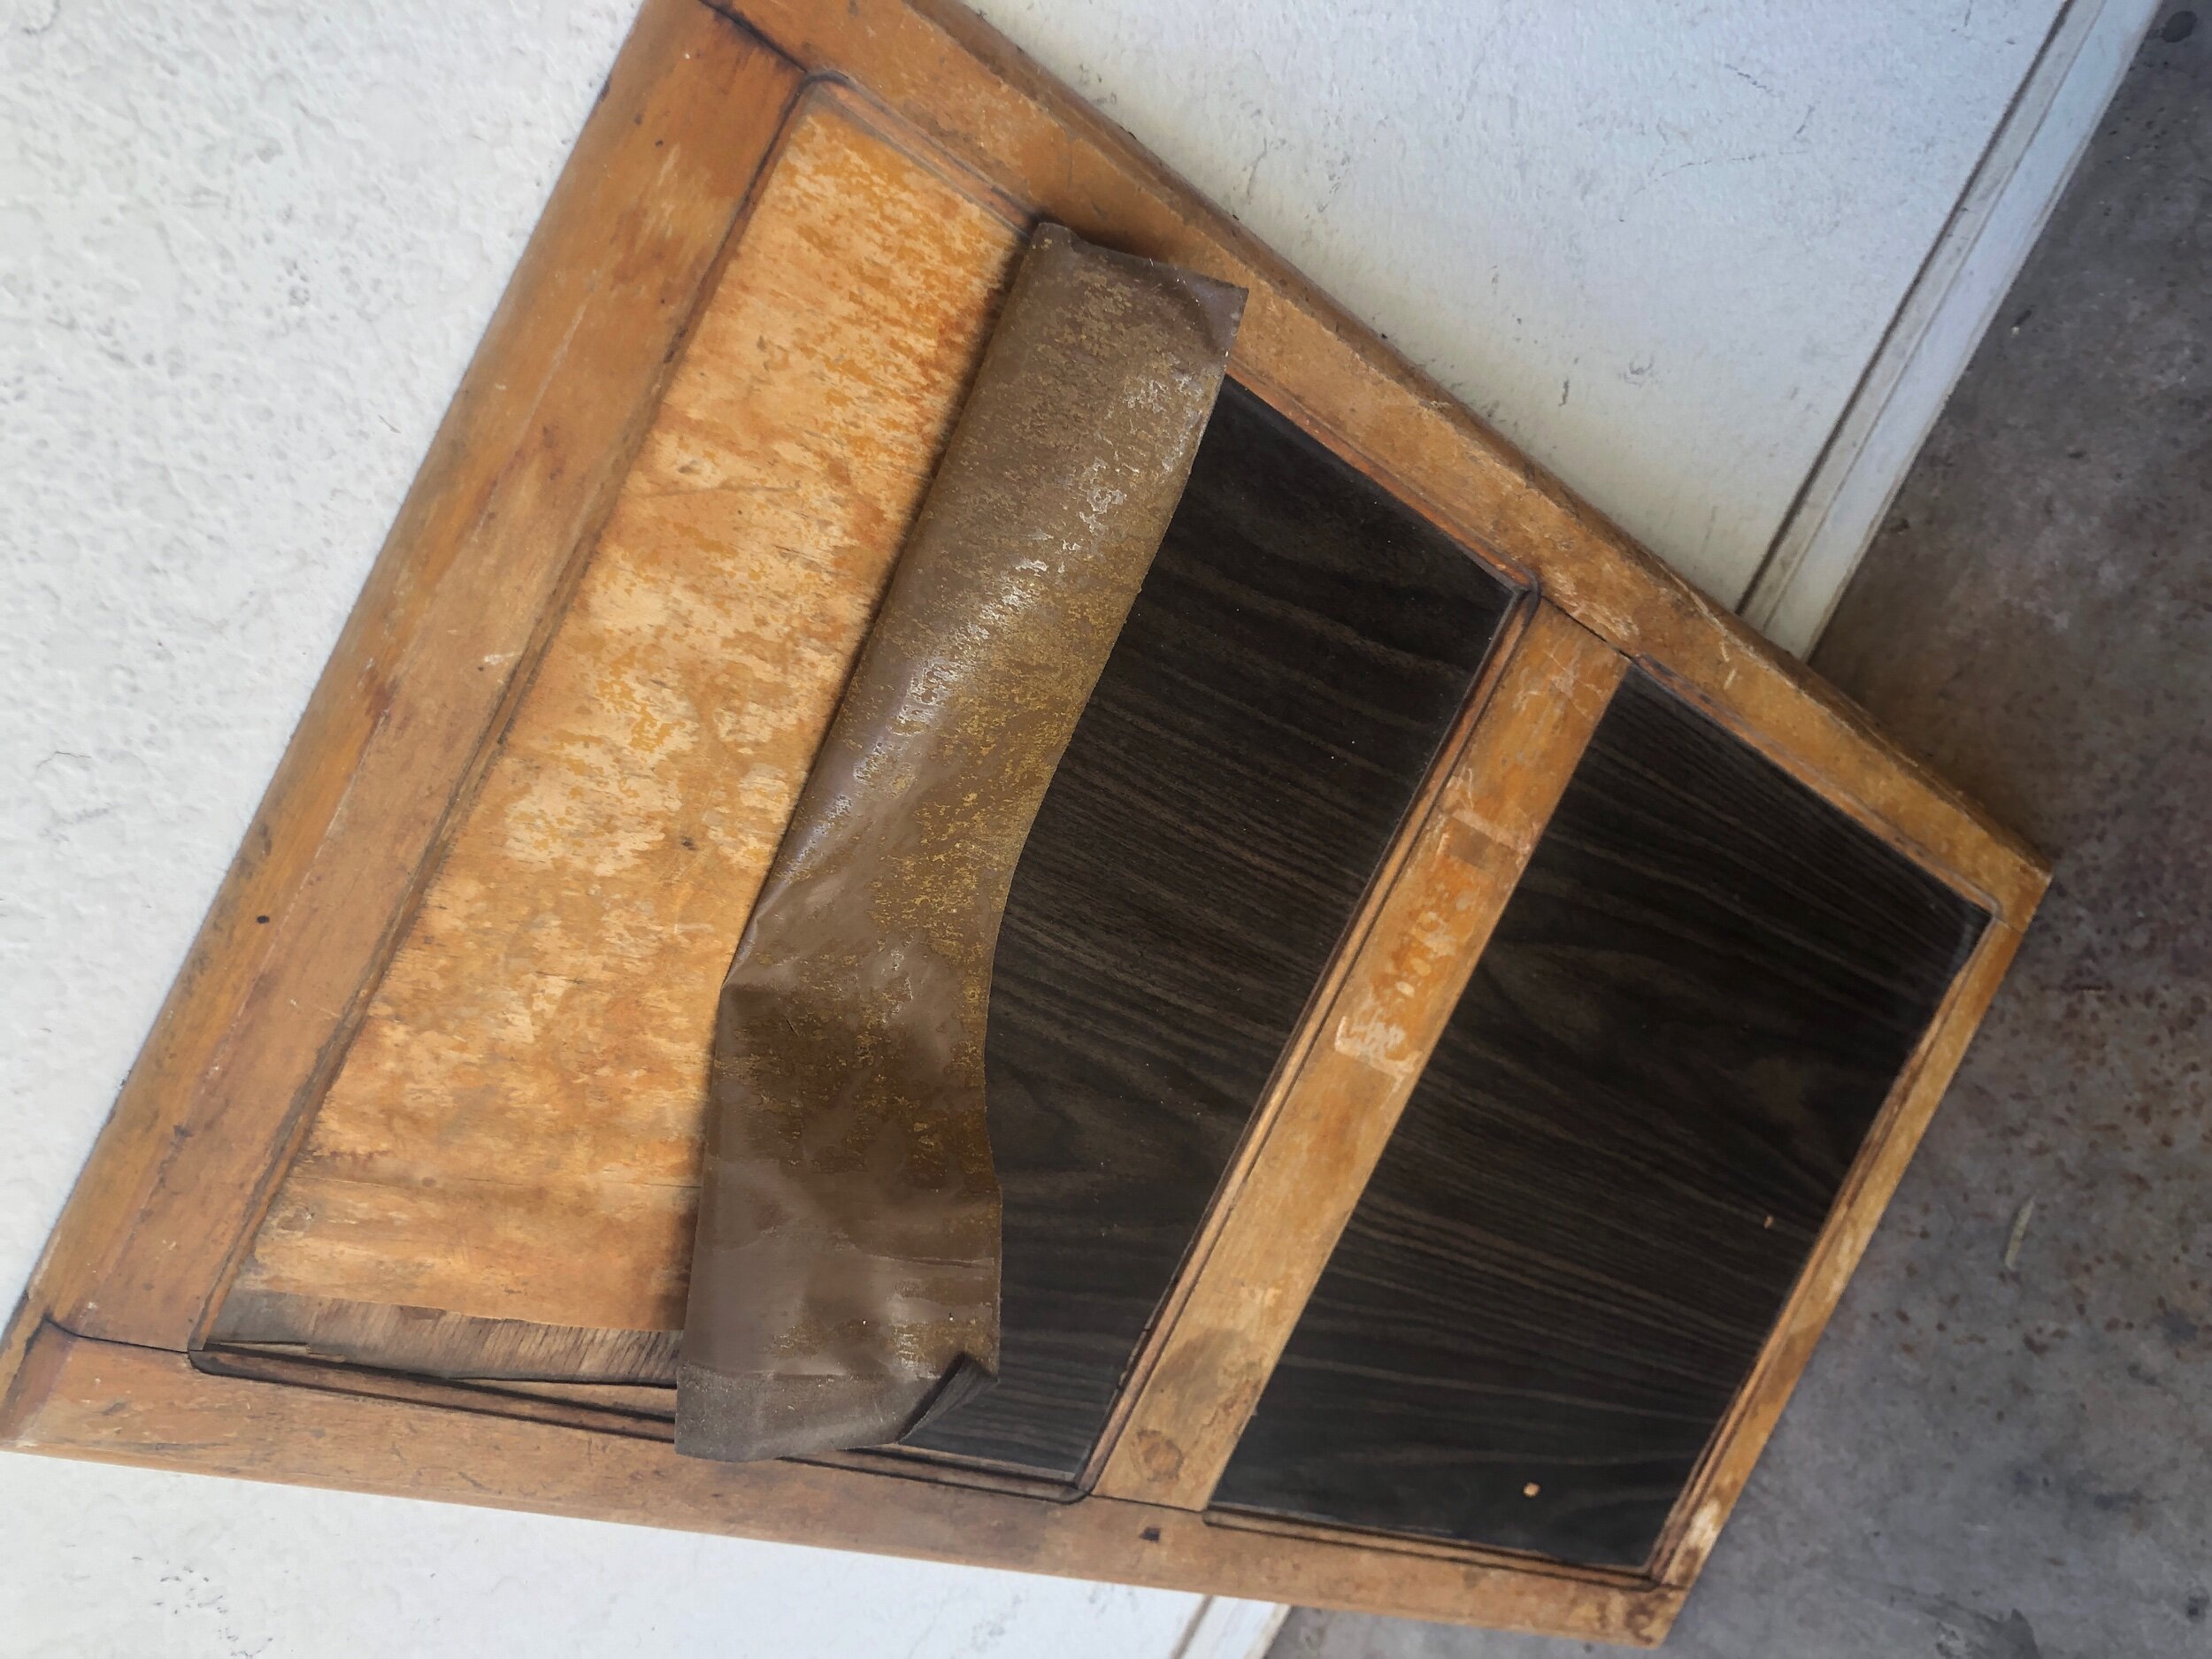
Then, one morning I stopped. I looked closer and saw past the gaudy stickers to see a broken toy or clothing chest made of real wood in need of some TLC. I drug it home.
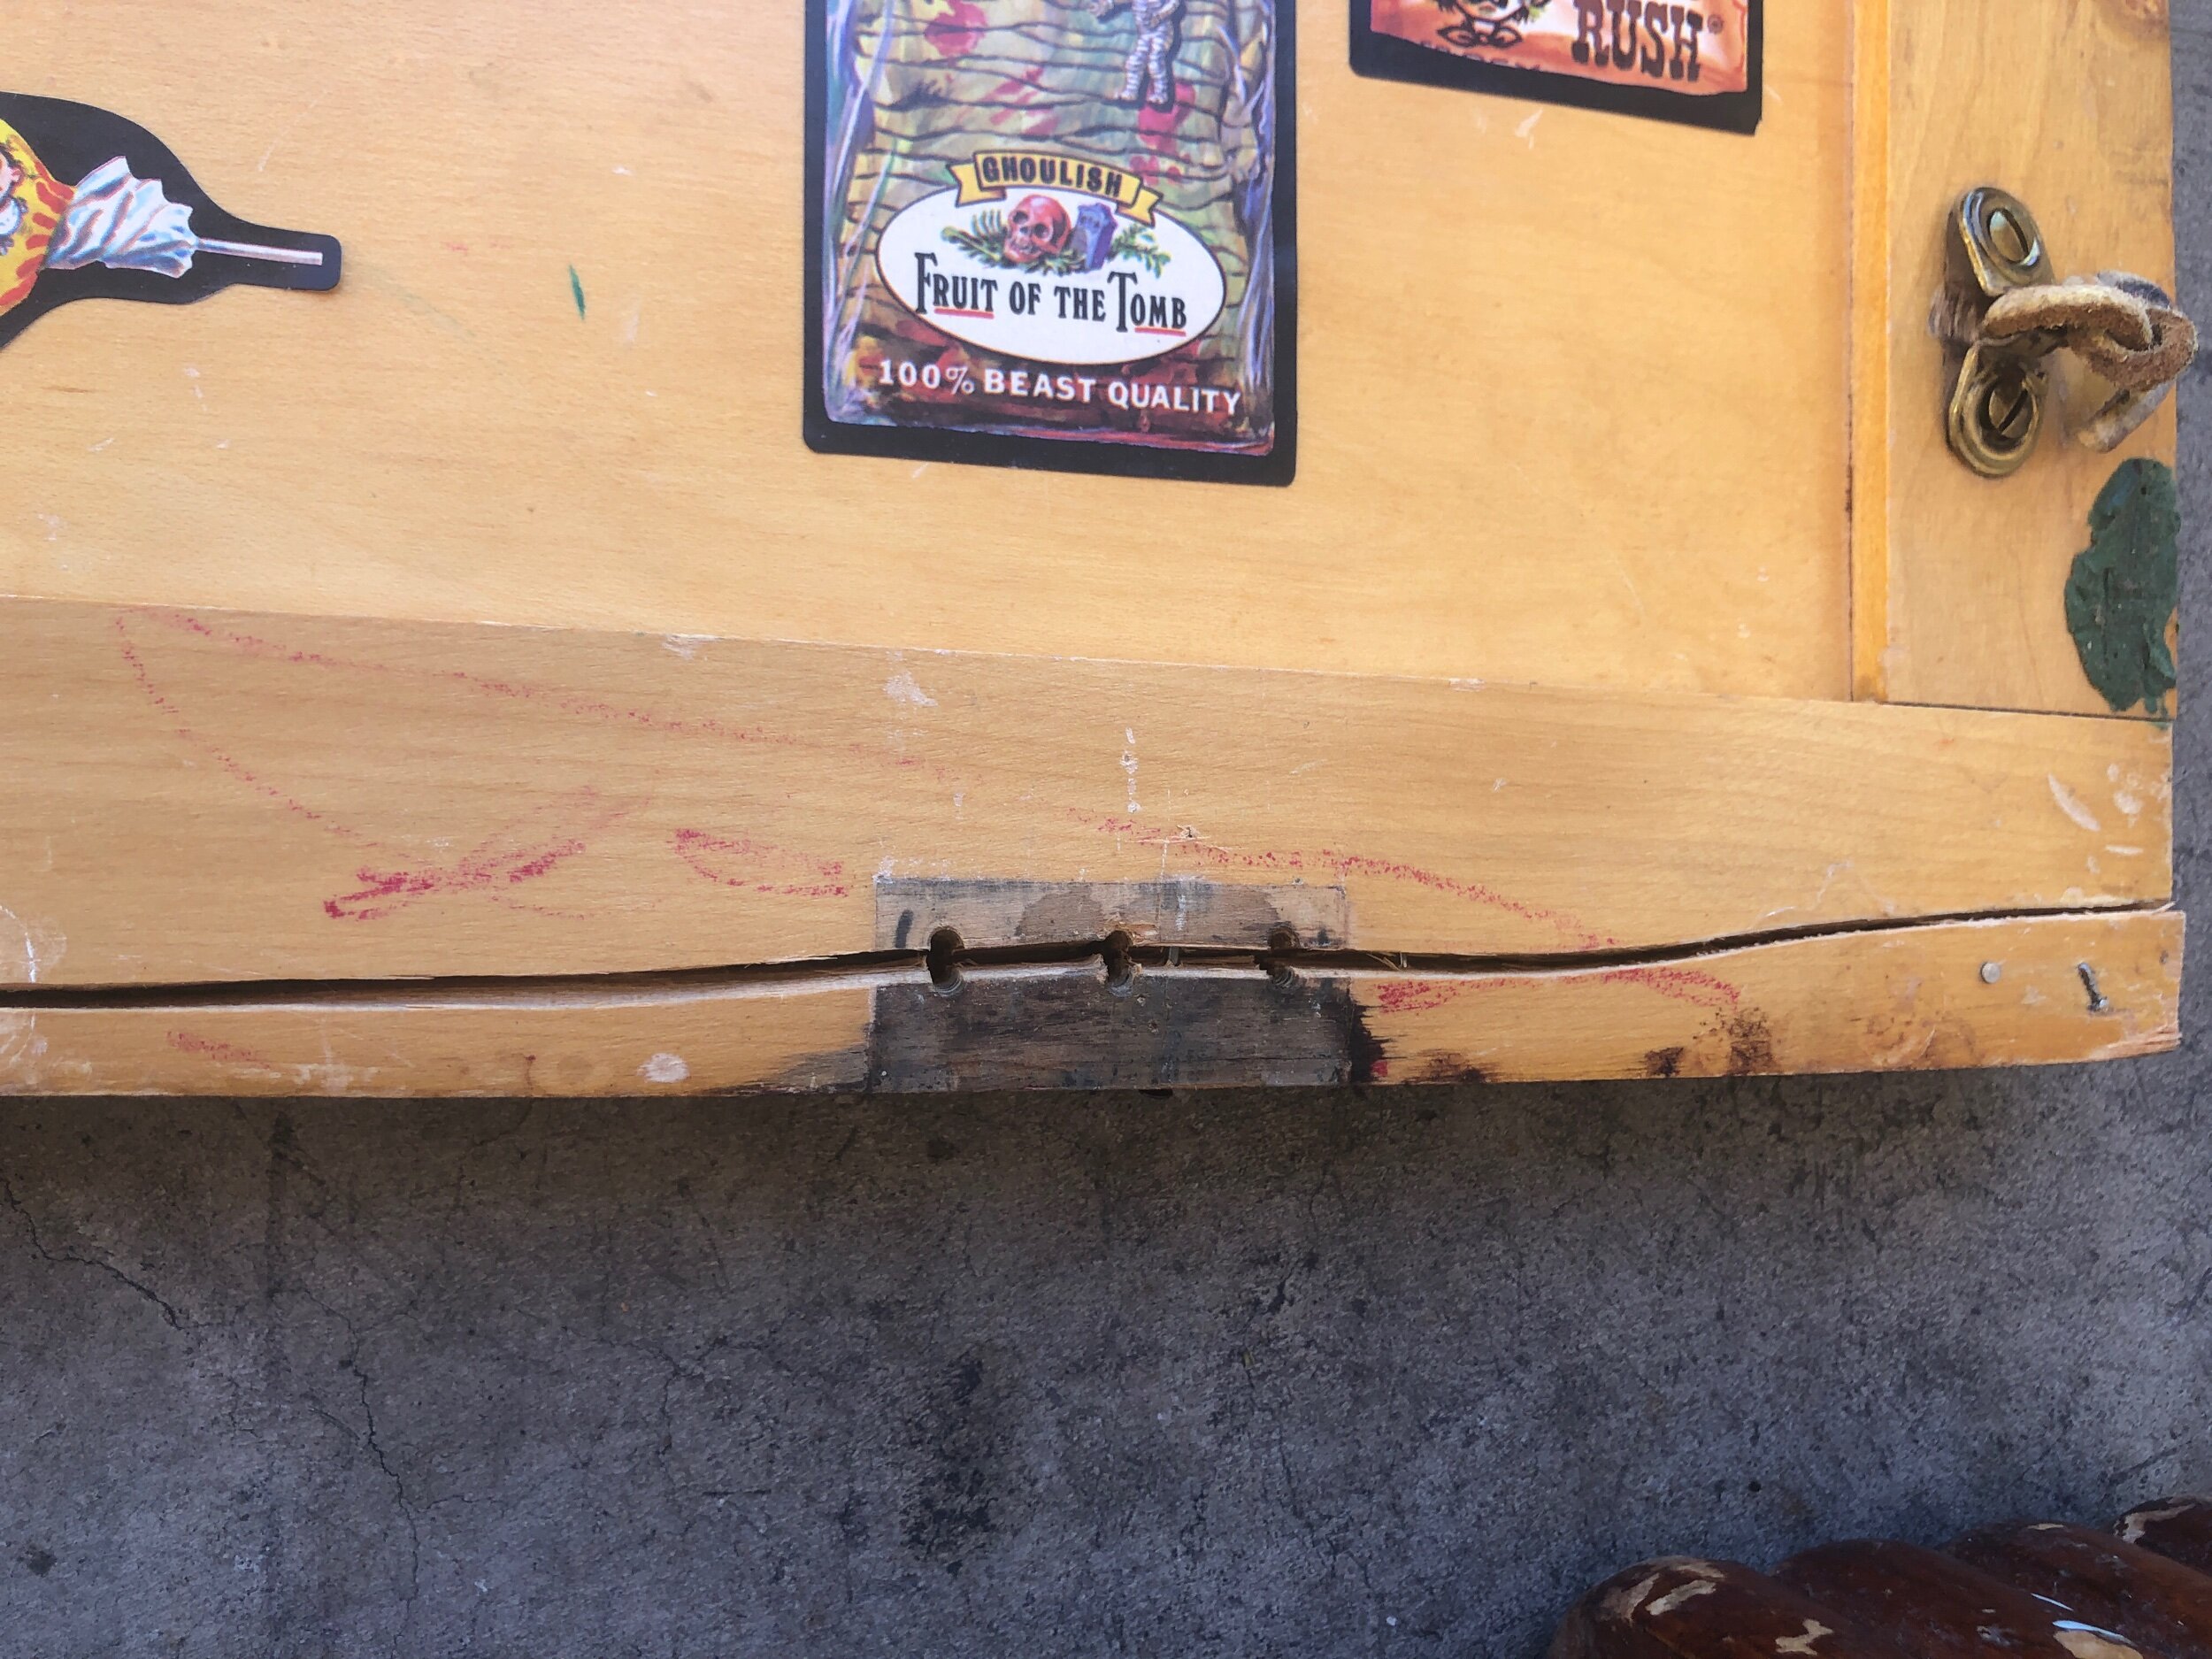
And promptly fell right down the rabbit hole also known as YouTube when it came to refinishing wood furniture. Although this chest is made of real wood and not laminate, it has a glossy coat on it. Oh yeah and a gazillion stickers. And broken hinges due to the wood splitting where they were screwed in. Thanks to the inter webs I learned a lot about what to do with it
Disclaimer: I am not a wood worker or furniture refurbisher, to be clear. This isn’t the kind of thing I’ve done a million times or have any experience with. I haven’t ever done it. But it satisfies my desire for a mindless yet productive task and I was highly motivated by the thought of keeping this out of the landfill. Might even learn a few things, I thought to myself. 🤷♀️ 🔨

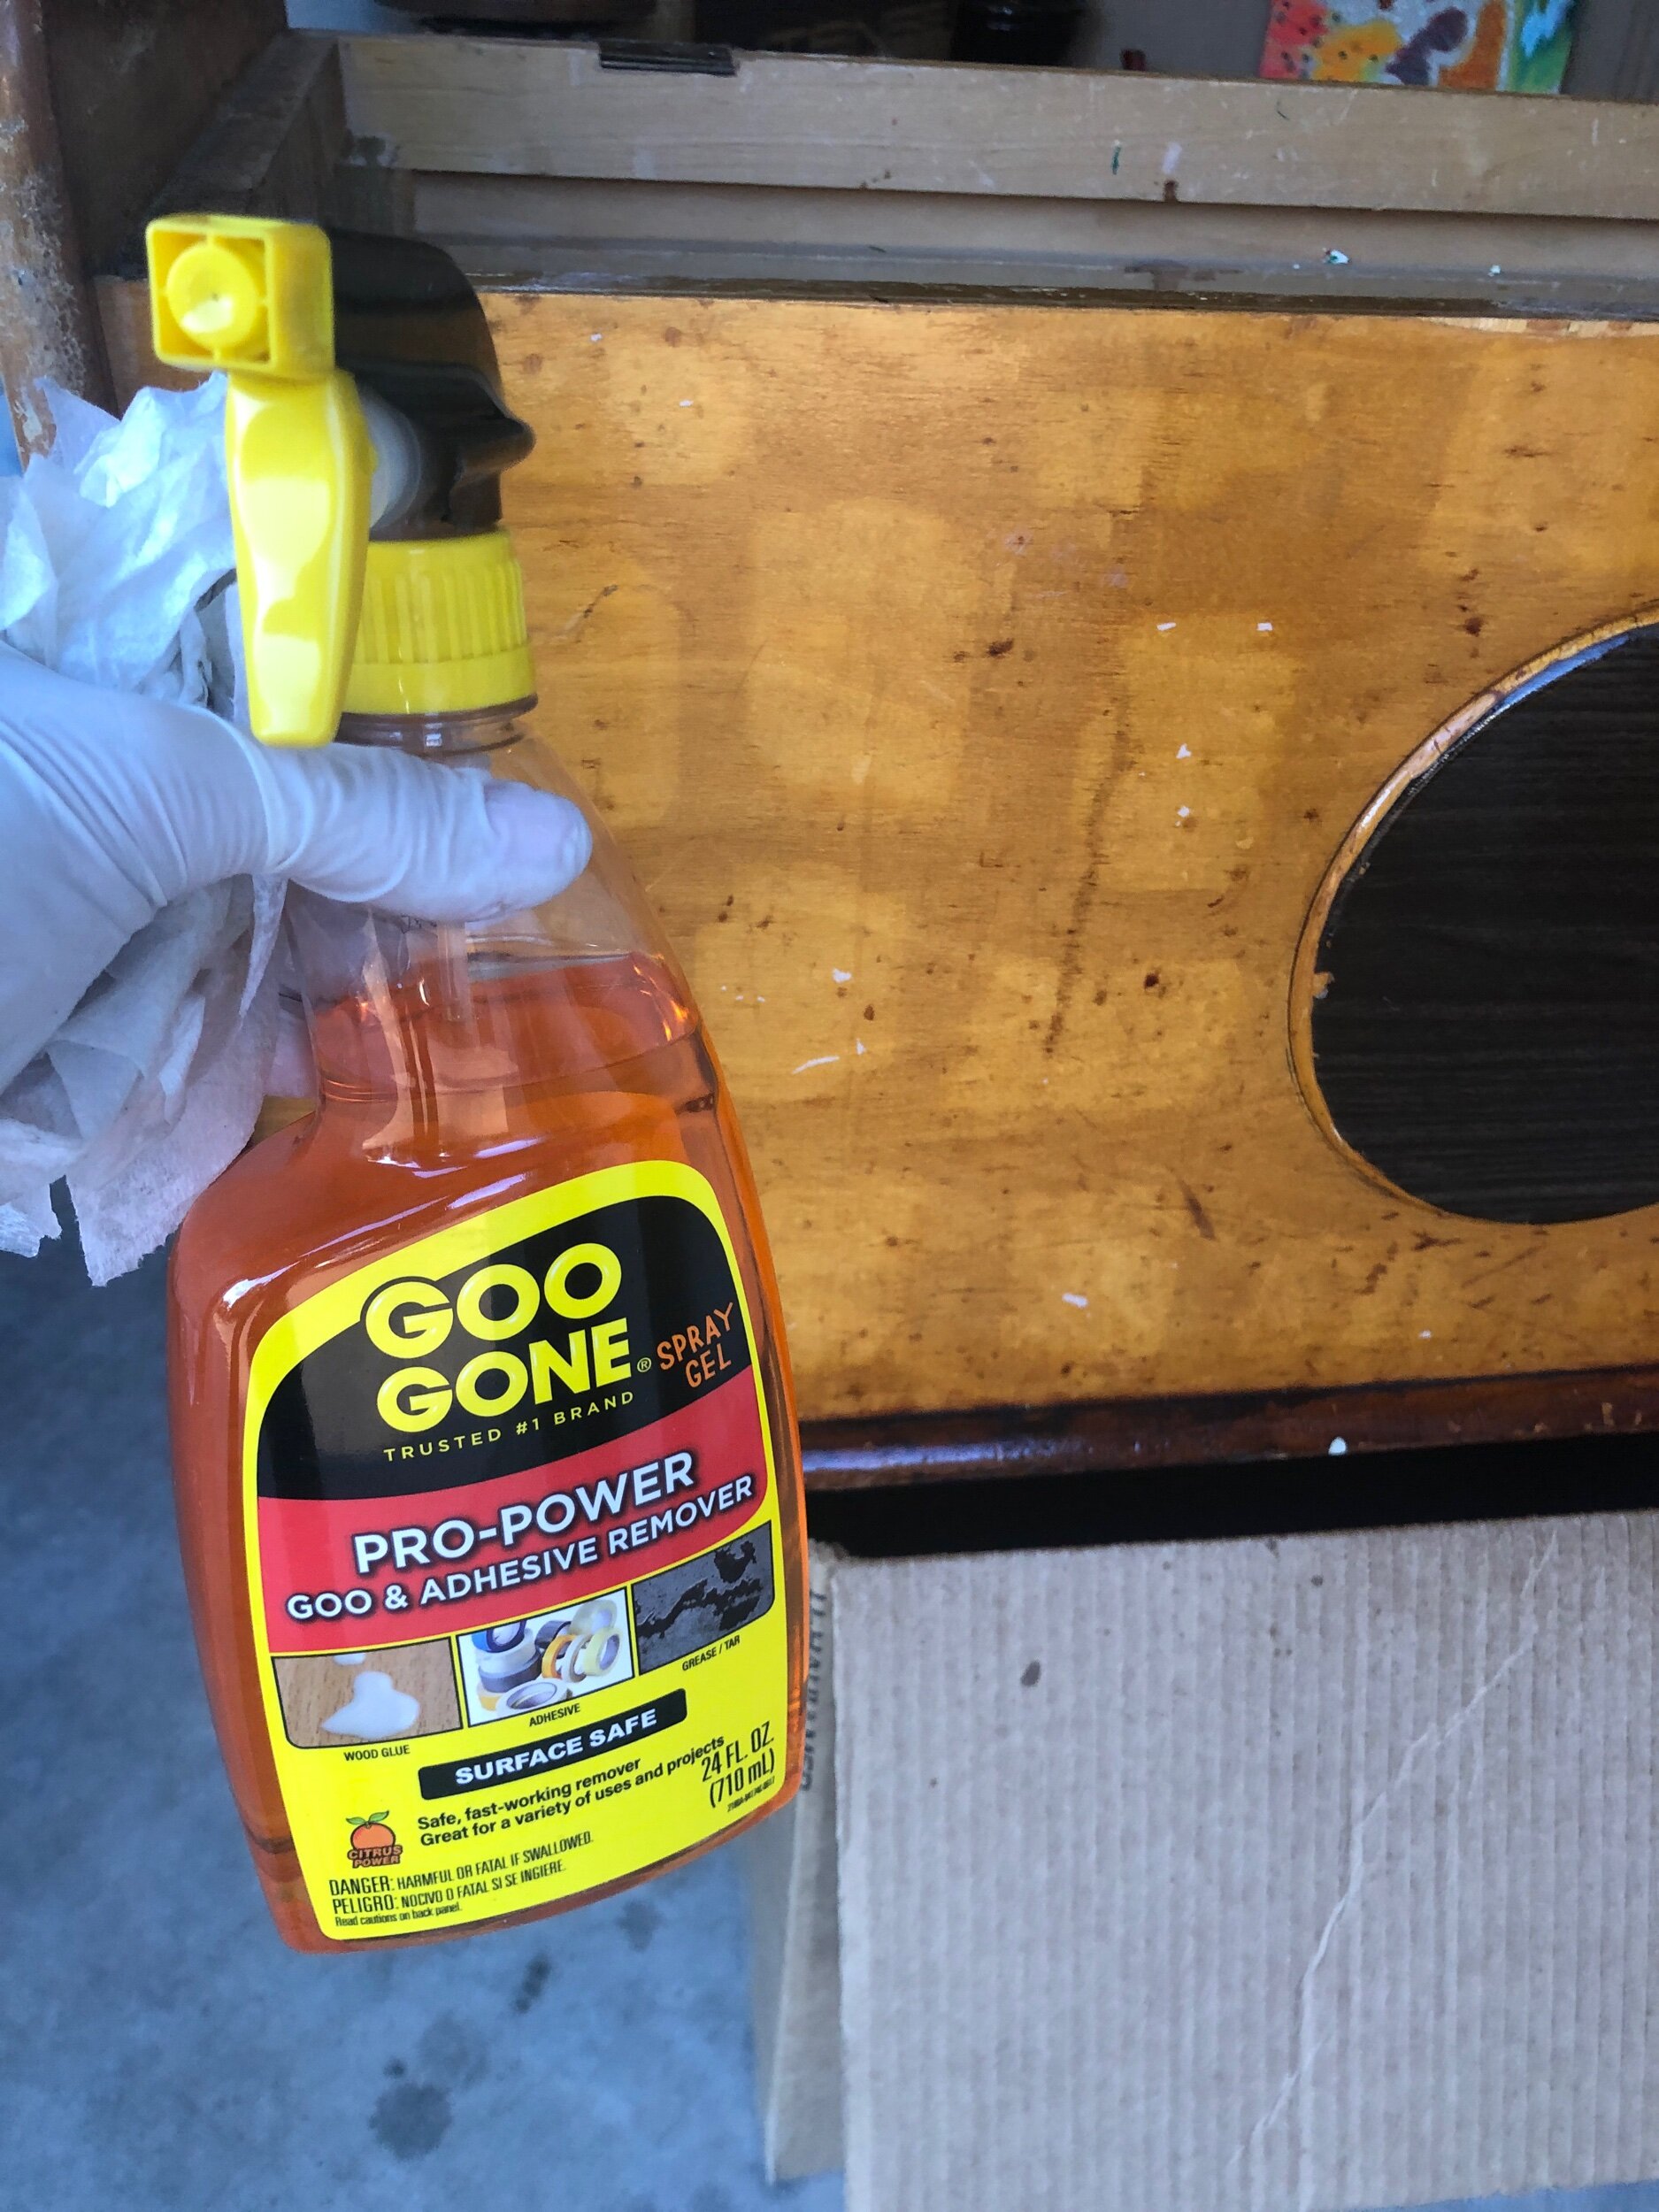
First: sticker removal with razor blade and then sticker adhesive removal with chemicals (aka Goo Gone) and sanding. Rubber gloves naturally.
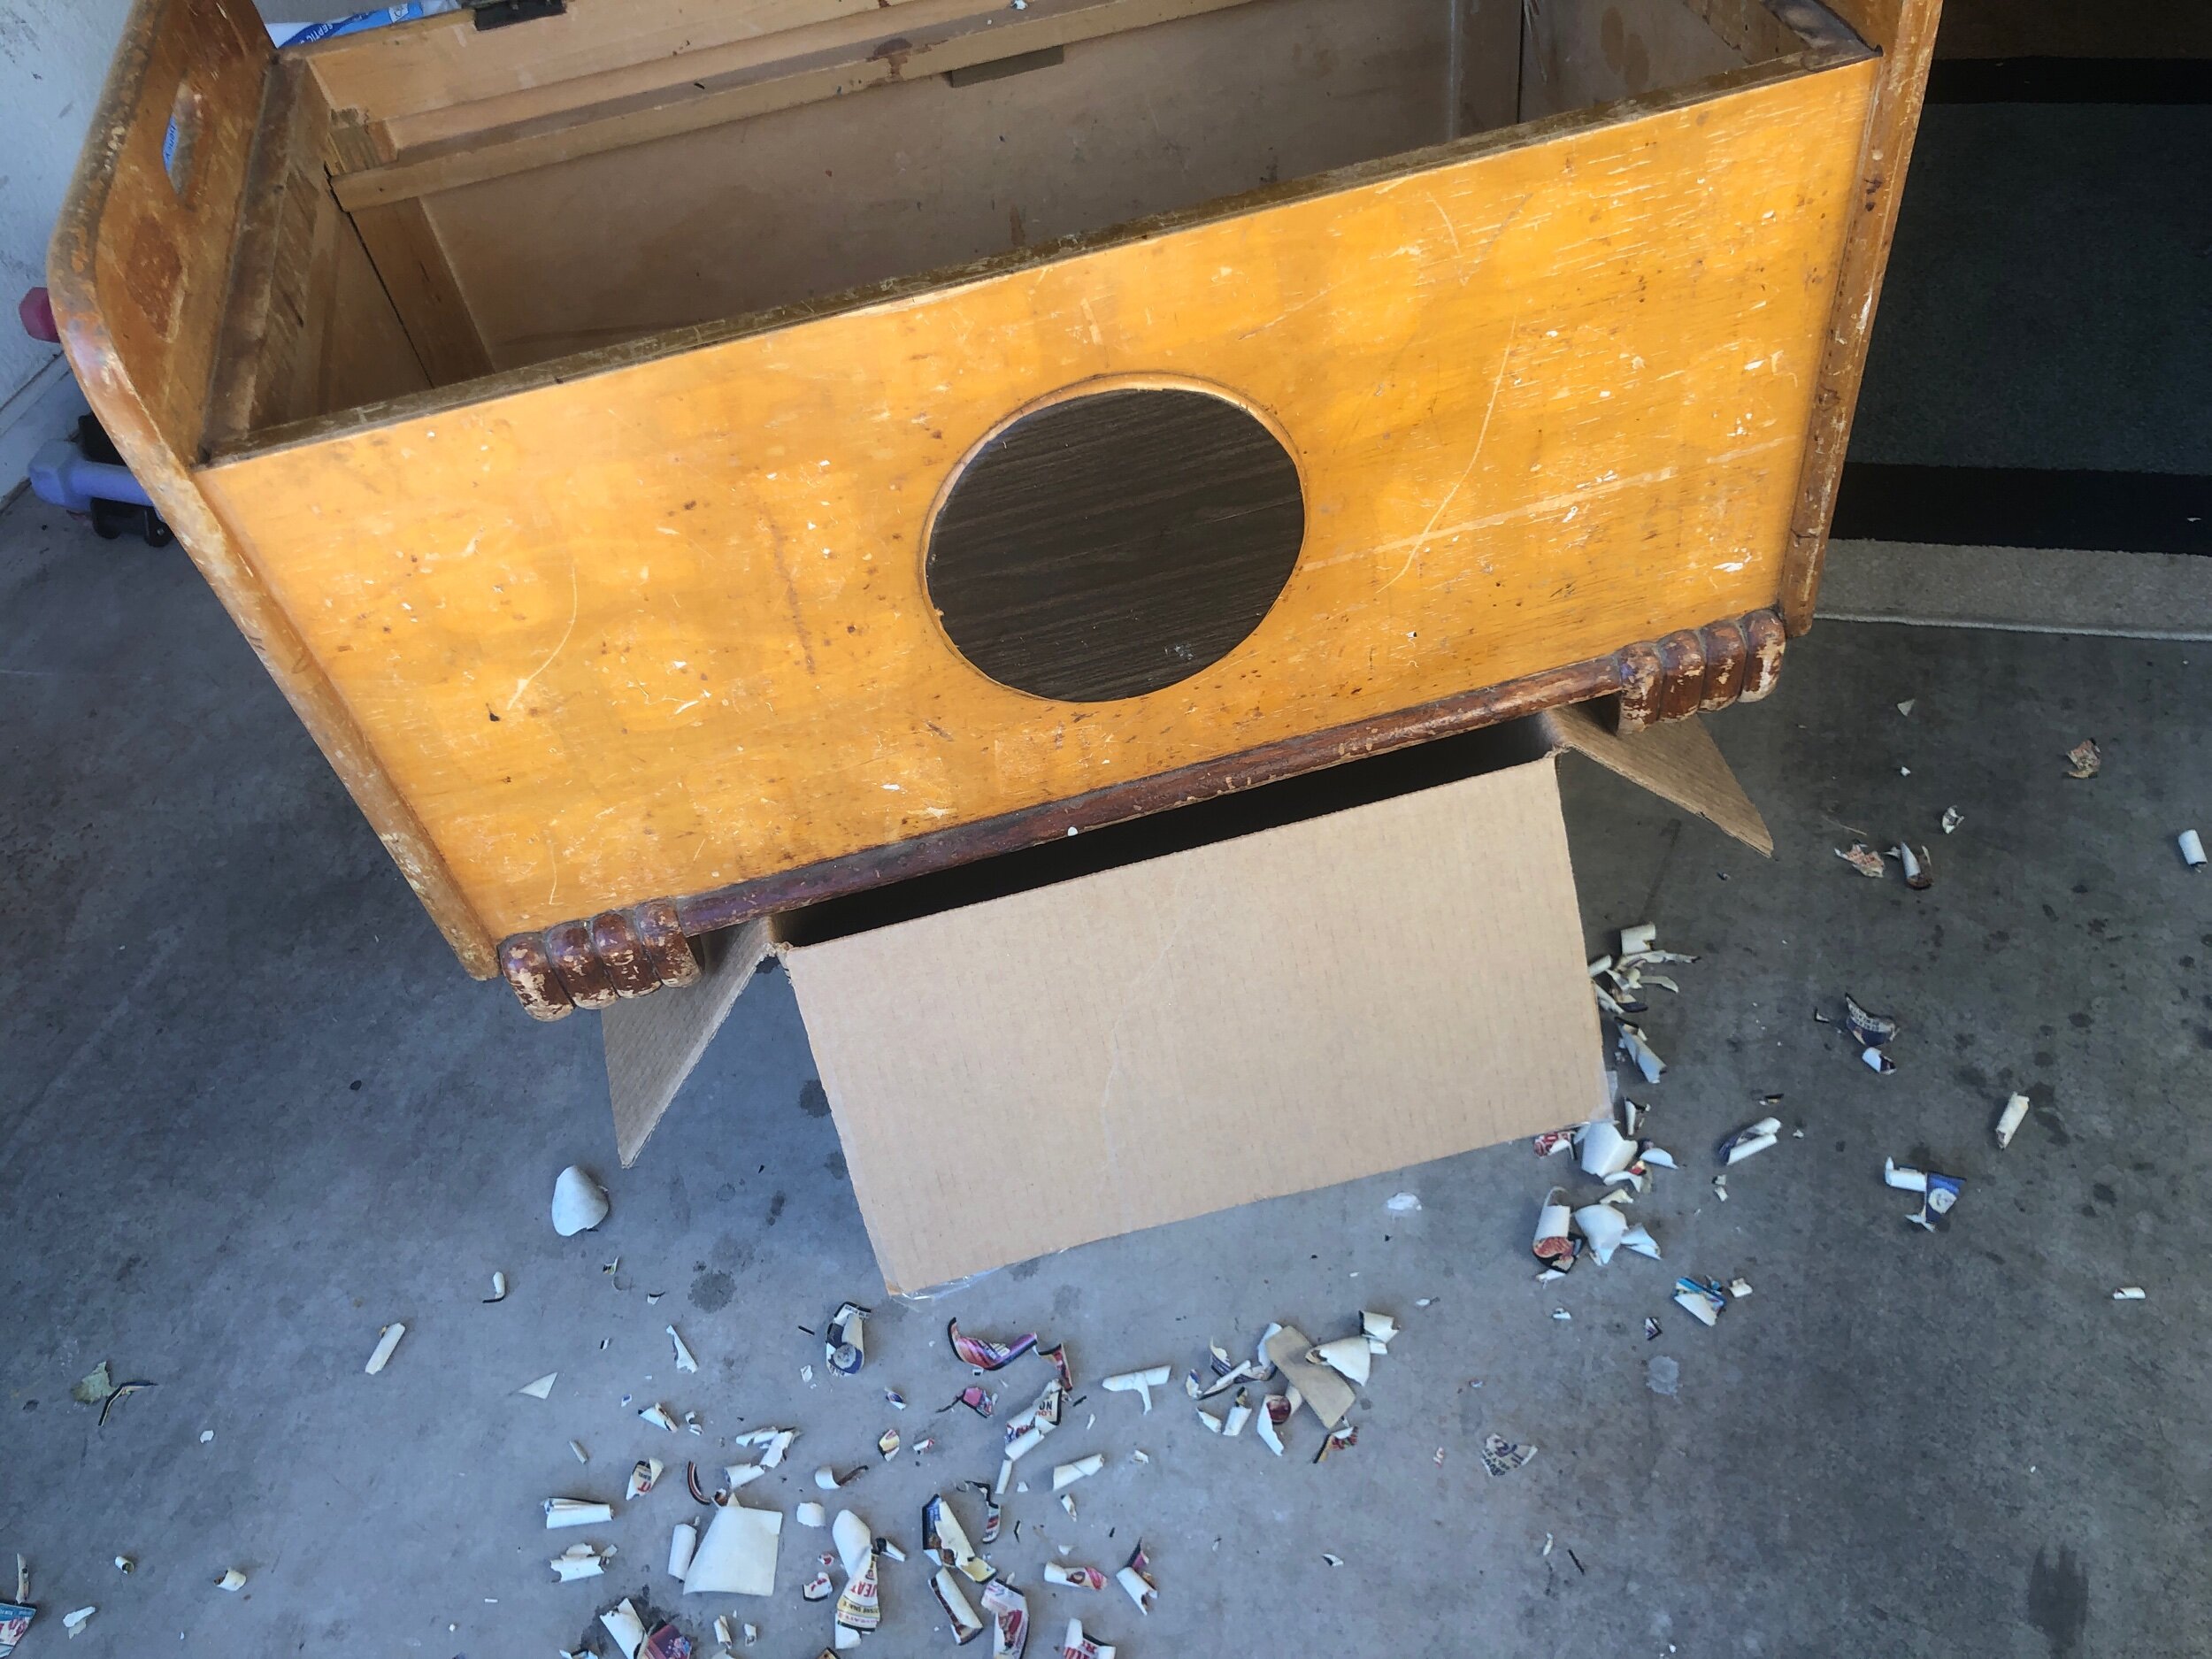
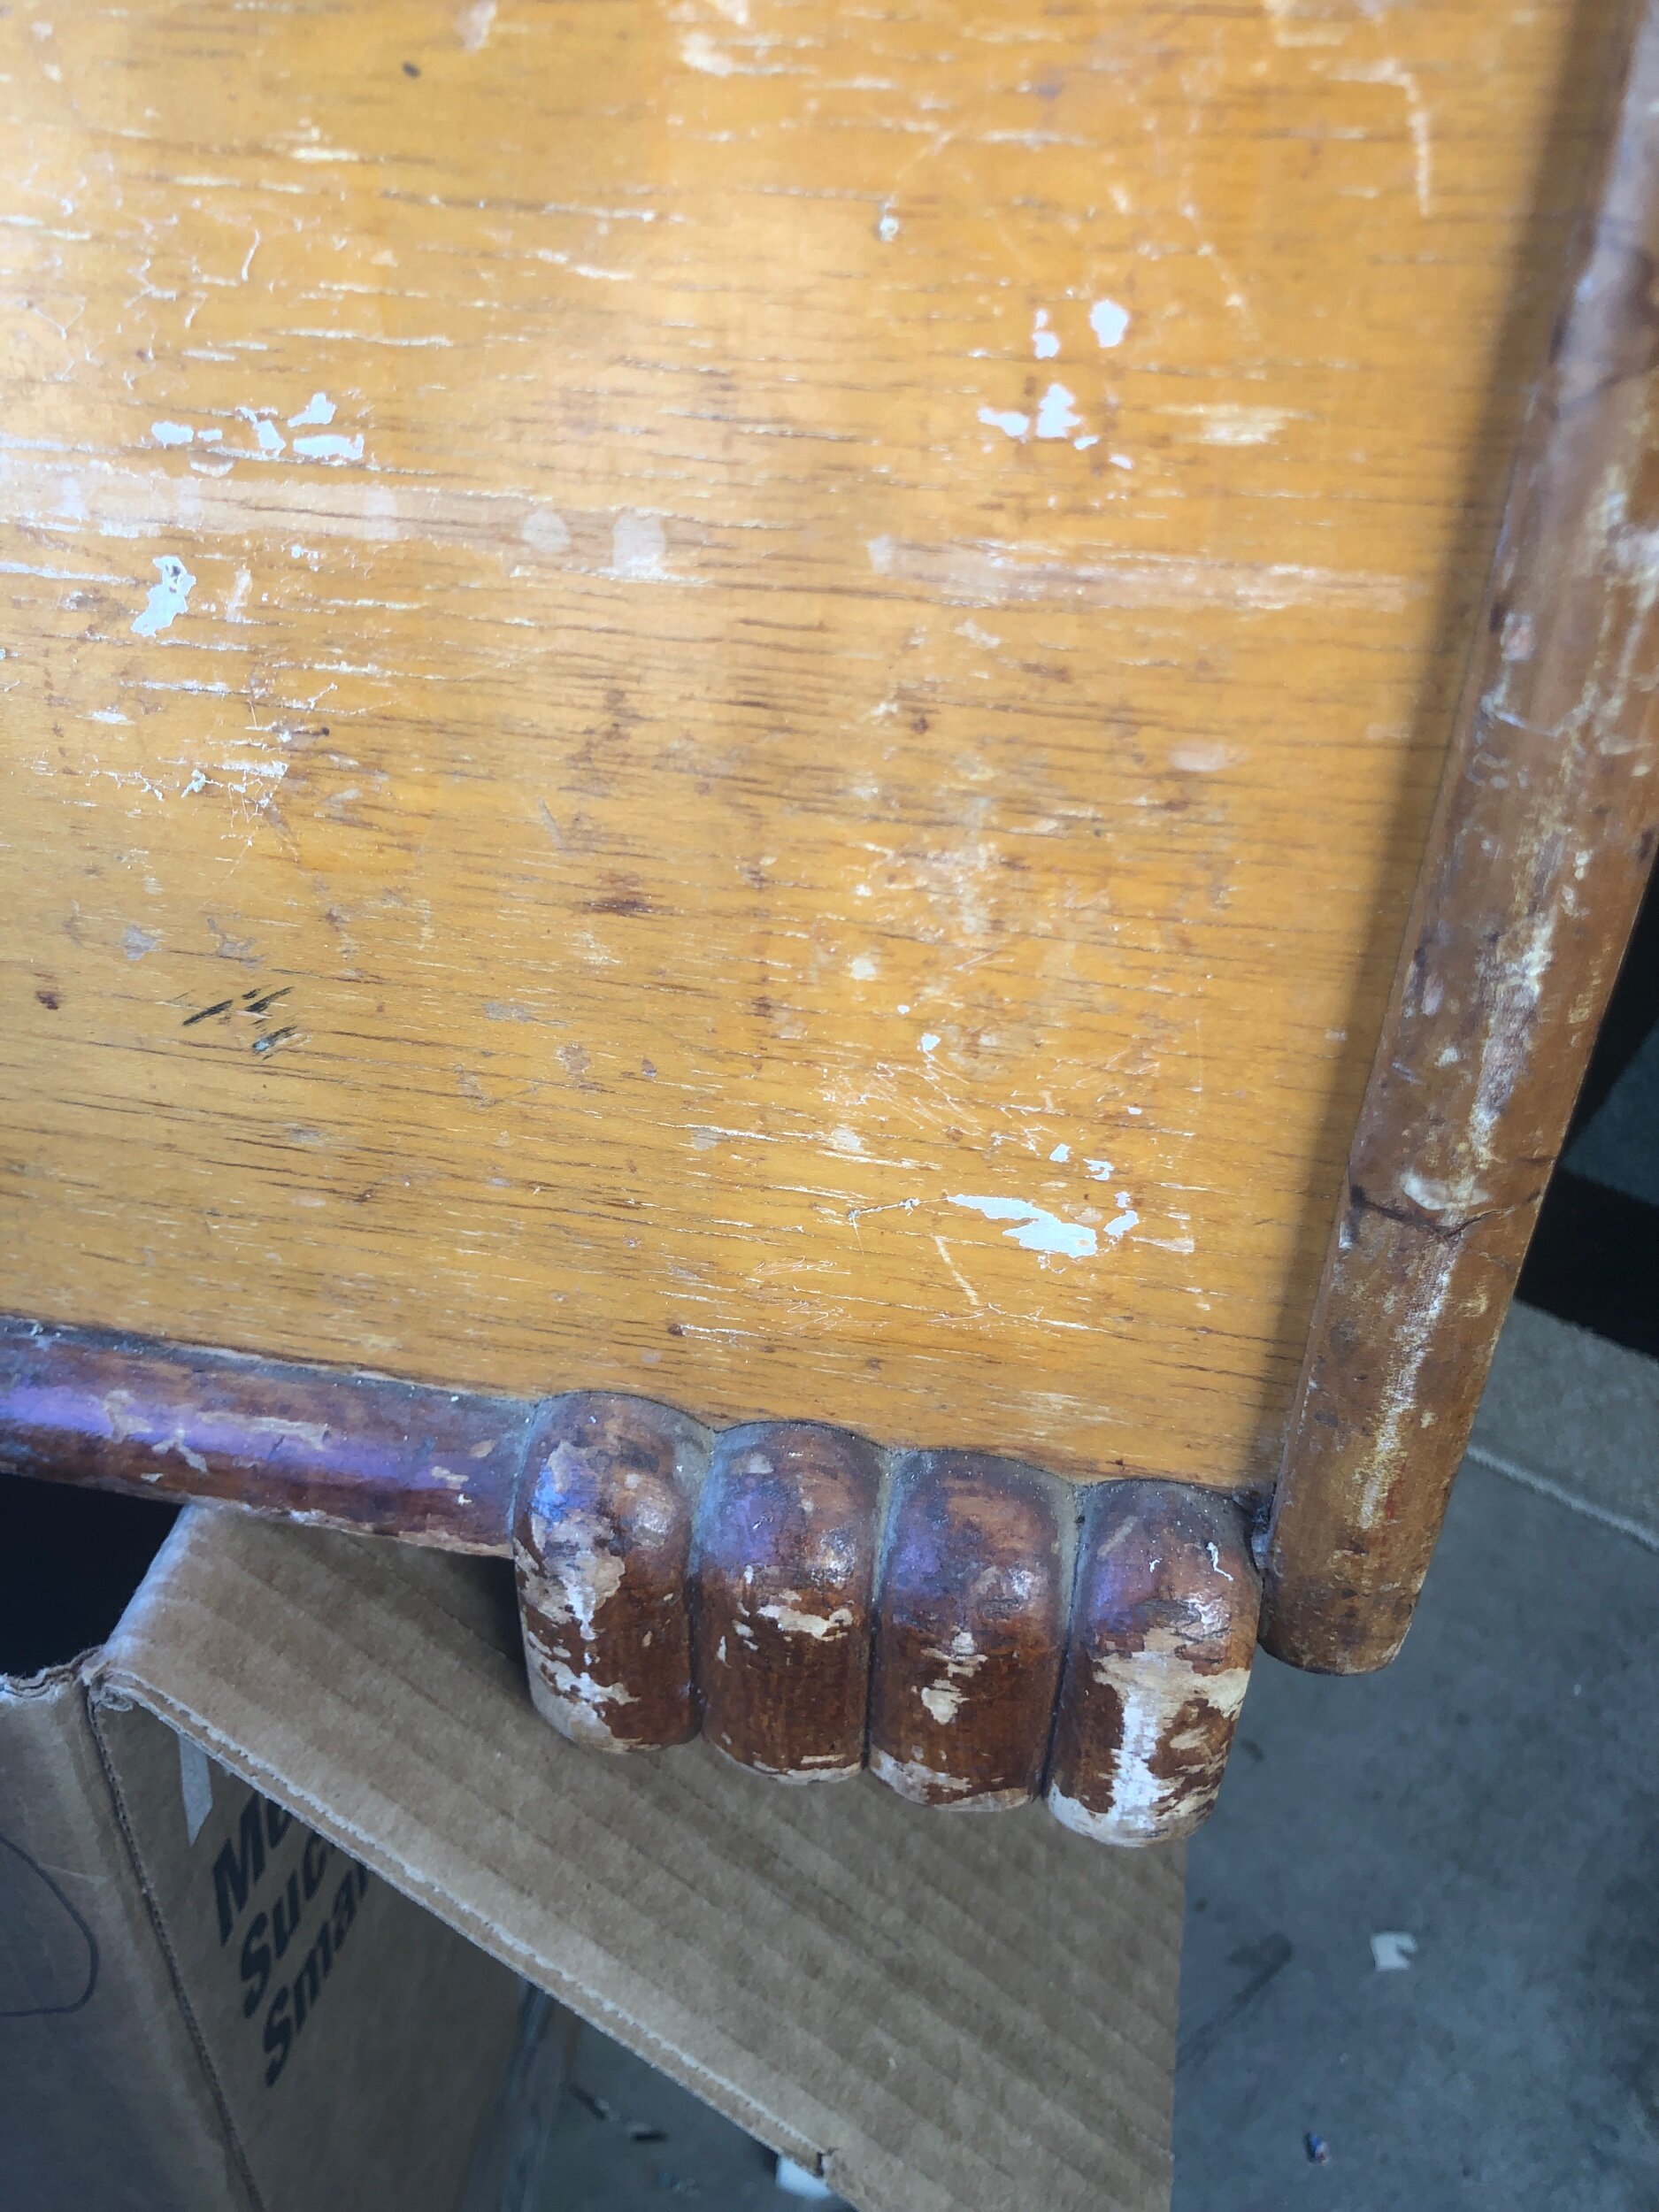
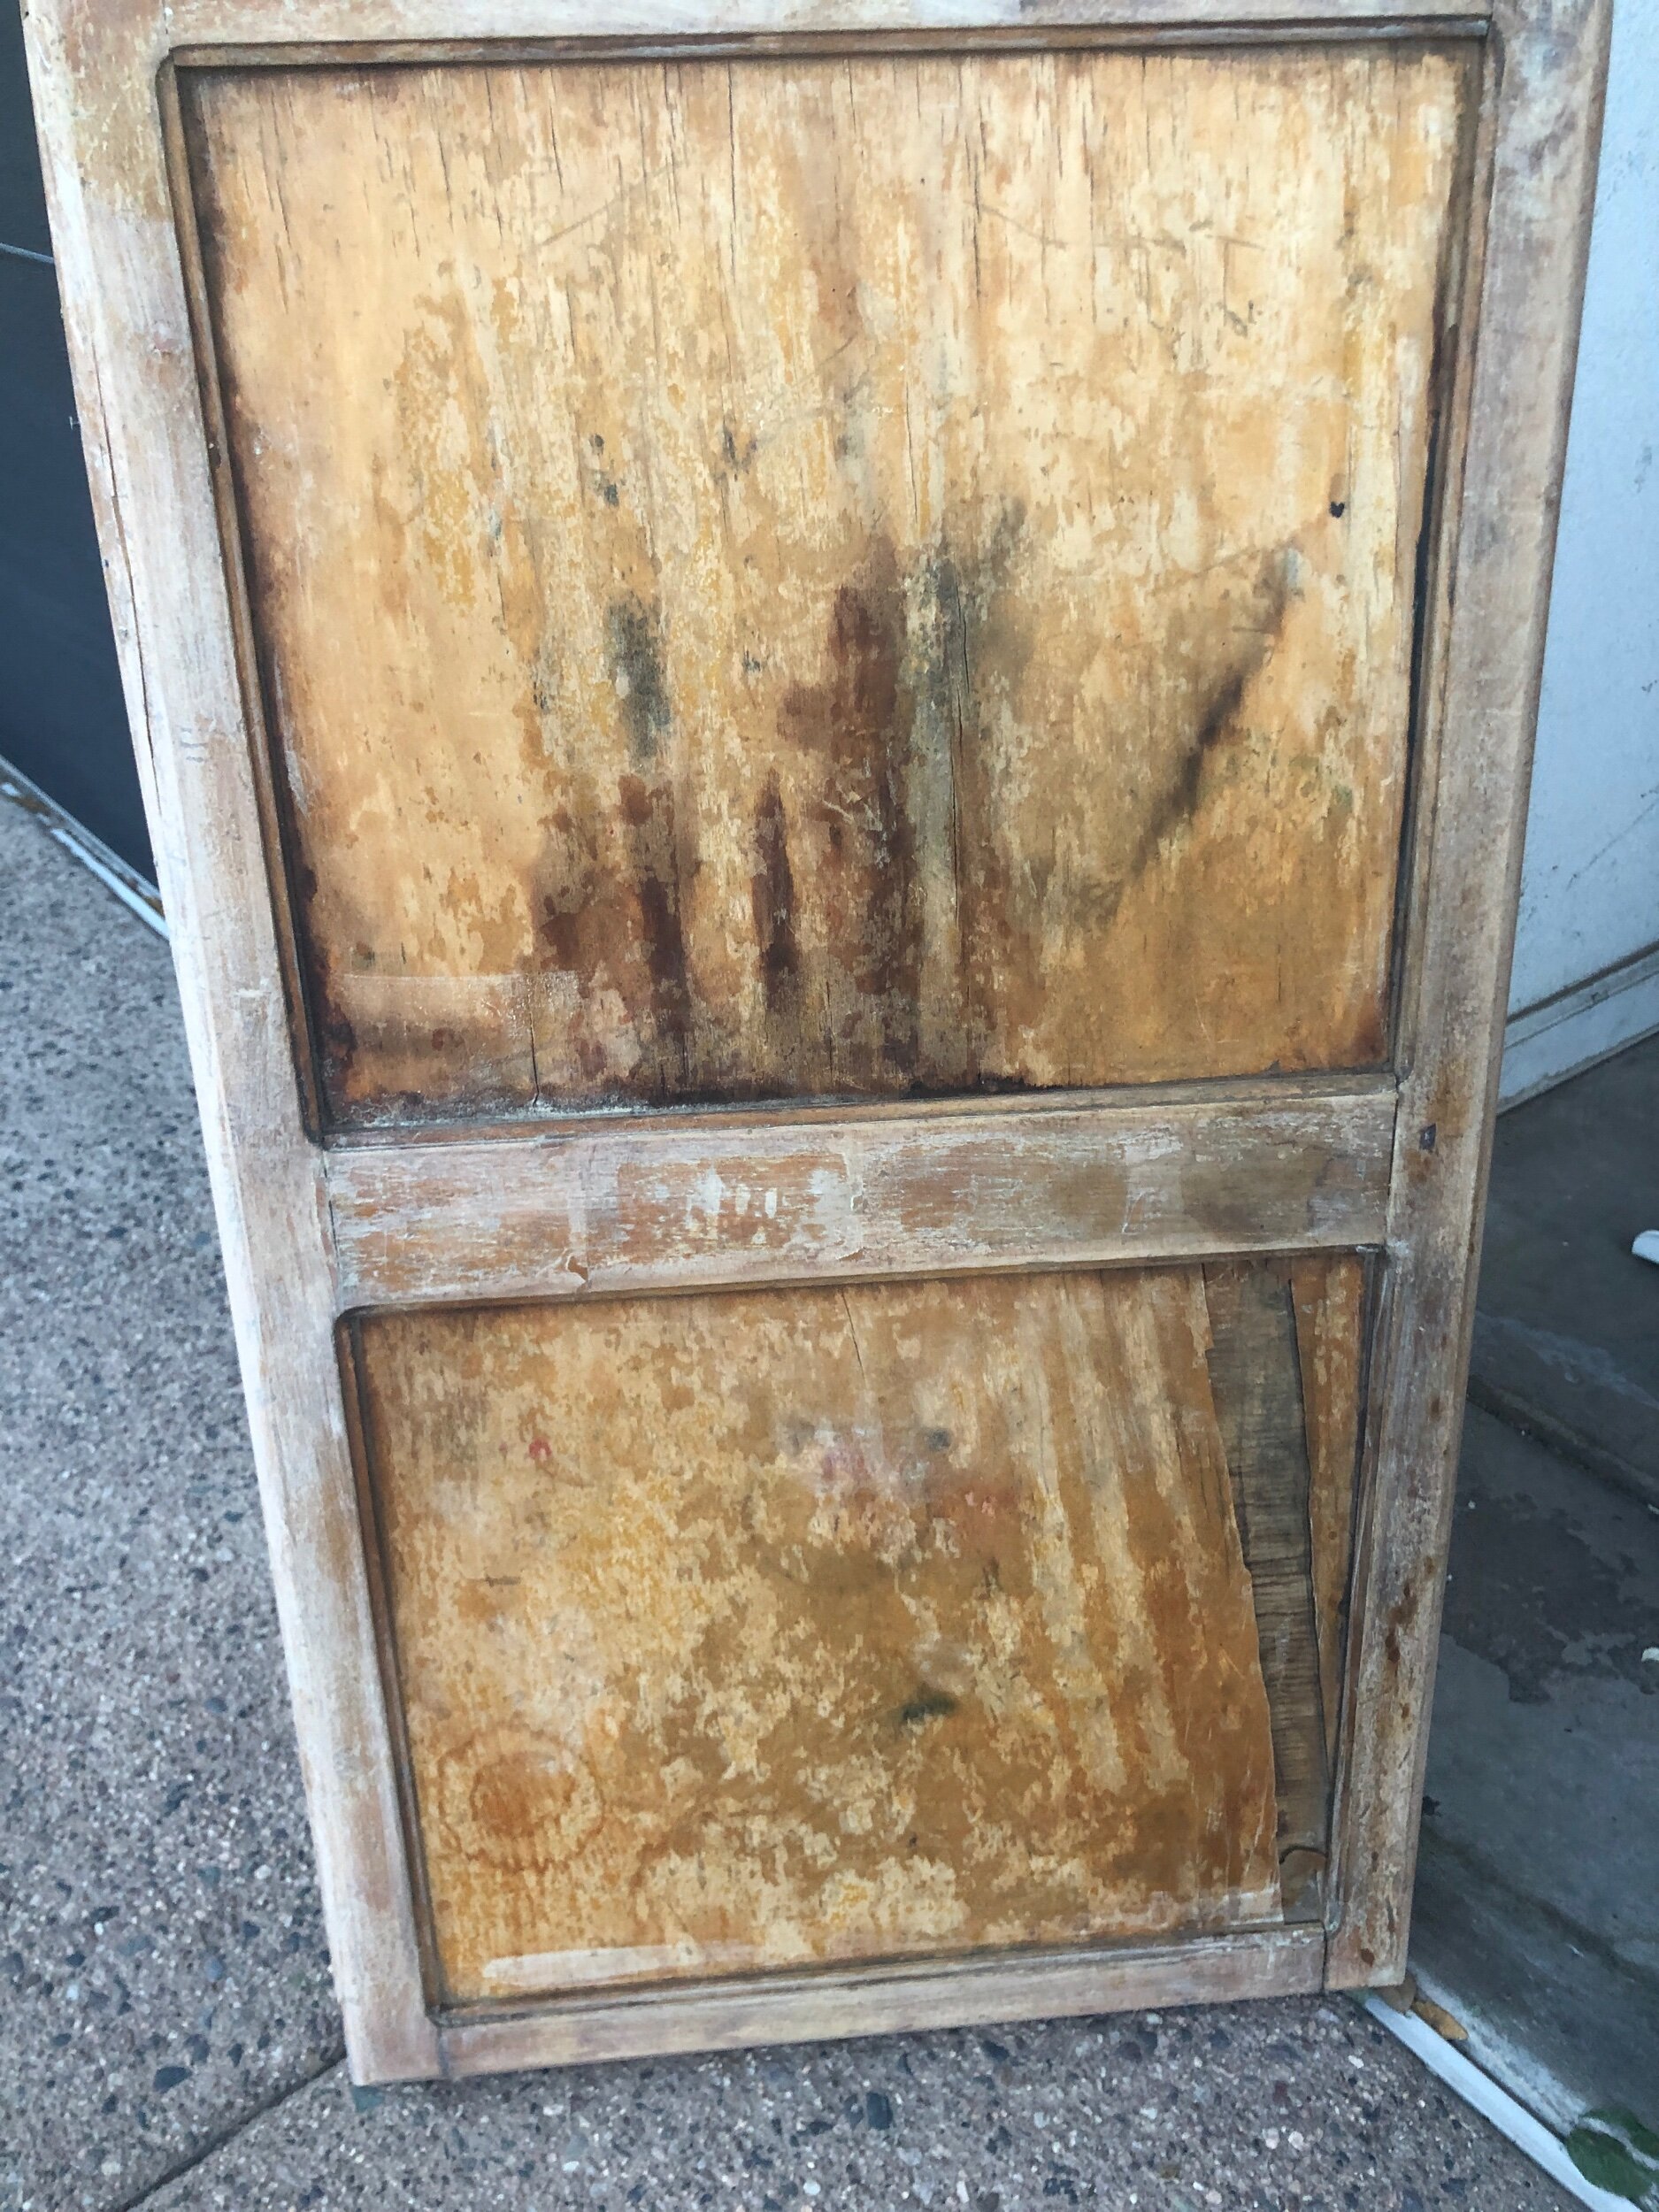
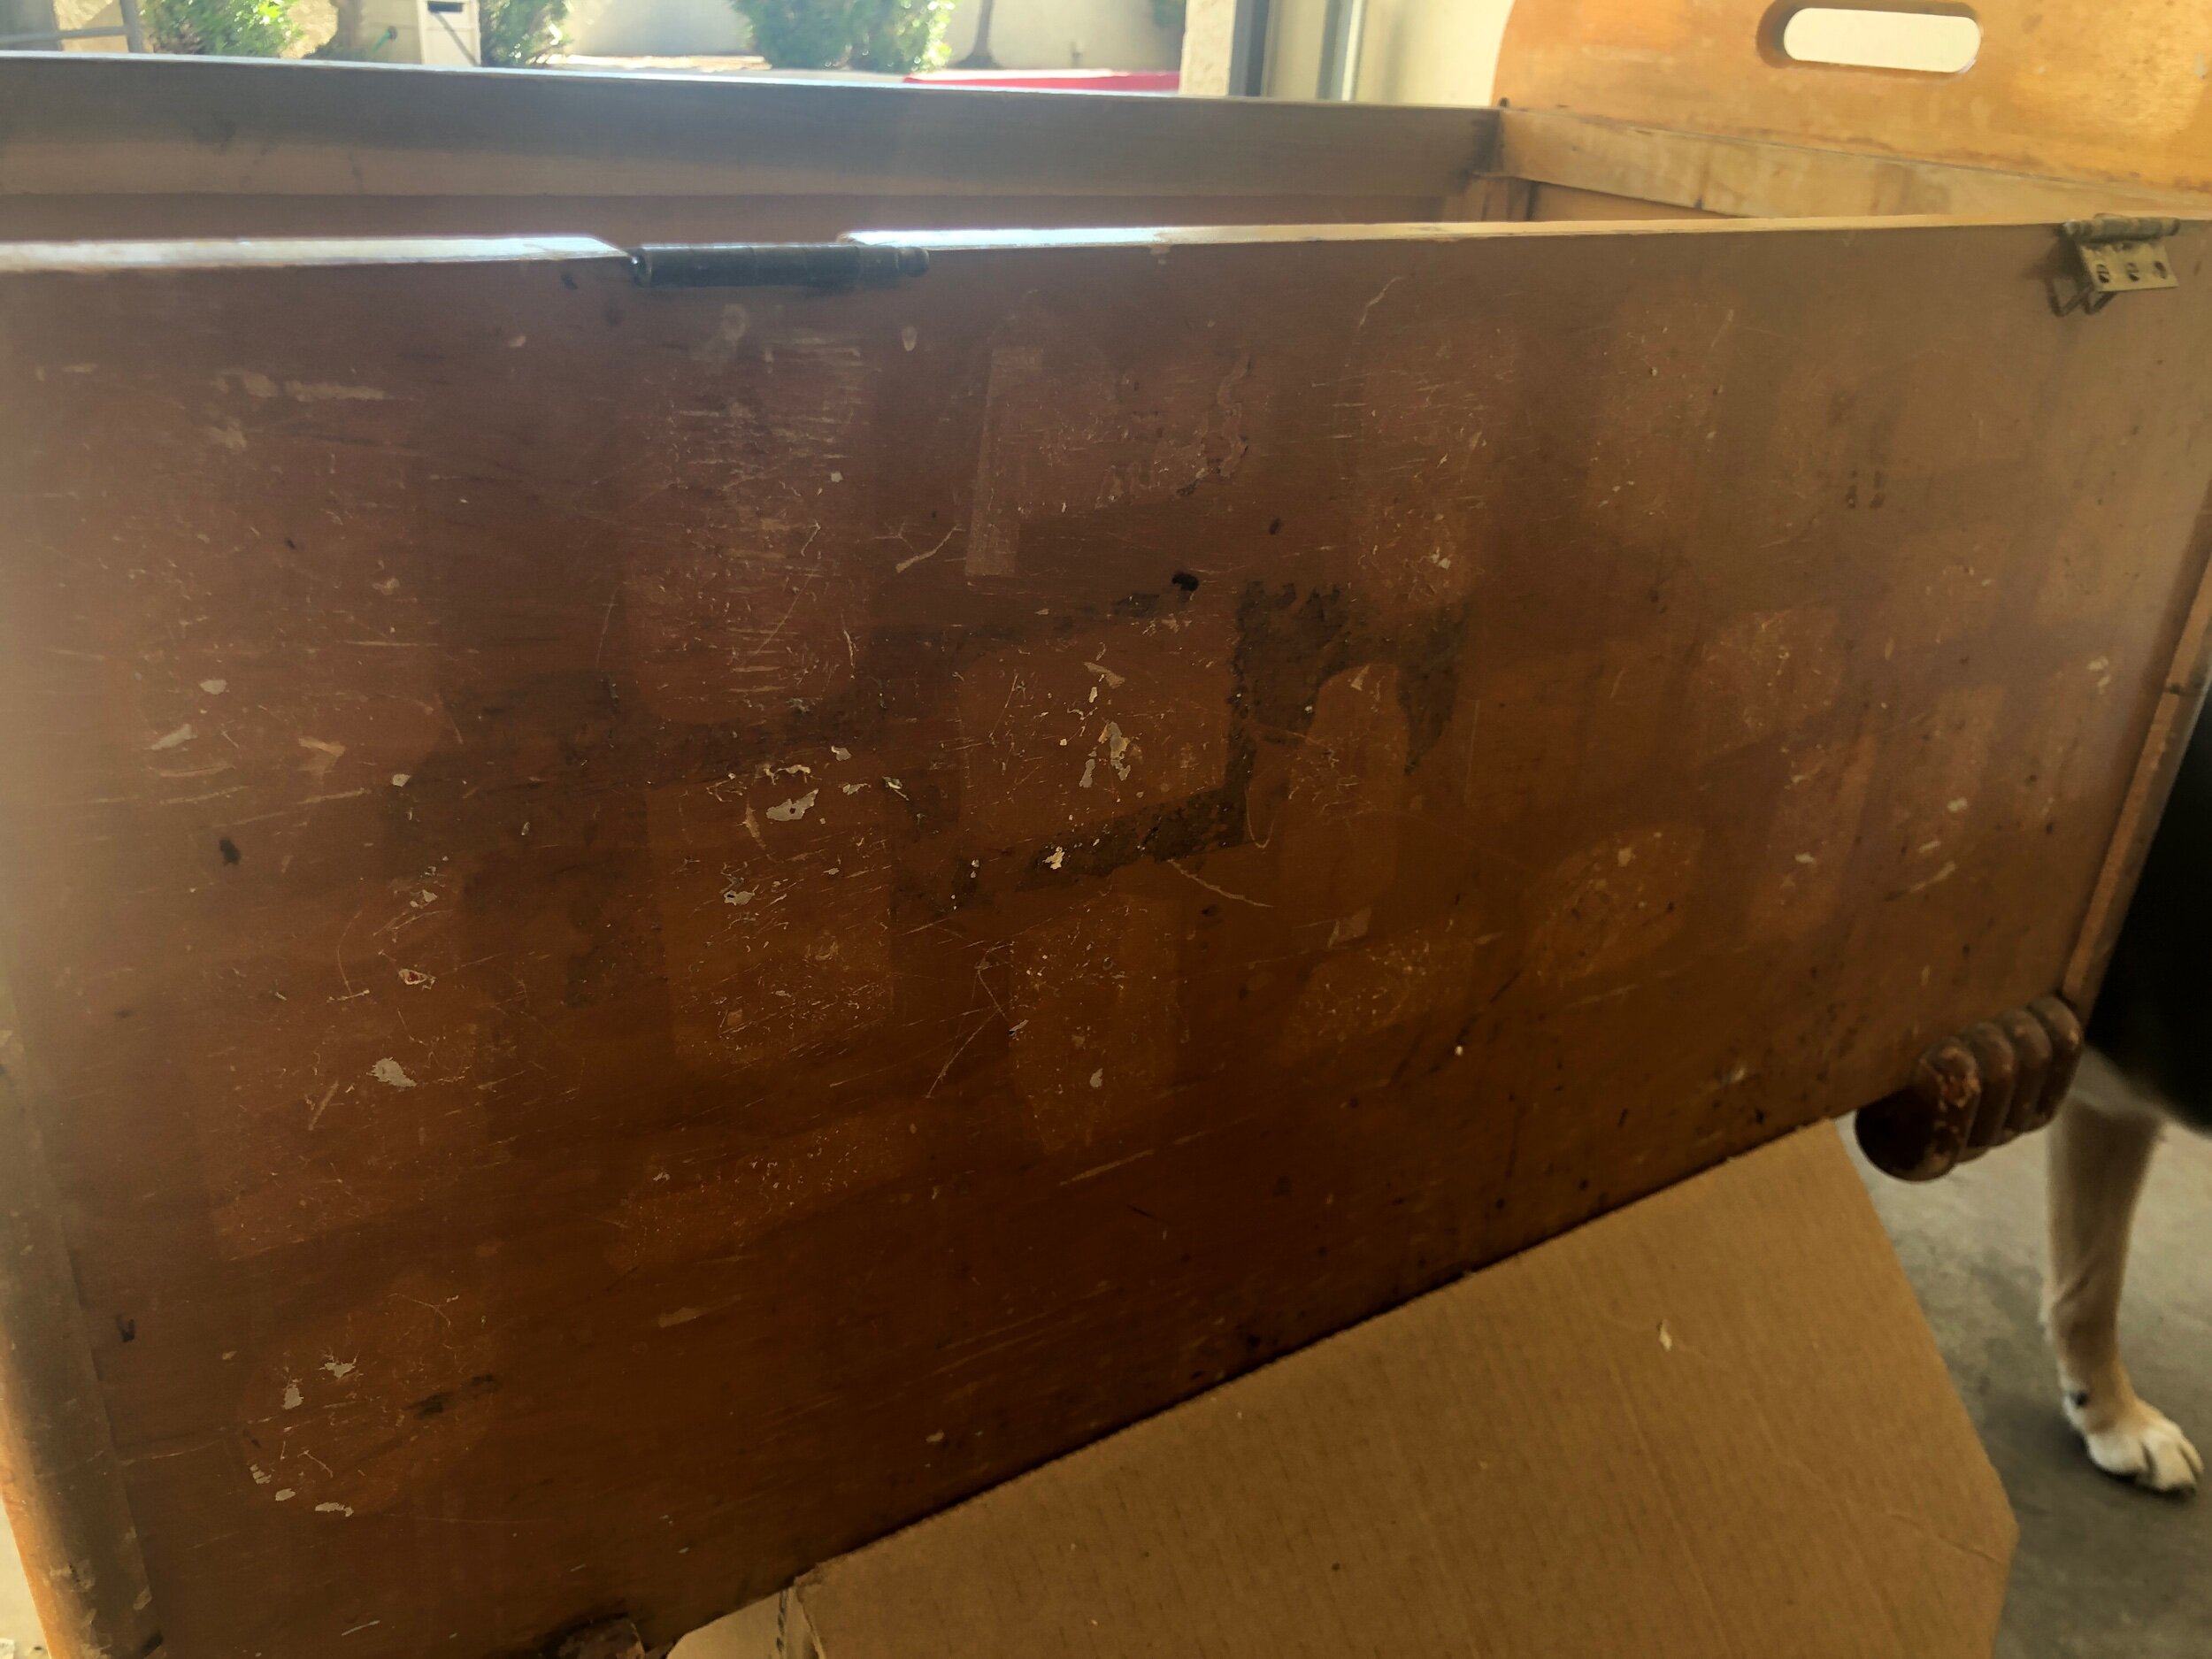
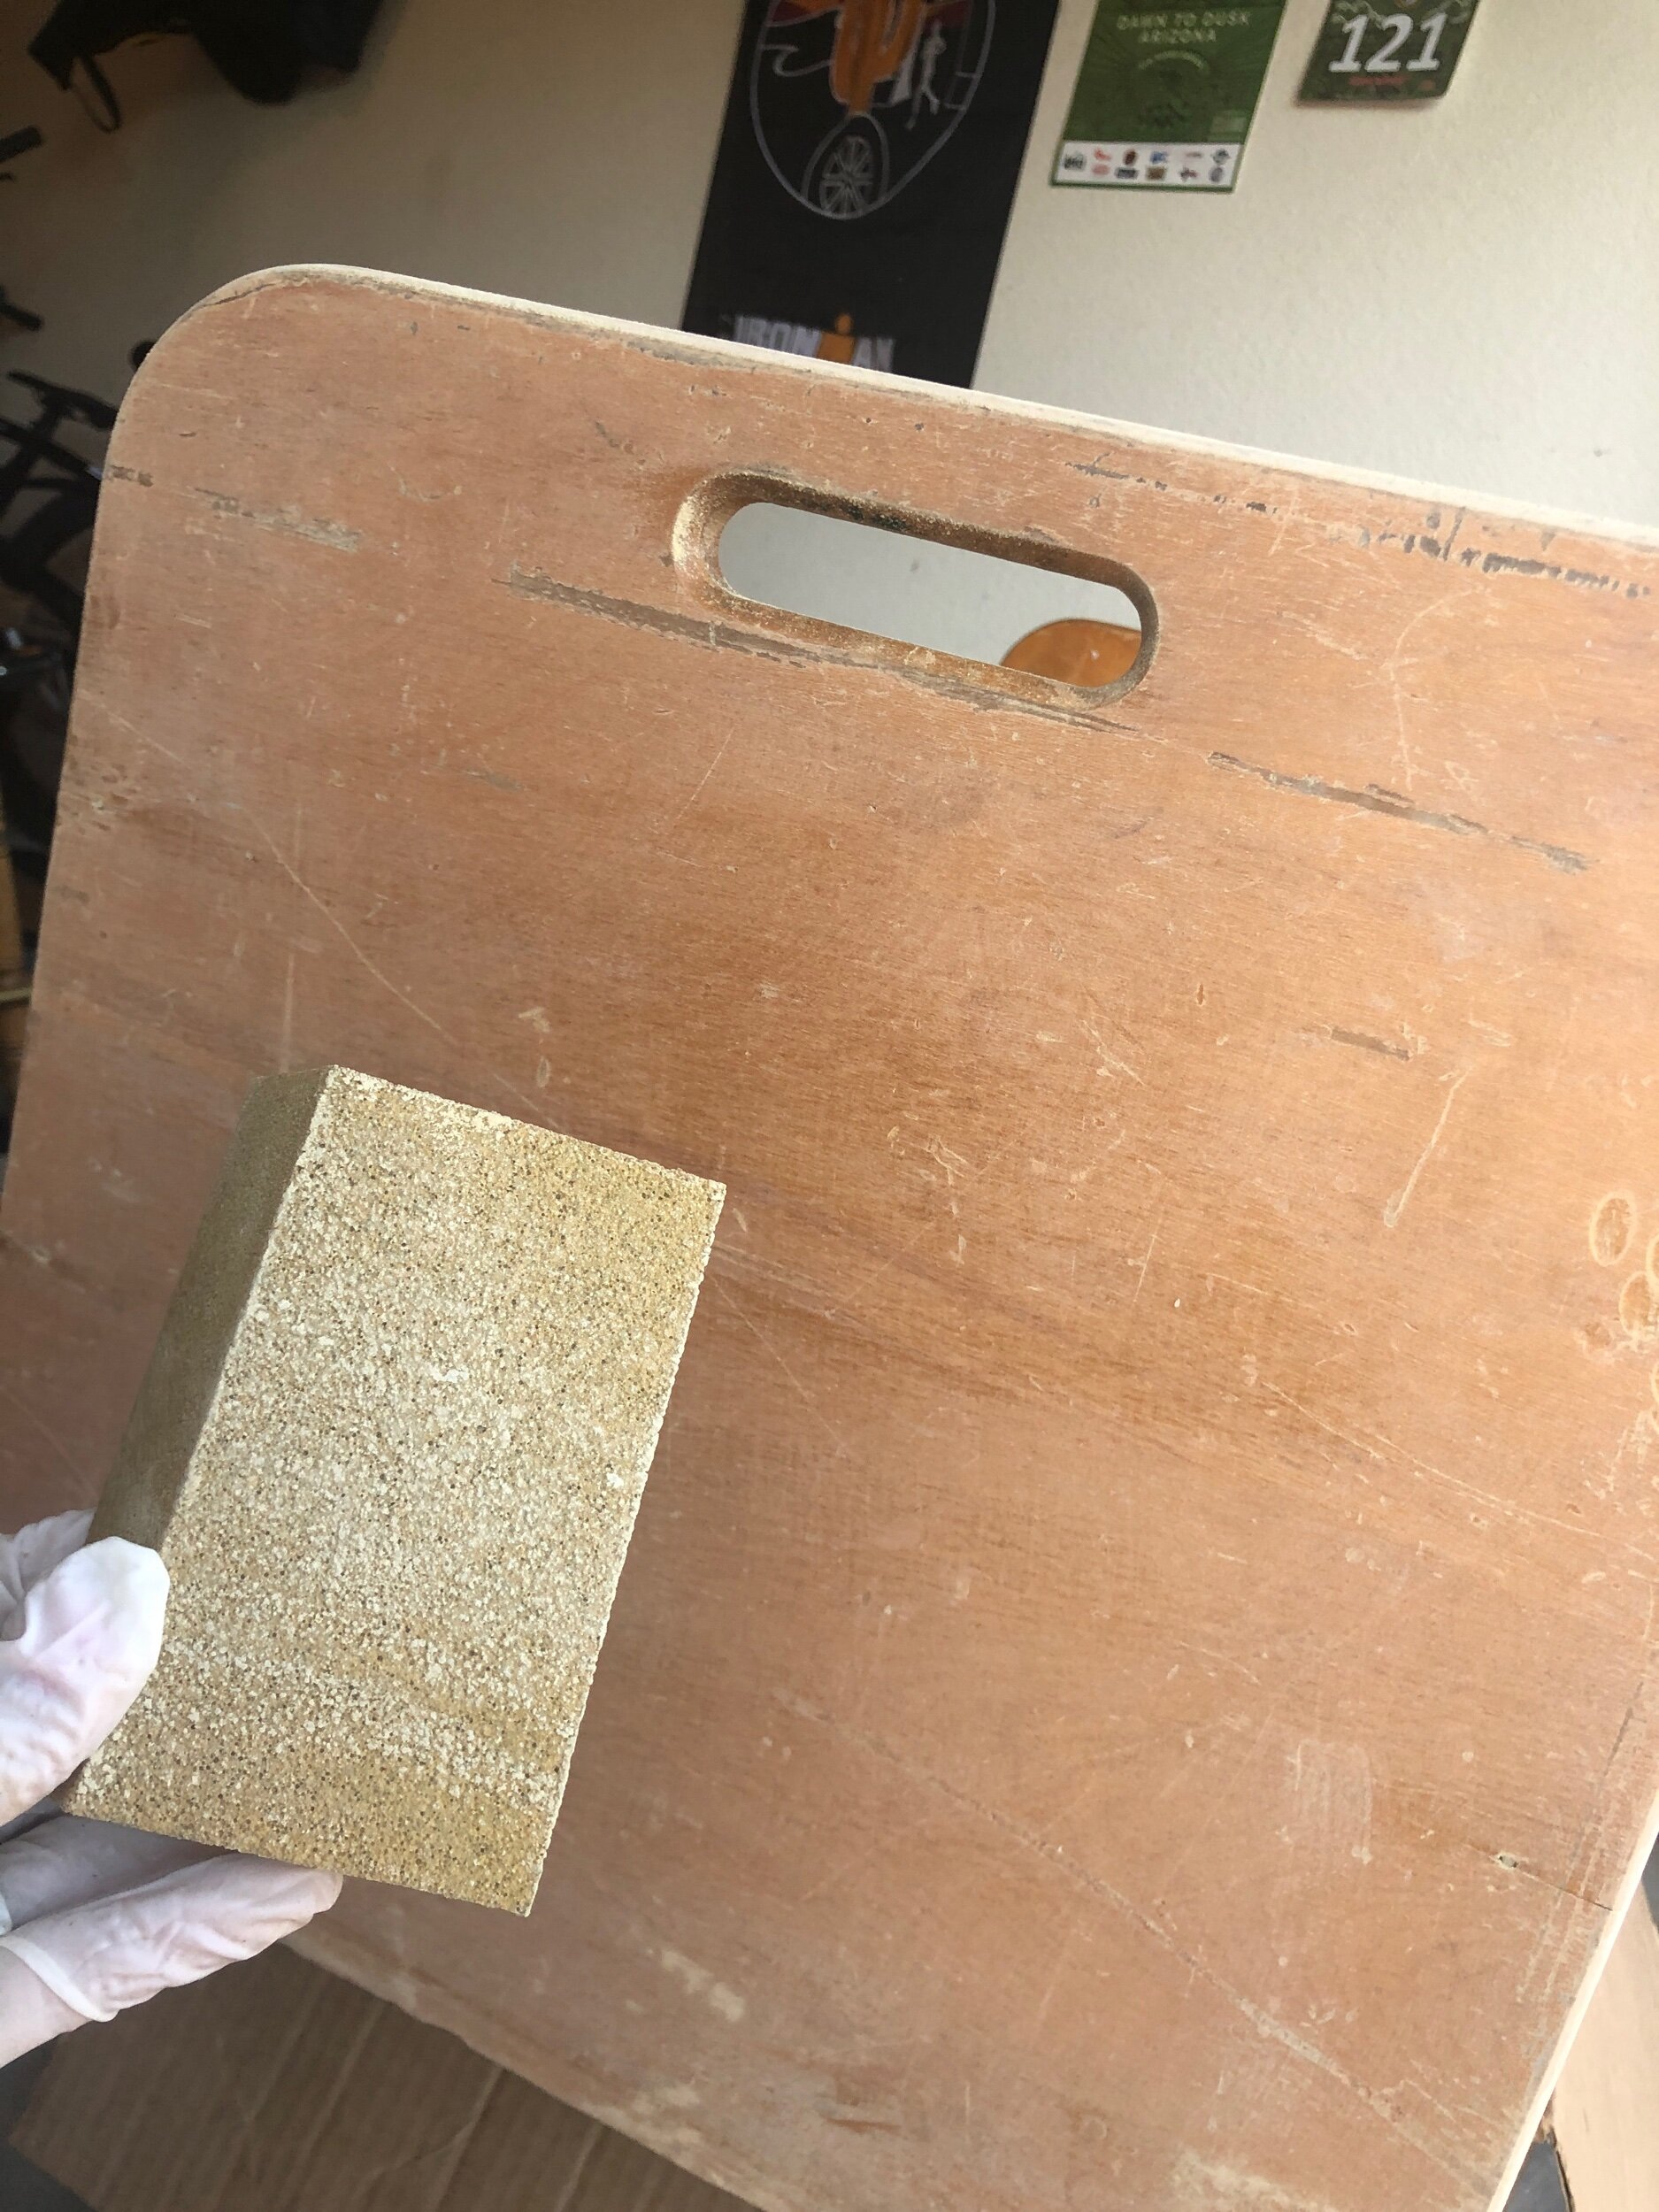
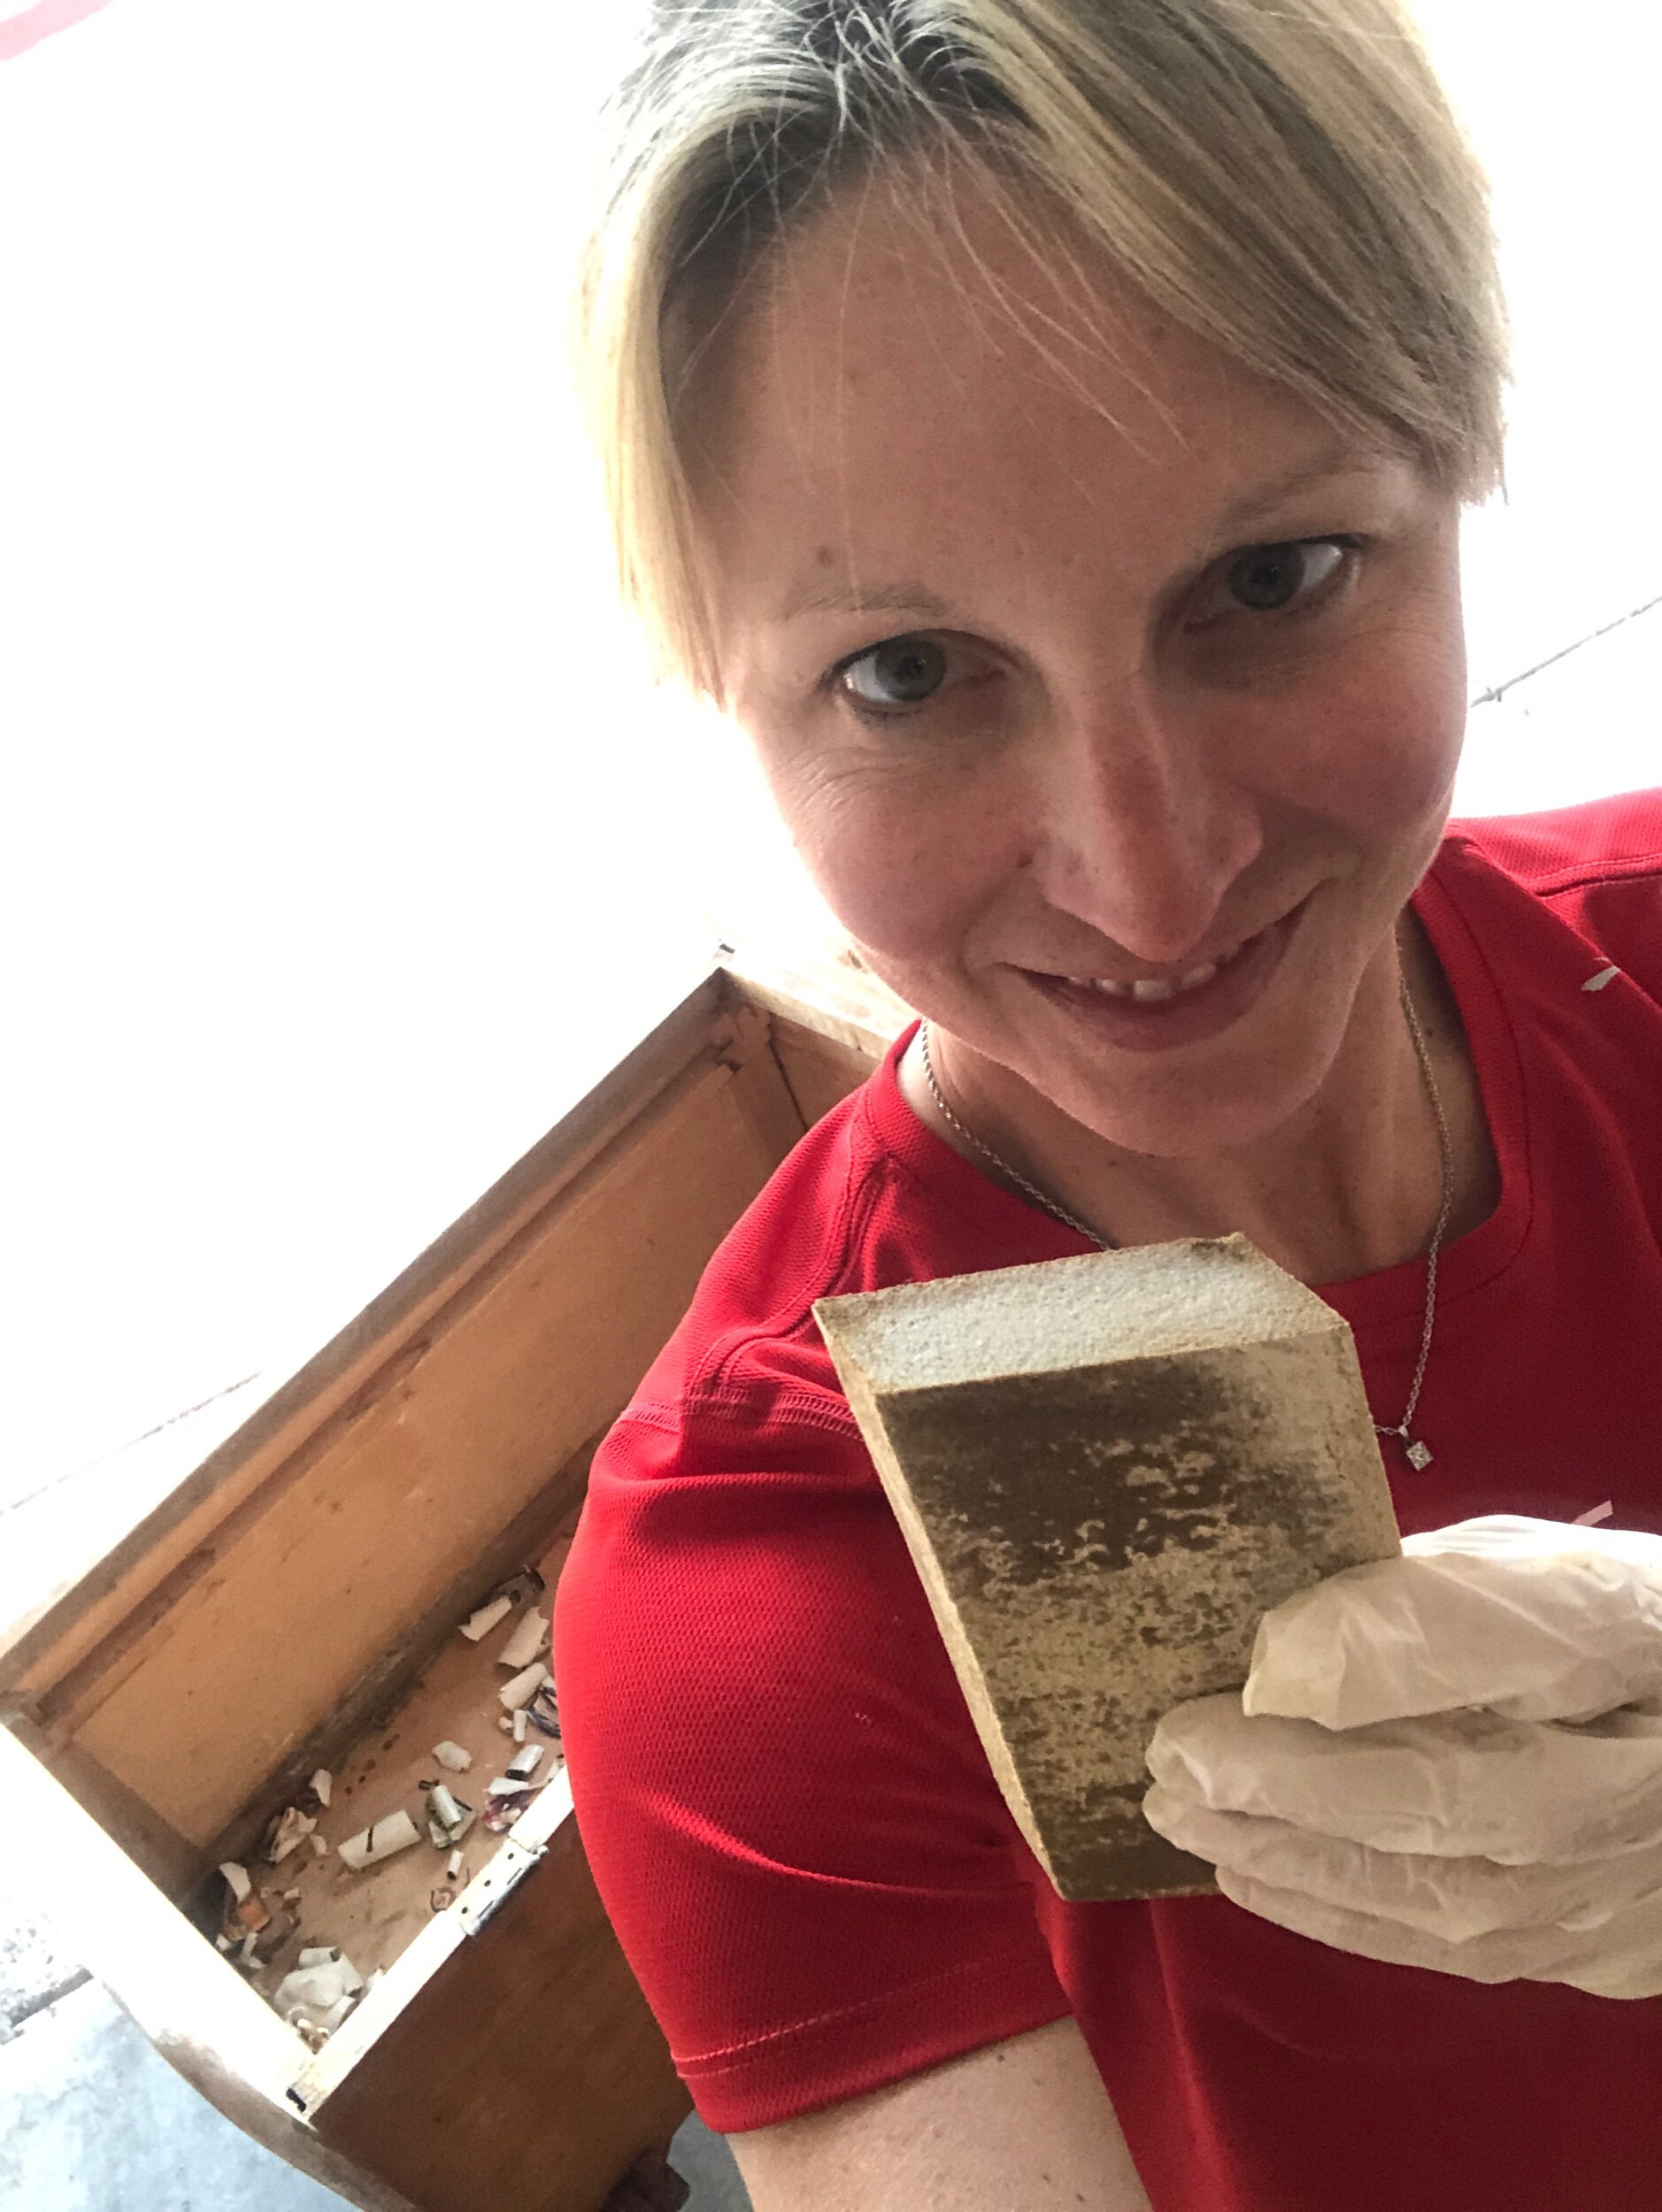
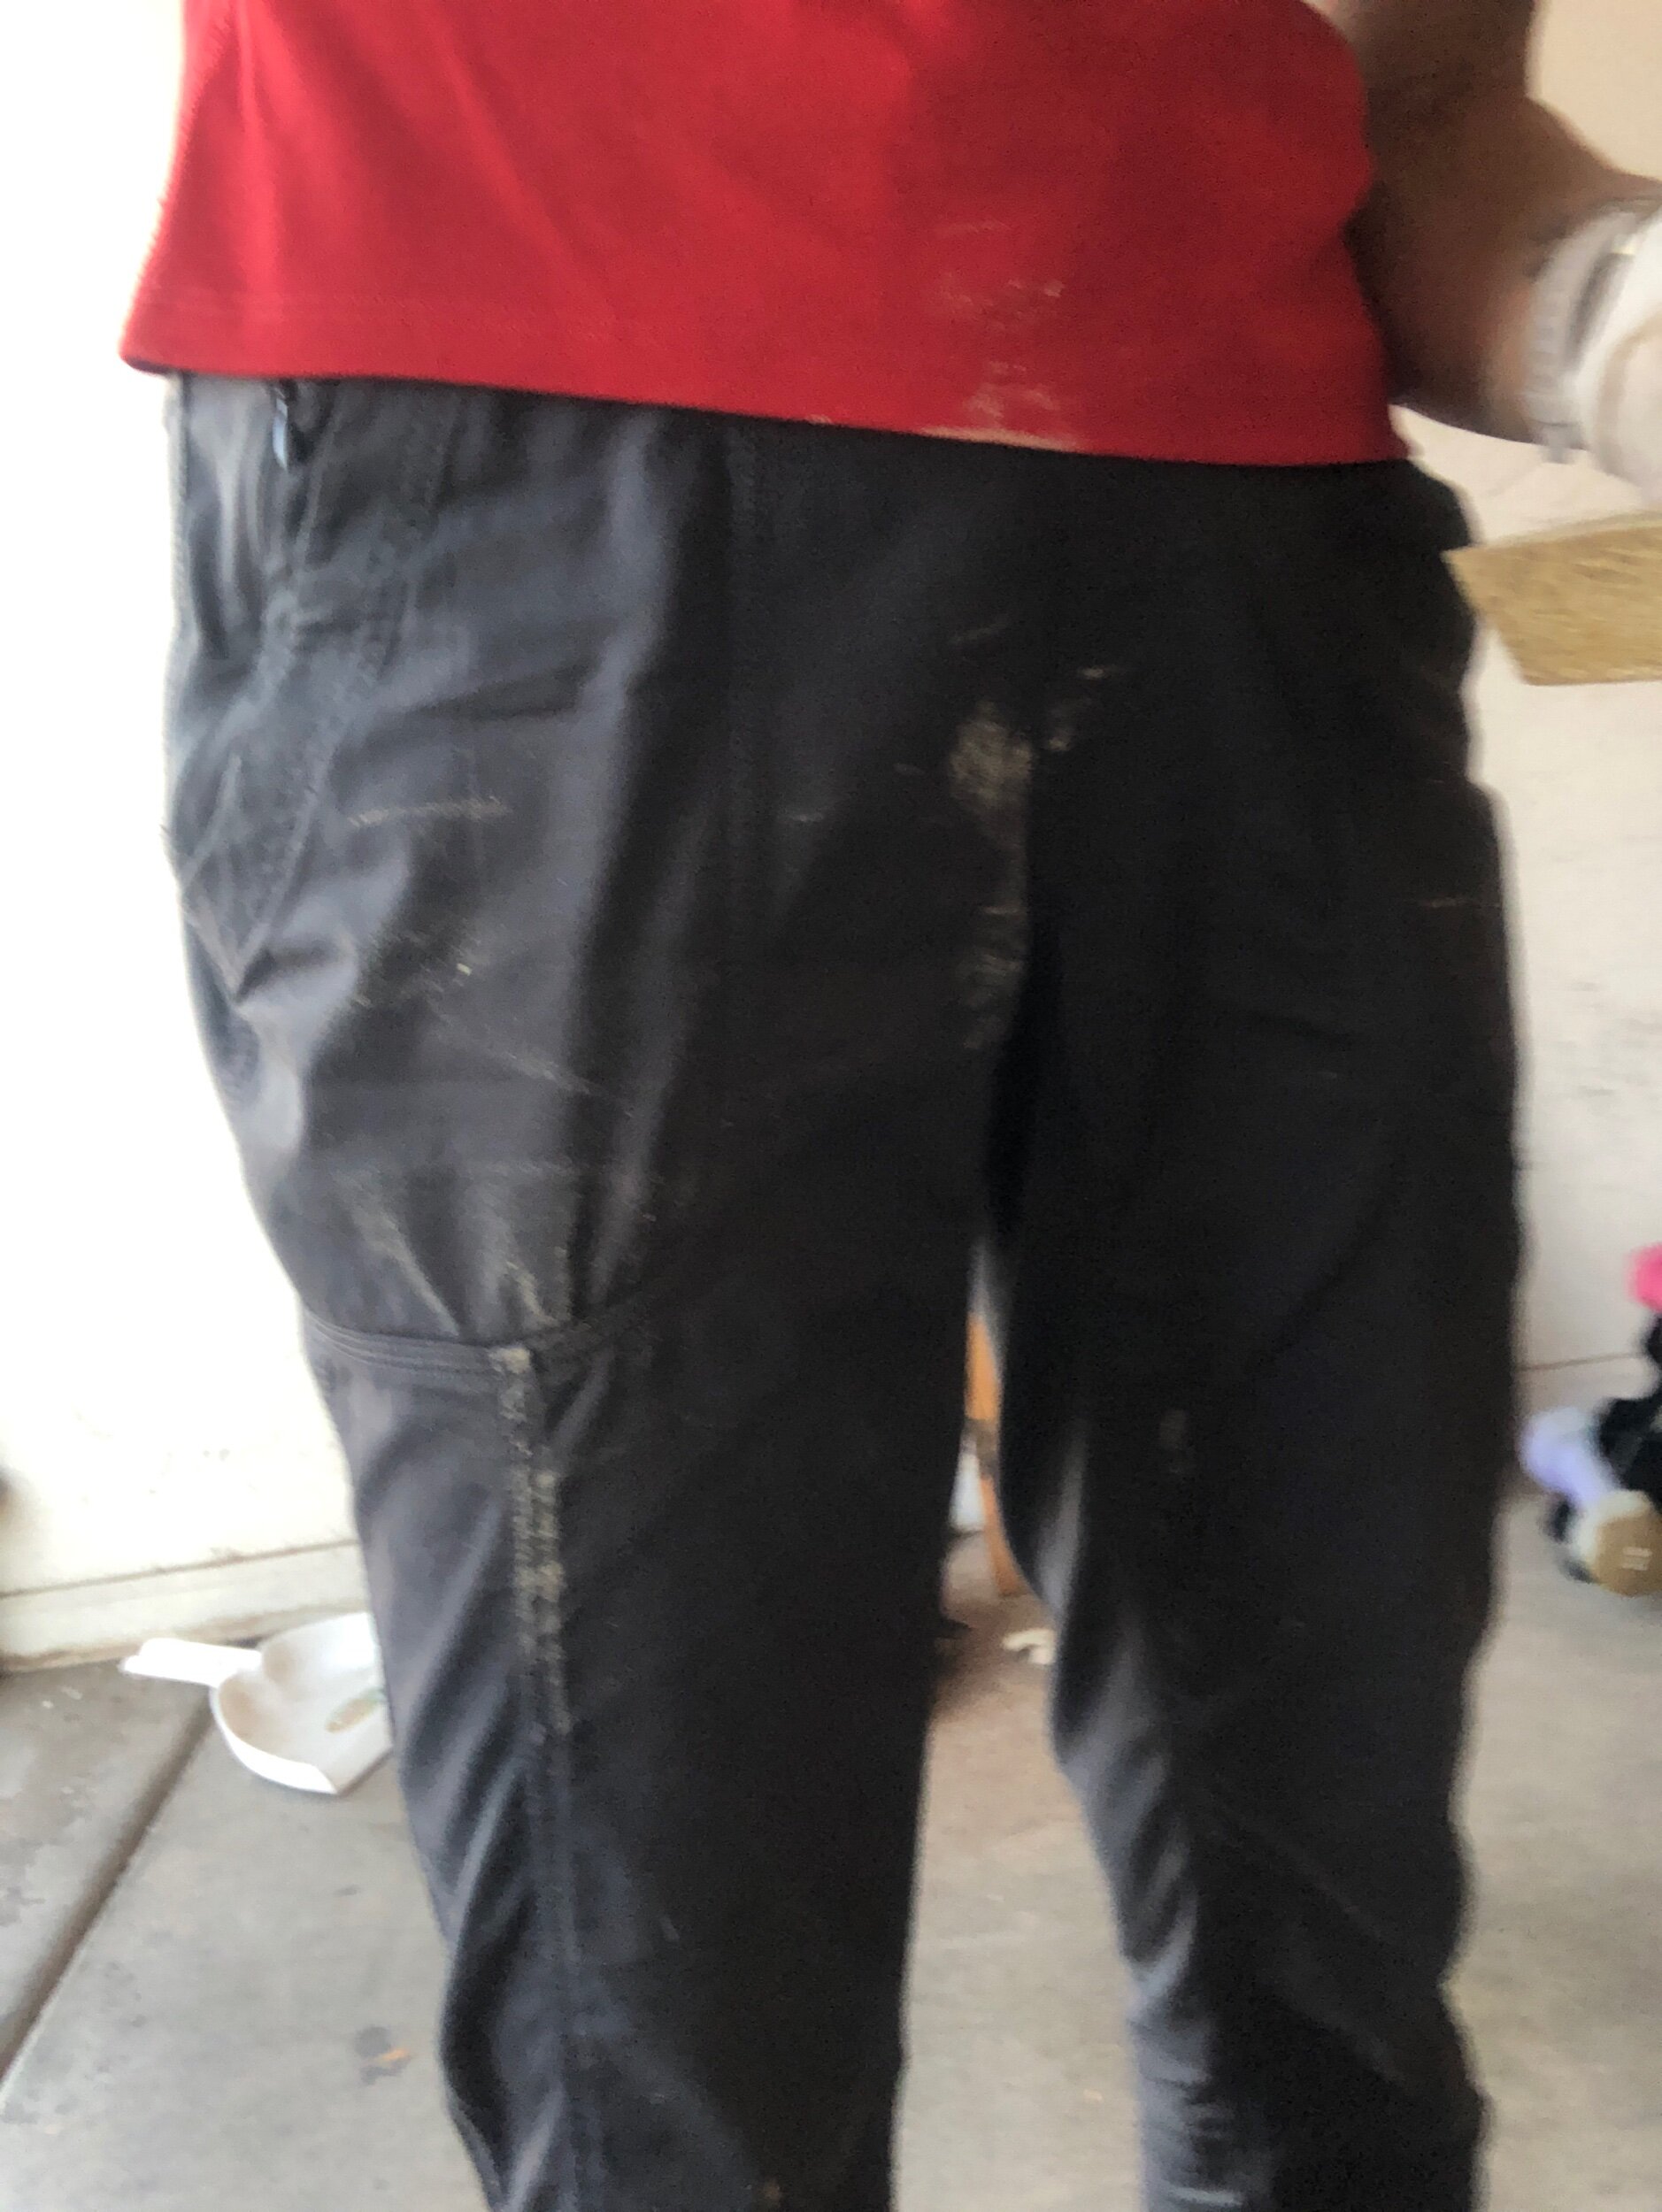
I knew I must be doing it right when I found myself covered in dust from sanding and the outlines from the stickers began to disappear…
Note- I didn’t decide to BIKE to Lowe’s to get all of the supplies UNTIL the stickers were all off. As if I lost patience there, then I wasn’t going to proceed in spending money on this. But once stickers were off I donned my helmet and rode to Lowe’s. Where I proceeded to invest almost $100 in products for this project. 🤦♀️
🤔 is it worth investing $100 and time in a project simply to reuse ♻️ something and keep it from the landfill? I could buy something new for $100 and save myself the time (and dust), but it would be cheaply-made for that price. I don’t know?! The jury is still out on this investment BUT what I will say is that the supplies can also be used for other projects also. (Hoping that proves true). Also -biking to buy this stuff made me feel a little better. 🚴 🌍 …

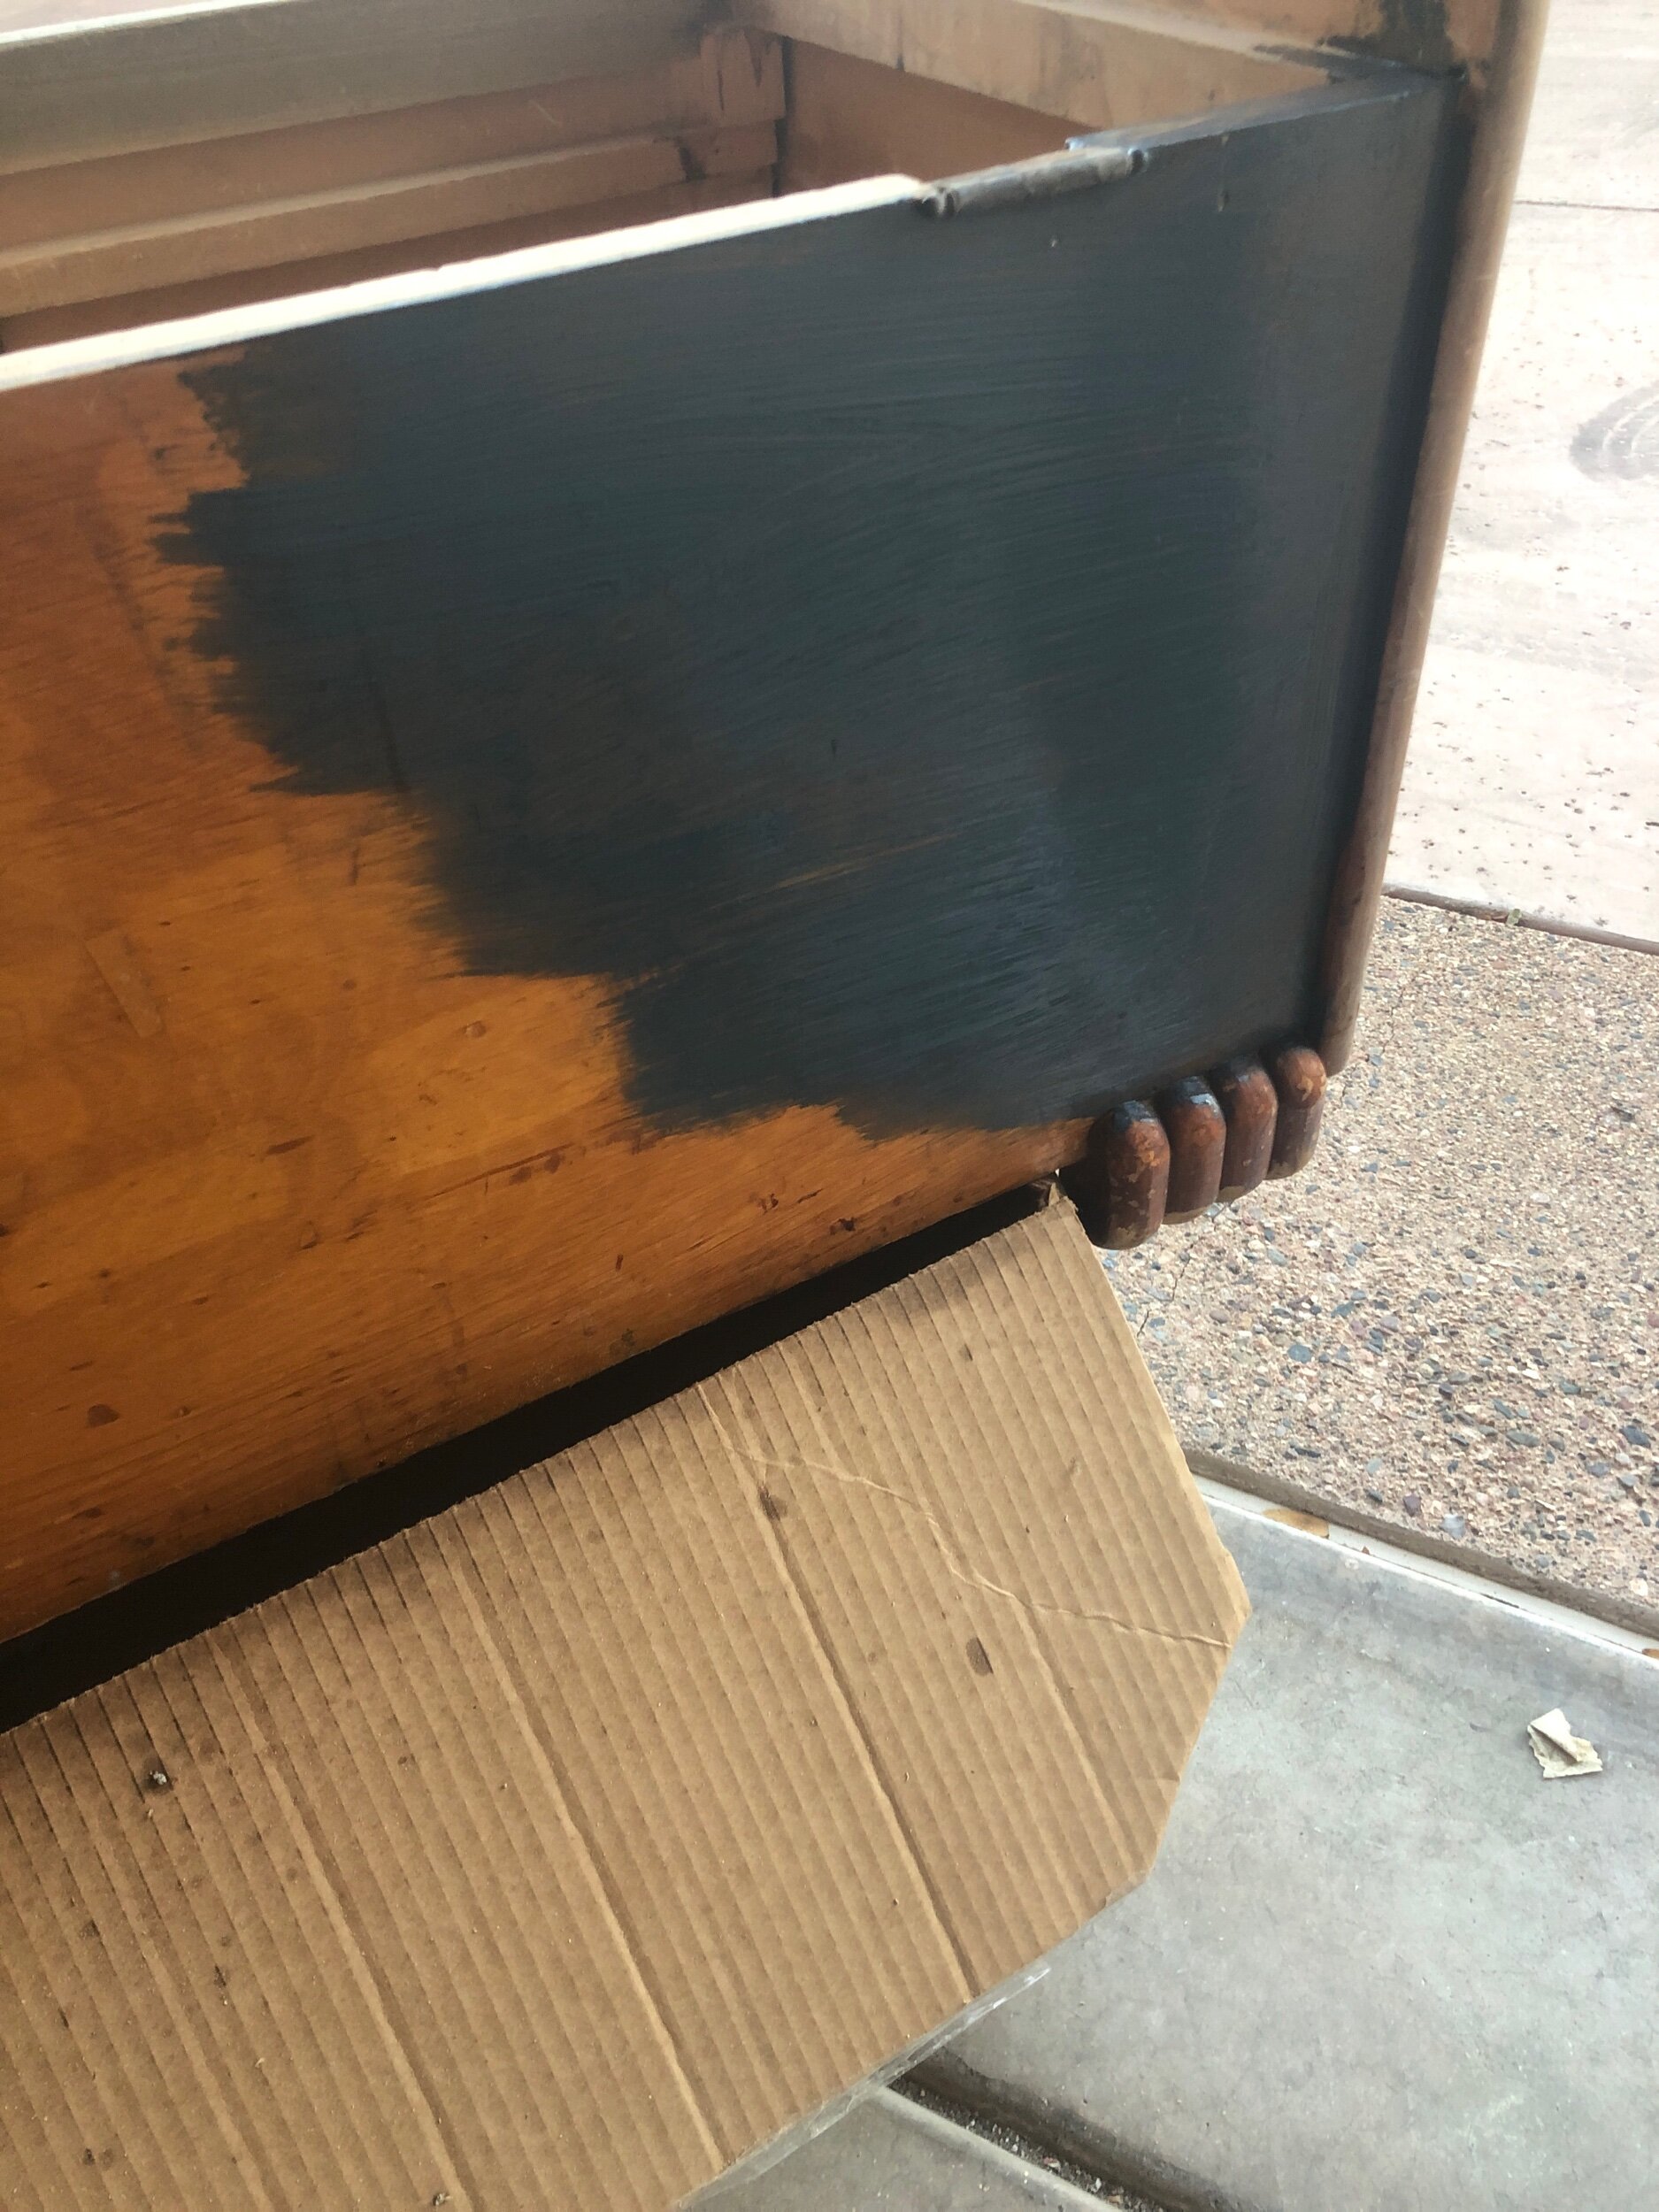
My YouTube research had taught me that I wanted to use chalk paint (not chalkboard paint) for this project. It is a more antique-y looking paint that doesn’t usually require any primer first.
So after sanding it down, I wiped it all down with mineral spirits and then began to paint.
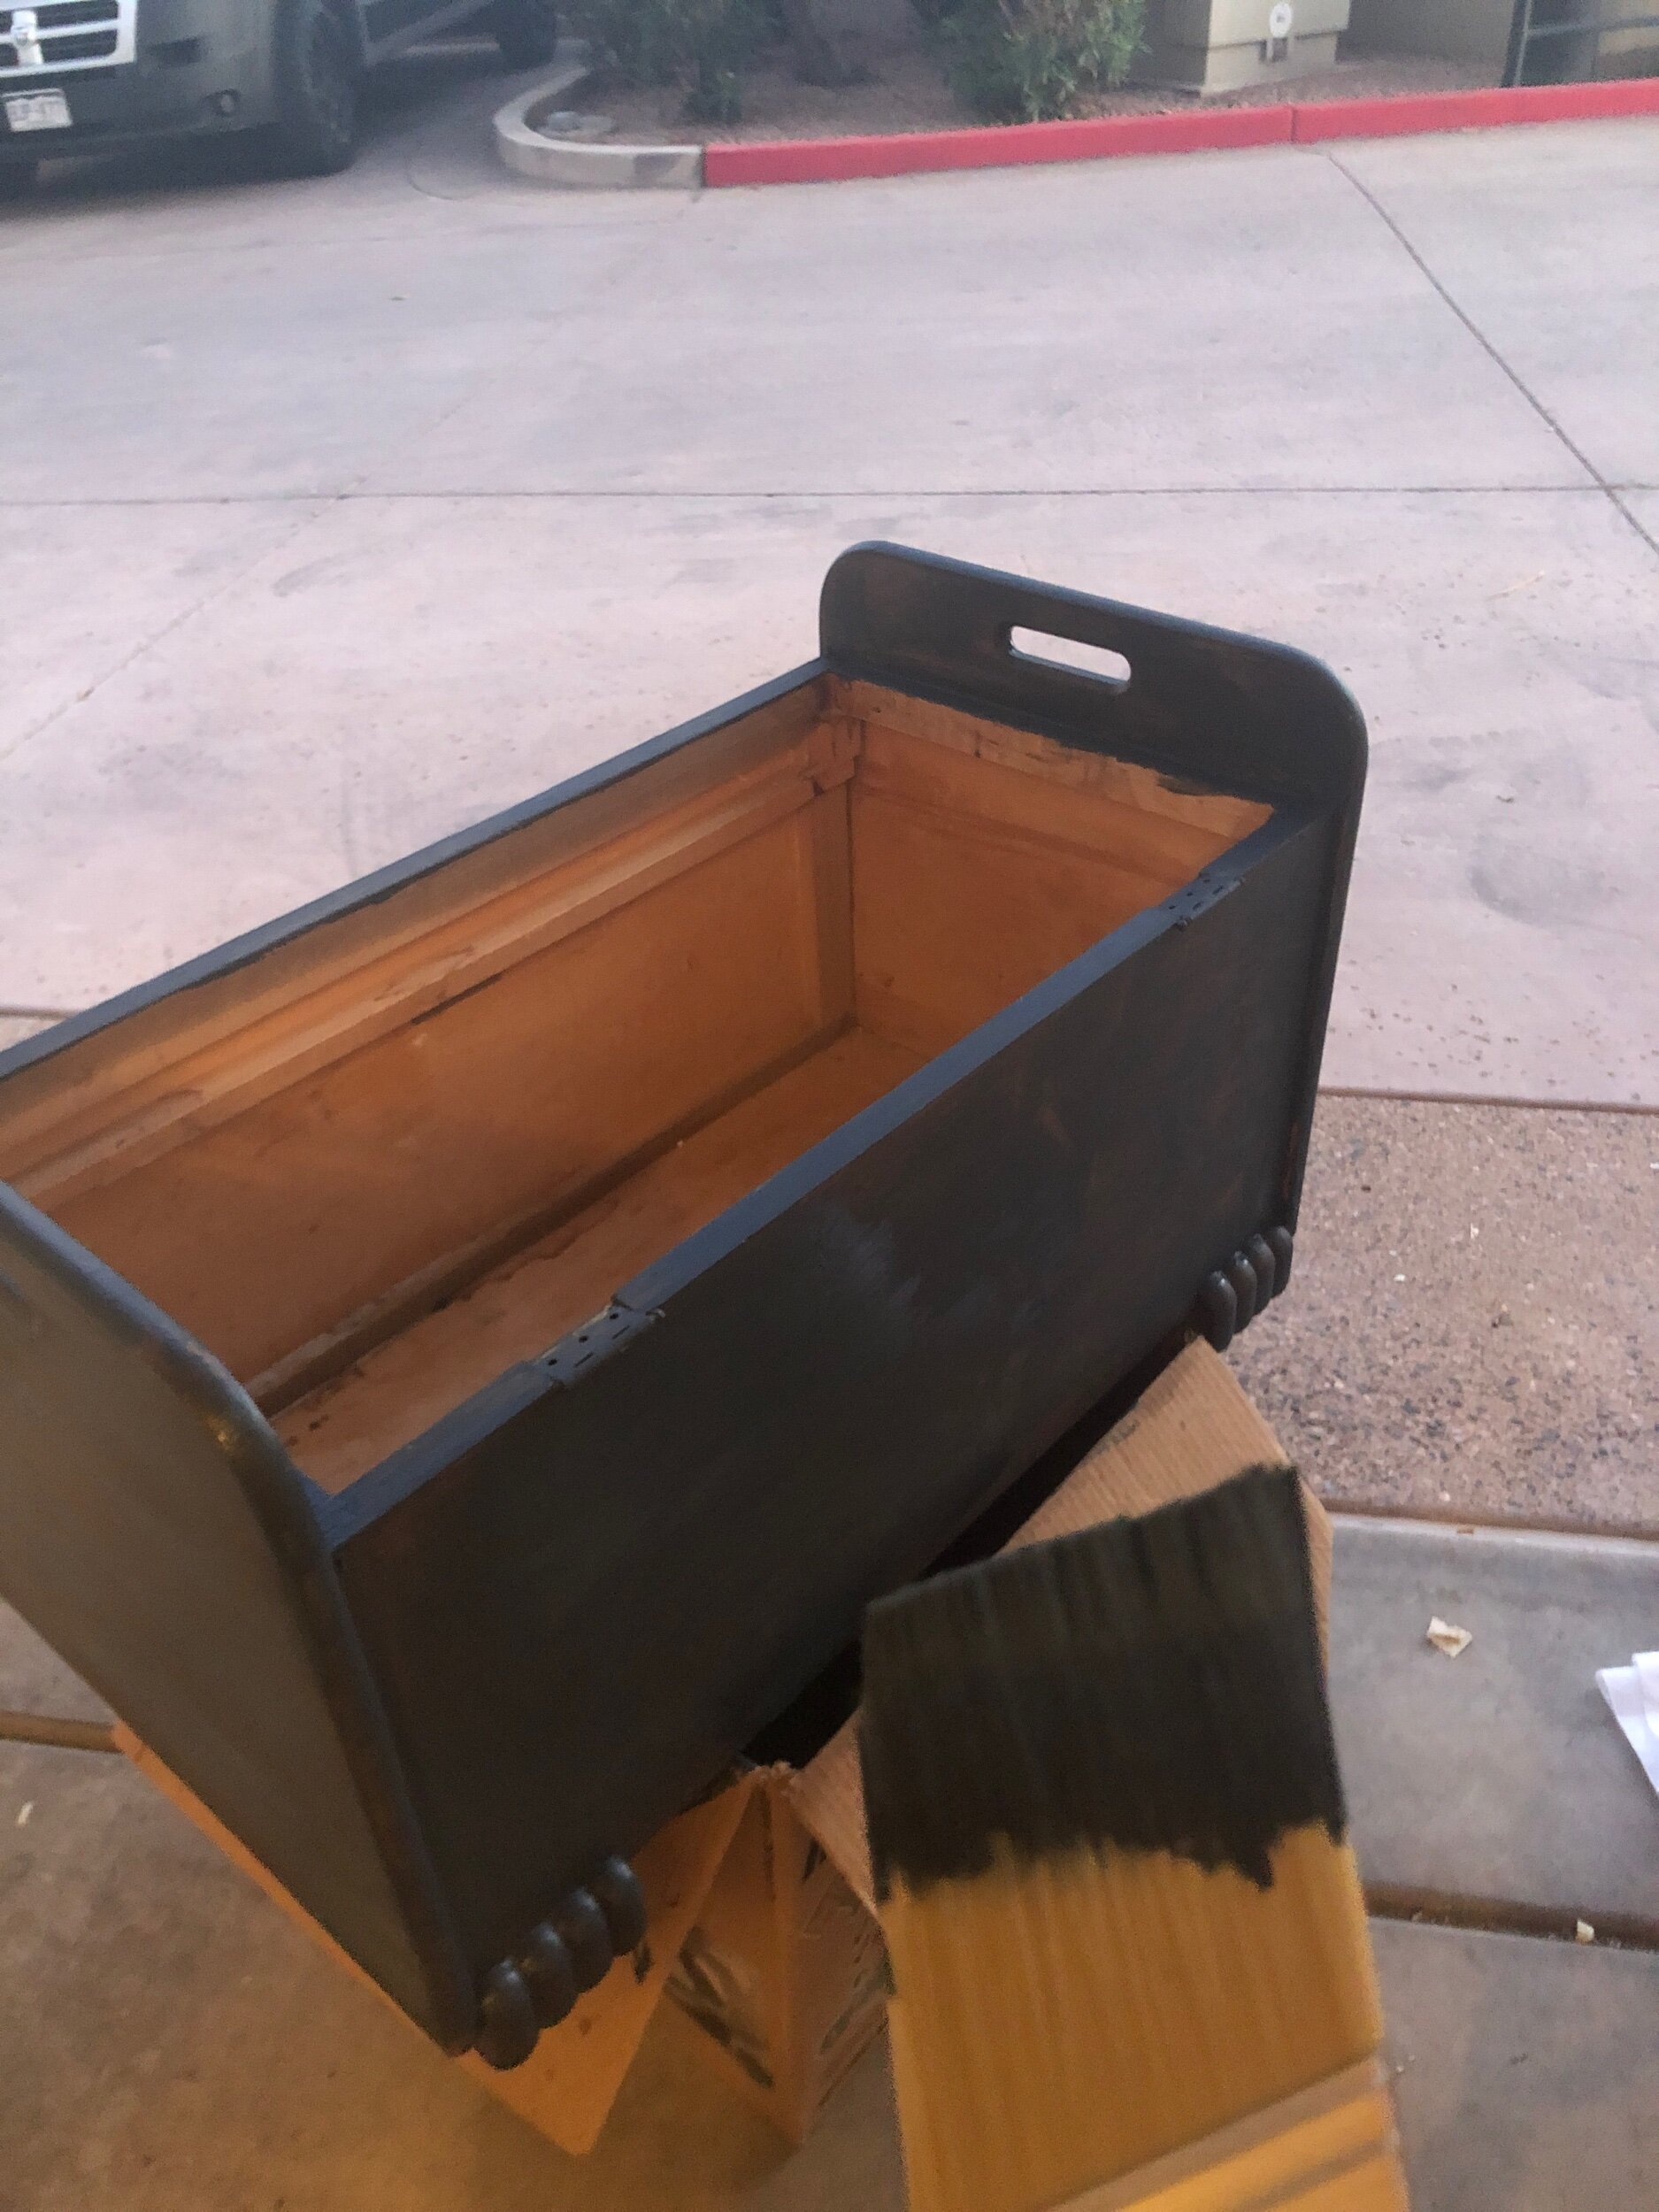
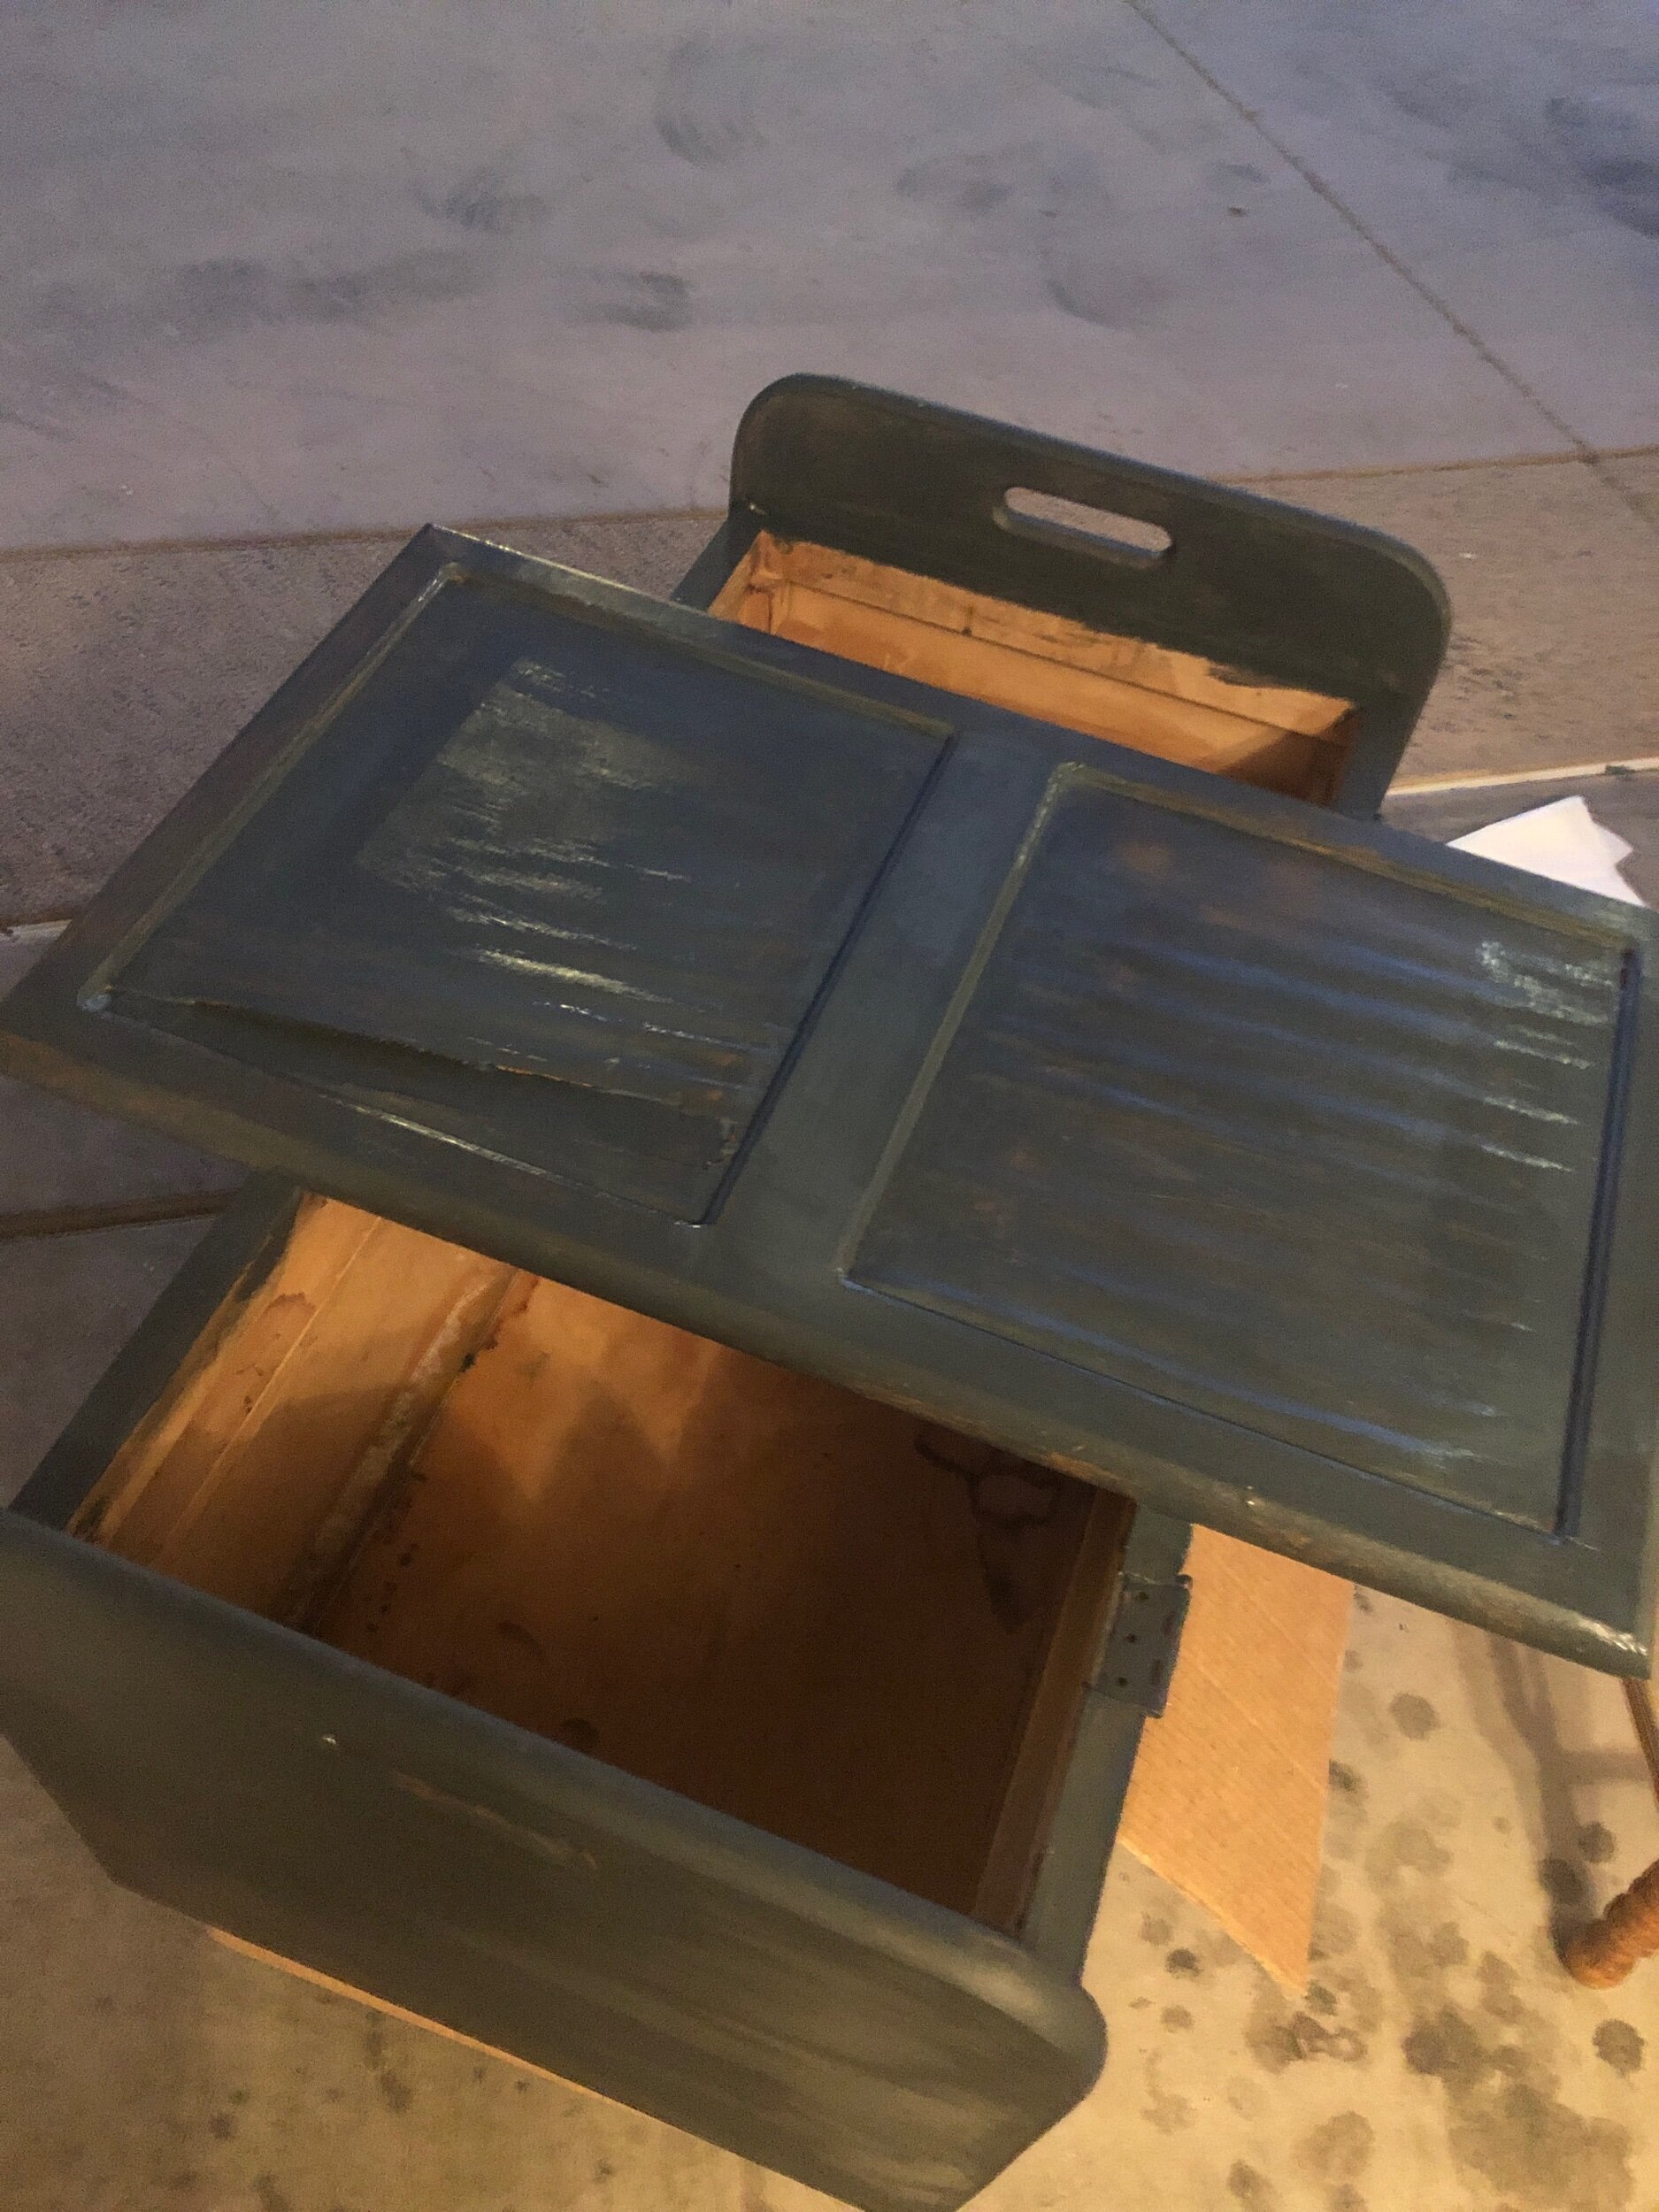
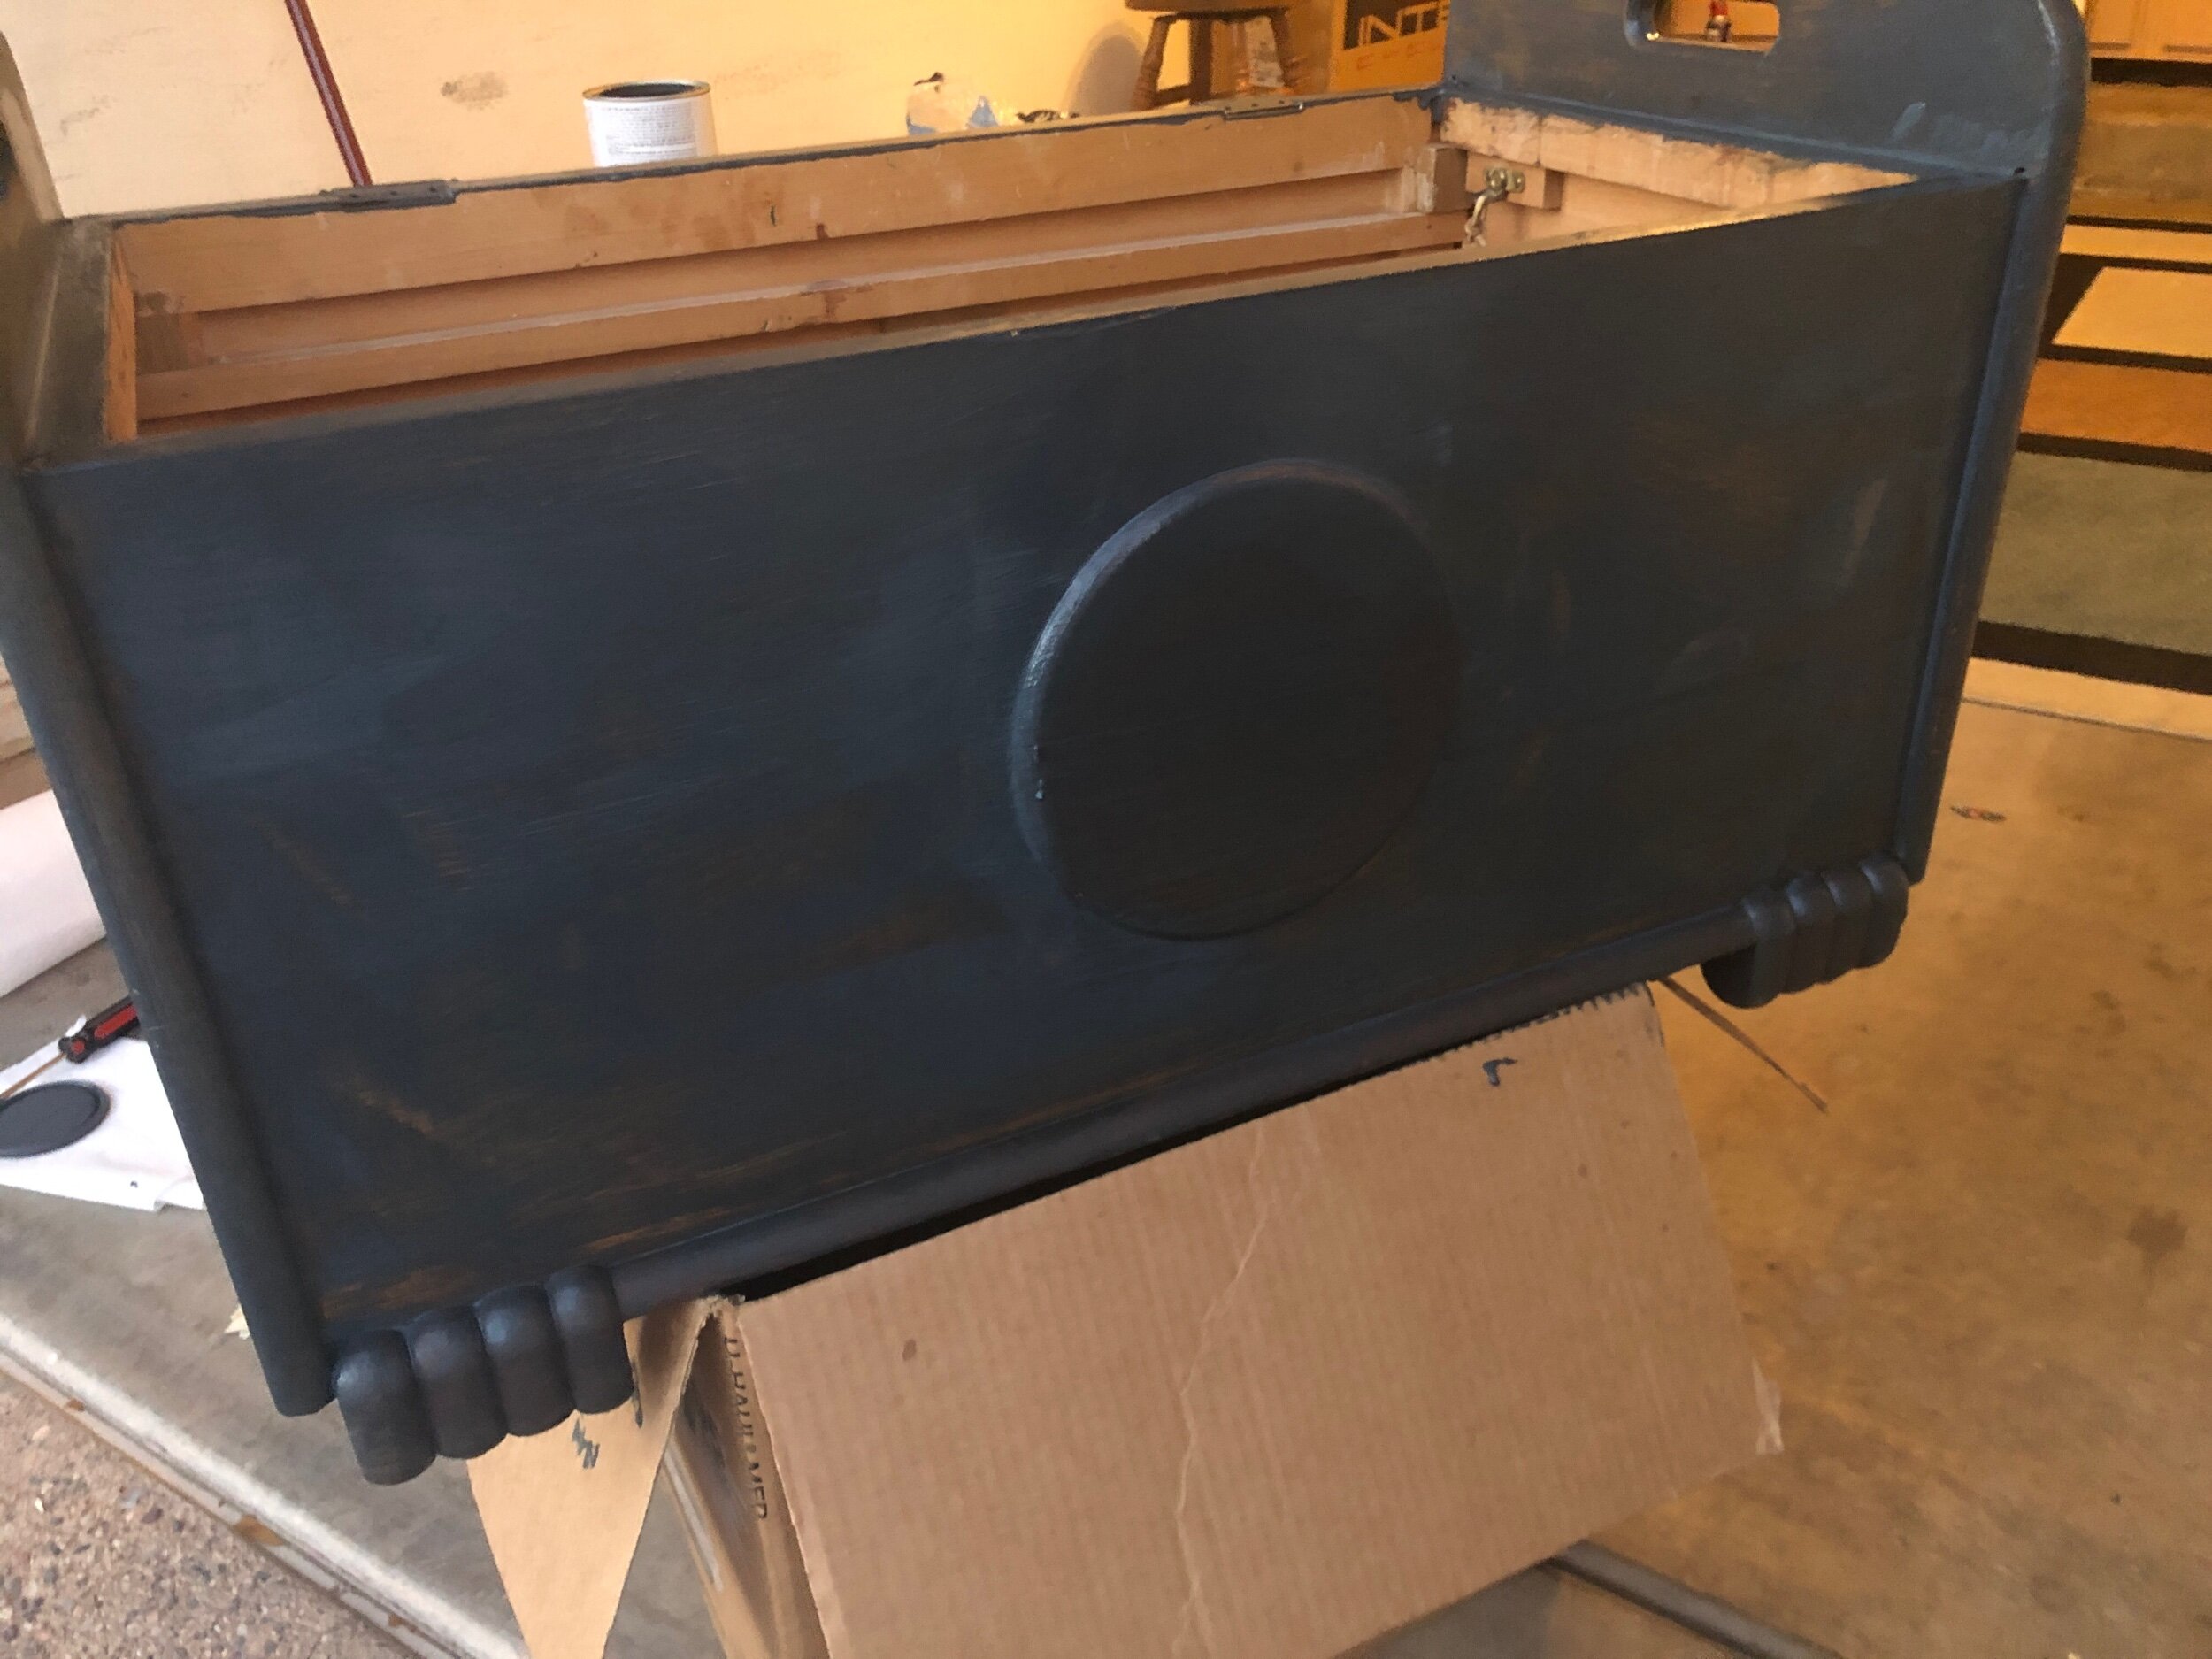
And with roughly 5 hours of time invested (including the bike ride to Lowe’s and back), this is as far as I got before it got dark outside.
**added bonus to a project like this outside in the garage with the door up? Neighbors walking by and chatting it up about what I was doing. (Keeping their Covid-safe distance but still giving us an excuse to connect in some brief convo). That made me happy…. 😊
*to be continued. Stay tuned.